Homemade Ice Cream
🎁 FREE E-BOOK: 12 Sweet Favorites — reader-loved desserts in one beautiful recipe book.
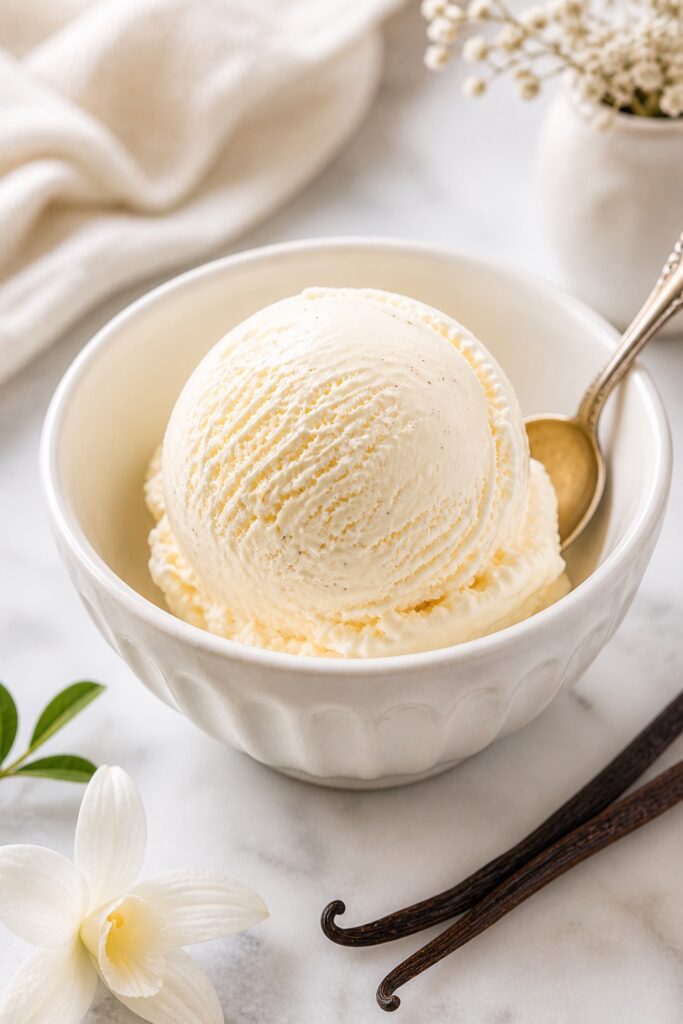
There’s something deeply comforting about a bowl of homemade ice cream — soft, creamy, perfectly scoopable, and full of that simple vanilla sweetness that never goes out of style.
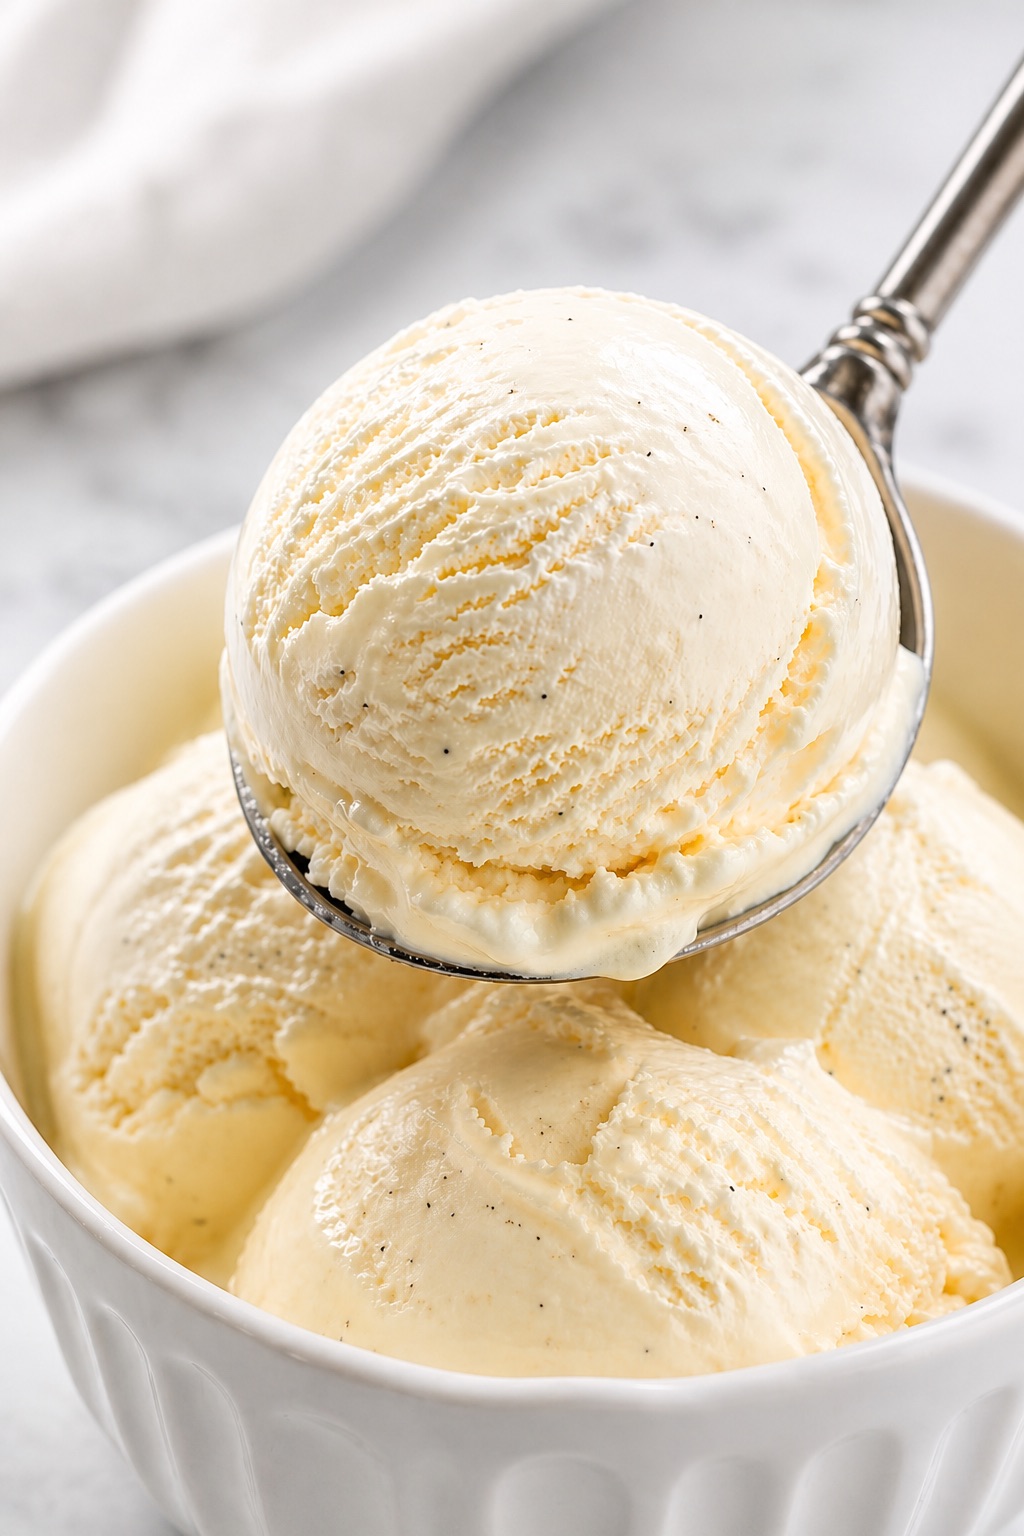
This homemade ice cream recipe brings that classic, old-fashioned texture right into your kitchen. It’s rich without being heavy, smooth without being artificial, and made from a handful of real ingredients that come together into something incredibly satisfying.
Whether you’re making it for a warm afternoon, a cozy dessert moment, or just because you want something sweet and homemade in the freezer, this is one of those recipes that feels both simple and special at the same time.
💛 Why You’ll Love This Recipe
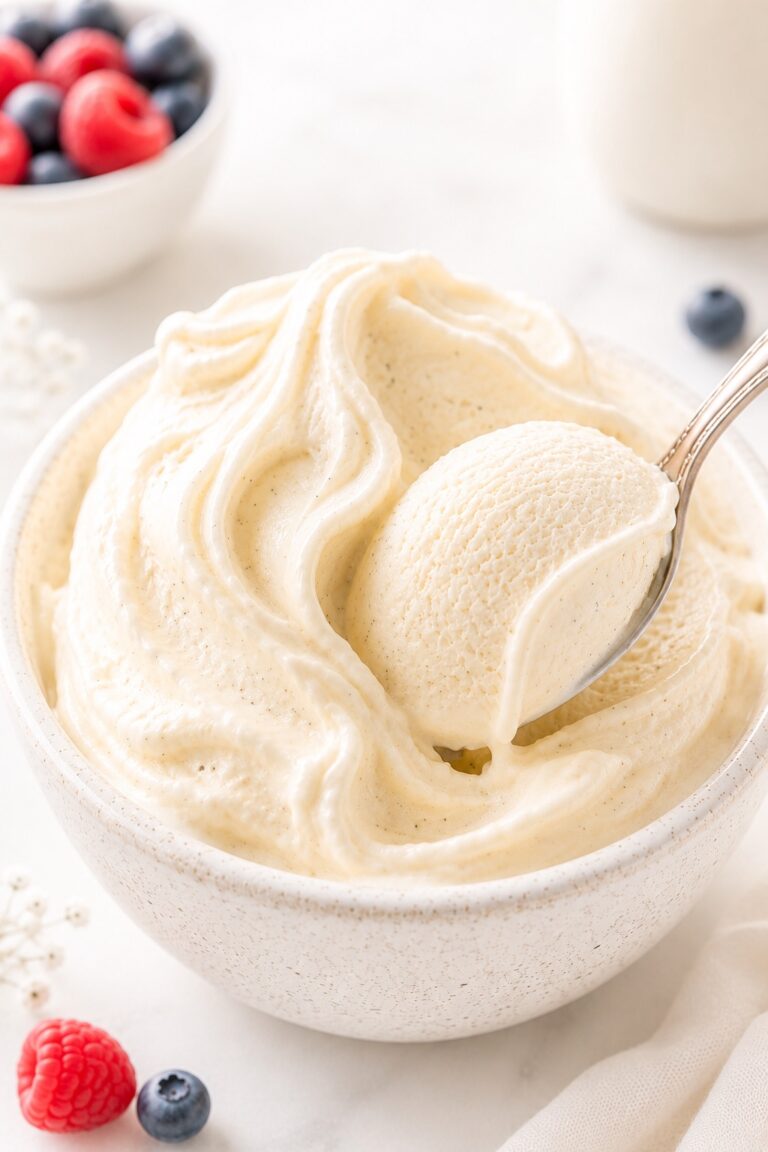
- Ultra creamy, scoopable texture
- Clean, classic vanilla flavor
- Made with simple, real ingredients
- Works with or without an ice cream maker
- Perfect base for endless variations
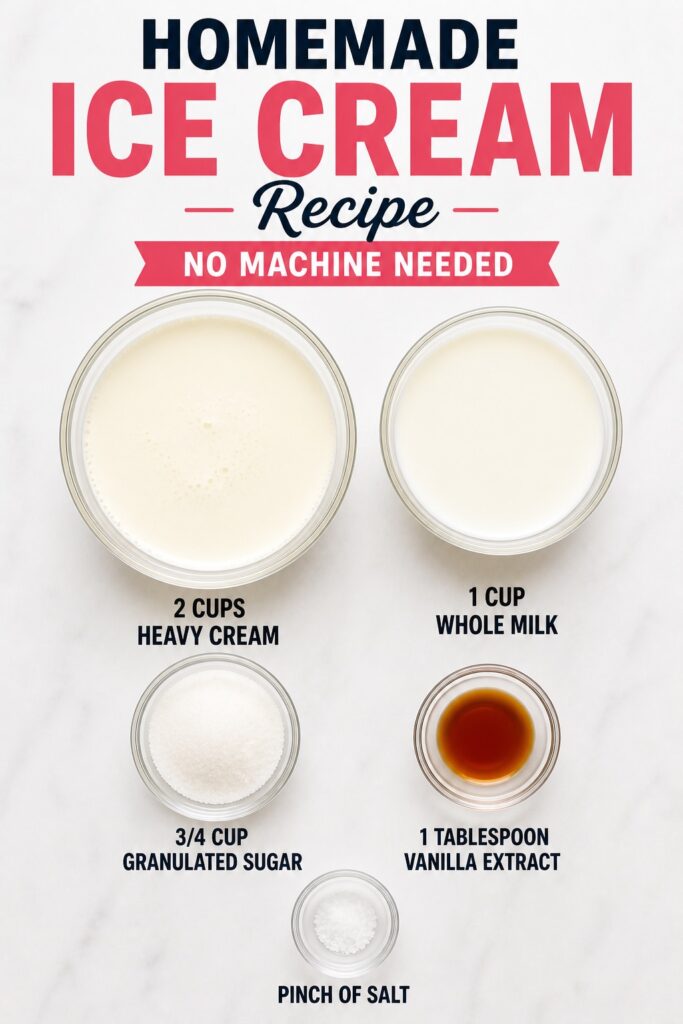
🧁 Ingredients
- 2 cups heavy cream
- 1 cup whole milk
- ¾ cup granulated sugar
- 1 tablespoon vanilla extract
- Pinch of salt


🧠 Ingredient Insights
- Heavy cream → gives richness and that smooth, velvety mouthfeel
- Milk → balances the fat so the ice cream stays scoopable
- Sugar → not just sweetness — it also keeps the texture soft in the freezer
- Vanilla → adds warmth and depth
- Egg yolks (optional) → create a custard base → thicker, richer, more premium texture
💡 Small insight: The balance between fat (cream) and sugar is what prevents icy texture — that’s why homemade ice cream feels different from frozen desserts.
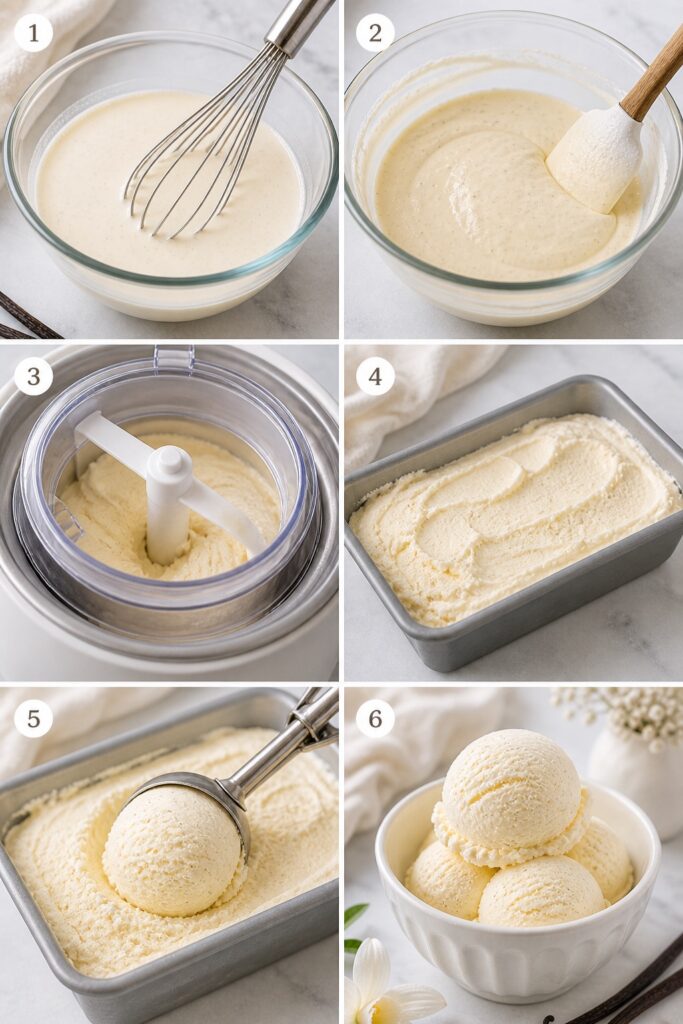
How to Make Homemade Ice Cream
- Mix sugar, milk, and salt in a bowl. Stir until the sugar disappears. Use a spoon. Avoid a fork. It’s not helpful here.
- Add the cream and vanilla. Stir gently.
- Cover the bowl. Place it in the fridge for 2 hours. Let it chill. You should too.
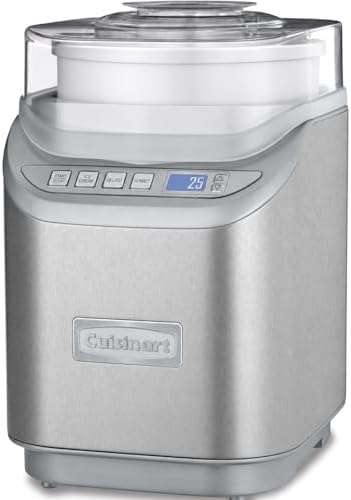
- If you have an ice cream maker, follow its directions. If not, pour the mixture into a deep dish or loaf pan. Freeze for 45 minutes.


- Take it out. Stir it with a fork. Return it to the freezer. Repeat every 30 minutes for about 2 hours. This breaks up ice crystals. Fancy, right?
- When it looks like real ice cream, stop stirring. Scoop it. Eat it. Brag responsibly.
🔥 Expert Tips
- Don’t skip chilling → it affects creaminess more than you think
- If texture turns icy → usually too little fat or sugar
- Over-churning = grainy texture
- Add mix-ins only at the end of churning
⚠️ Common Mistakes
- Skipping chill time
- Using low-fat milk only
- Not dissolving sugar fully
- Freezing without churning (unless using no-churn method)
How to Get Ultra Creamy Ice Cream Every Time
If you want your homemade ice cream to turn out consistently smooth, soft, and scoopable, a few small details make all the difference.
- Use full-fat ingredients – Heavy cream is essential for that rich, velvety texture. Lower-fat substitutions often lead to icy results.
- Fully dissolve the sugar – Make sure the sugar is completely mixed into the base before chilling. Undissolved sugar can affect both texture and consistency.
- Chill the base thoroughly – A cold mixture churns faster and more evenly, which helps prevent large ice crystals from forming.
- Don’t rush the churning process – Let the ice cream reach a true soft-serve consistency before stopping.
- Avoid over-churning – Once it thickens, stop. Over-churning can make the texture grainy instead of smooth.
- Freeze with protection – Press parchment or plastic wrap directly onto the surface before freezing to prevent ice crystals.
- Let it sit before scooping – 5–10 minutes at room temperature gives you that perfect, creamy scoop.
These small steps don’t make the recipe more complicated — they simply help you get the best possible texture every time you make it.
Ice Cream Science (Simplified)
At its core, ice cream is a balance between fat, sugar, air, and temperature — and getting that balance right is what creates a smooth, creamy texture instead of something icy or hard.
Fat (from cream) gives ice cream its richness and helps create that soft, velvety mouthfeel. The higher the fat content, the smoother the texture tends to be.
Sugar does more than sweeten. It lowers the freezing point of the mixture, which keeps the ice cream from freezing solid and helps maintain a scoopable consistency.
Air is introduced during churning. This process, called overrun, is what makes ice cream feel light and soft instead of dense and heavy.
Temperature and freezing speed also matter. Faster freezing creates smaller ice crystals, which leads to a smoother texture. Slower freezing can result in larger crystals and a slightly icy feel.
When these elements work together — enough fat, balanced sugar, proper churning, and controlled freezing — you get that classic homemade ice cream texture: creamy, soft, and easy to scoop.
🍓 Variations
- Strawberry Ice Cream → blend fresh strawberries into base
- Chocolate Ice Cream → add melted chocolate or cocoa
- Cookies & Cream → fold in crushed cookies
- Honey Vanilla → replace sugar partially with honey
- Dairy-Free → coconut milk + coconut cream
🍽️ How to Serve
Serve in bowls, cones, or alongside:
- warm brownies
- fruit desserts
- pancakes or waffles
- pies or crisps
💡 Best texture is after 5–10 minutes at room temperature.
🧊 Storage
- Store in airtight container

- Stylish Ice Cream Containers Reusable- Each homemade ice cream container holds 1 Liter (1 Quart) and measures 5.3” tall …
- Ice Cream Containers Set Made With Durable, Quality Materials: Our product is made with the highest quality materials an…
- Dishwasher Safe and Stackable: Enjoy the ease of being able to stack these ice cream containers for homemade ice cream t…
- Keeps well for 1–2 weeks
- Press parchment on top → prevents ice crystals
Frequently Asked Questions
Can I make homemade ice cream without an ice cream maker?
Yes, you can make a no-churn version by whipping the cream separately and folding it into a sweetened mixture before freezing. The texture will be slightly different, but still creamy and enjoyable.
Why did my ice cream turn icy?
Icy texture usually happens when there isn’t enough fat or sugar, or when the mixture wasn’t chilled properly before freezing. These factors affect how ice crystals form during freezing.
How long does homemade ice cream last?
Homemade ice cream is best within 1–2 weeks when stored in an airtight container. For the best texture, keep it well-covered to prevent ice crystals from forming.
Do I need to use egg yolks?
No, egg yolks are optional. They create a richer, custard-style ice cream, but the recipe works well without them for a lighter, simpler version.
Why is my ice cream too hard to scoop?
This usually means the mixture has too little sugar or too little fat. Letting the ice cream sit at room temperature for a few minutes before scooping will also help.
Can I add mix-ins like chocolate chips or fruit?
Yes, mix-ins should be added at the end of churning so they stay evenly distributed without sinking or affecting the texture.
What’s the best way to store homemade ice cream?
Store it in an airtight container with a layer of parchment or plastic wrap pressed directly onto the surface. This helps prevent ice crystals and keeps the texture smooth.
Can I make this dairy-free?
Yes, you can substitute with full-fat coconut milk and coconut cream. The texture will still be creamy, with a slightly different flavor profile.
🍰 Related Recipes You May Also Love
If you love this homemade ice cream, there are so many ways to keep exploring that same creamy, refreshing dessert vibe — from classic ice cream flavors to easy no-bake treats and desserts that pair perfectly with a cold, melting scoop.
- Vanilla Ice Cream – smooth, classic, and the perfect base for any topping or dessert pairing
- Chocolate Ice Cream – rich, creamy, and deeply chocolatey
- Strawberry Ice Cream – fresh, fruity, and naturally sweet
- No Bake Cheesecake – creamy, chilled, and effortlessly easy to make
- Oreo Pie – smooth, chocolatey, and perfect for no-bake dessert lovers
- Banana Pudding – soft, layered, and full of nostalgic creamy texture
- Brownie Bites – fudgy and rich, perfect served warm with a scoop of ice cream
- Chocolate Cobbler – gooey, warm, and made for melting ice cream on top
- Fruit Pizza Bites – fresh, colorful, and perfect for light summer dessert moments
Closing Thought
Homemade ice cream has a way of turning the simplest ingredients into something truly special. There’s a quiet kind of joy in making it from scratch — watching it come together, letting it chill, and scooping that first creamy bite that feels both familiar and completely your own.
It’s the kind of dessert that doesn’t need much to feel complete, but can become anything you want it to be — dressed up with toppings, paired with warm desserts, or enjoyed slowly on its own.
Once you make it this way, it becomes less about following a recipe and more about creating something you’ll come back to again and again, especially in those moments when you want something simple, comforting, and just a little bit indulgent.

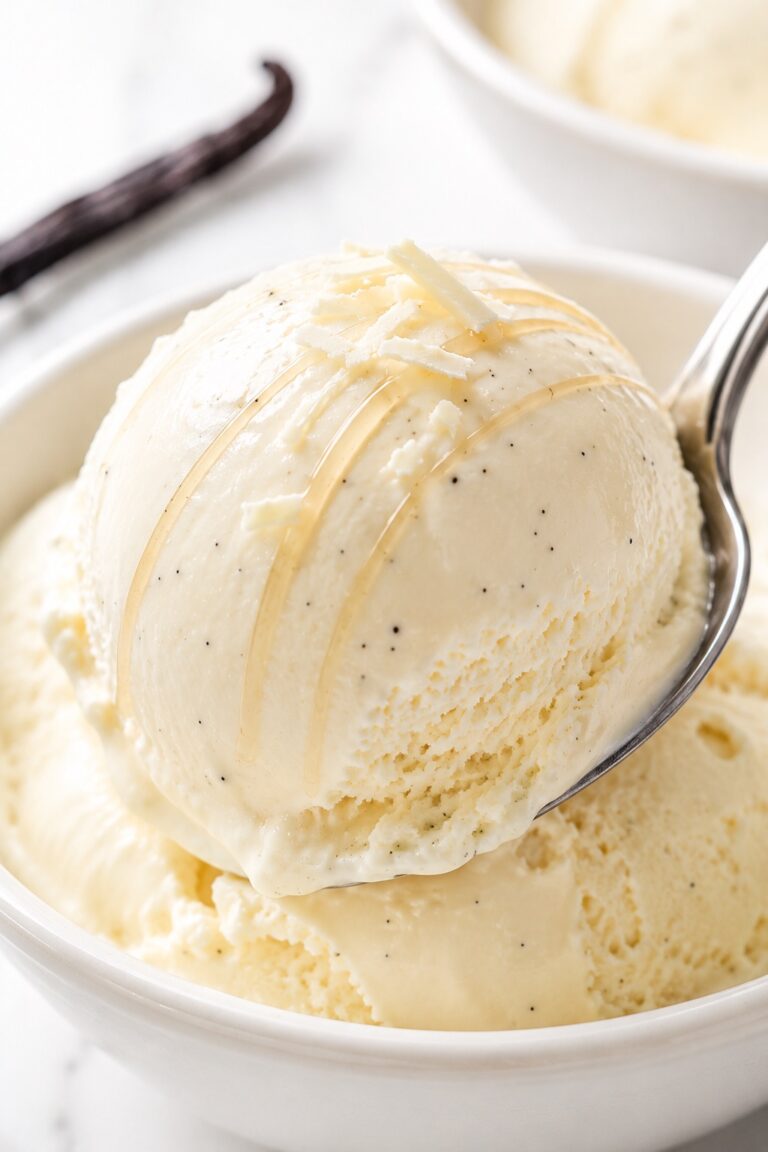
Homemade Ice Cream
Creamy, dreamy, and irresistibly rich, homemade ice cream is pure bliss in every spoonful. Made with love and the freshest ingredients, each velvety scoop melts smoothly on your tongue, bursting with real vanilla, decadent chocolate, or juicy fruit swirls.
Ingredients
- 2 cups heavy cream
- 1 cup whole milk
- ¾ cup granulated sugar
- 1 tablespoon vanilla extract
- Pinch of salt
Instructions
- Mix sugar, milk, and salt in a bowl. Stir with a spoon (not a fork!) until the sugar dissolves.
- Add cream and vanilla. Stir gently.
- Cover & chill in the fridge for 2 hours. (You relax too.)
- Freeze it right:
- With an ice cream maker? Follow its instructions.
- No machine? Pour into a deep dish and freeze for 45 minutes.
- Stir & repeat: Every 30 minutes, stir with a fork and refreeze. Do this for ~2 hours to keep it smooth.
- Done? Scoop, enjoy, and maybe show off a little. 😉🍦
Notes
- Chill time improves texture
- Add mix-ins after churning
- Let sit before scooping for best texture
Recommended Products
As an Amazon Associate and member of other affiliate programs, I earn from qualifying purchases.


Nutrition Information:
Yield: 6 servings Serving Size: 1 servingAmount Per Serving: Calories: 210Total Fat: 14gCarbohydrates: 19gSugar: 17gProtein: 2g
12 Sweet Favourites — Yours, Free 🍰
Tiramisù, no-bake cheesecake, the perfect chocolate chip cookie & 9 more reader-loved desserts — gathered into one beautiful free recipe book. From my kitchen to yours.
No spam, just sweet things. Unsubscribe anytime.


One Comment
Comments are closed.