Cheesecake Cups (Easy No-Bake Dessert) with Protein Option
🎁 FREE E-BOOK: 12 Sweet Favorites — reader-loved desserts in one beautiful recipe book.
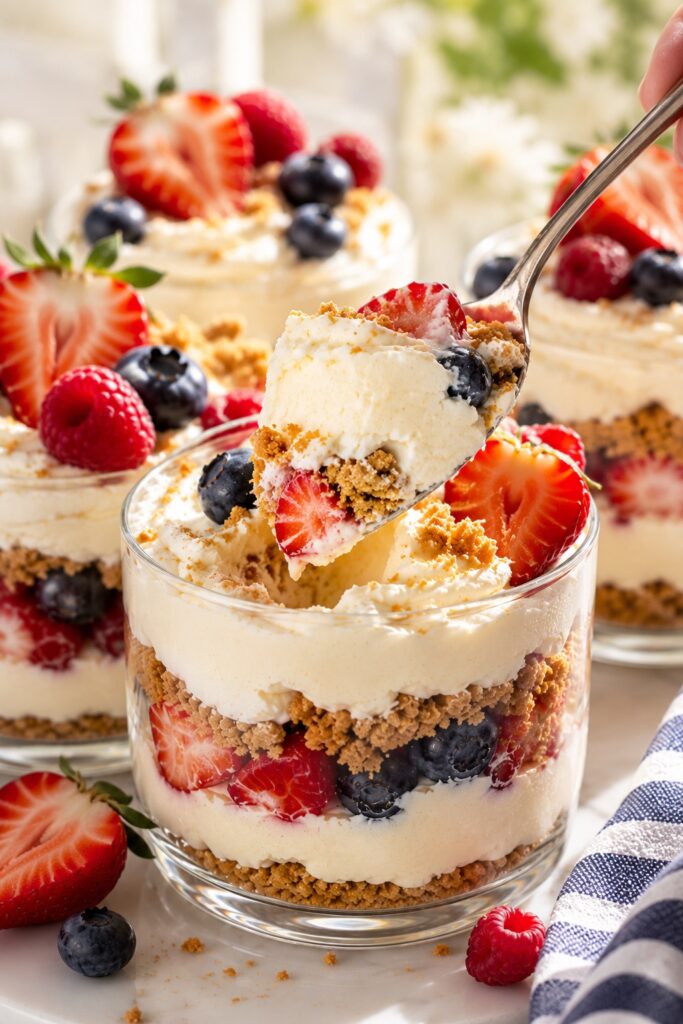
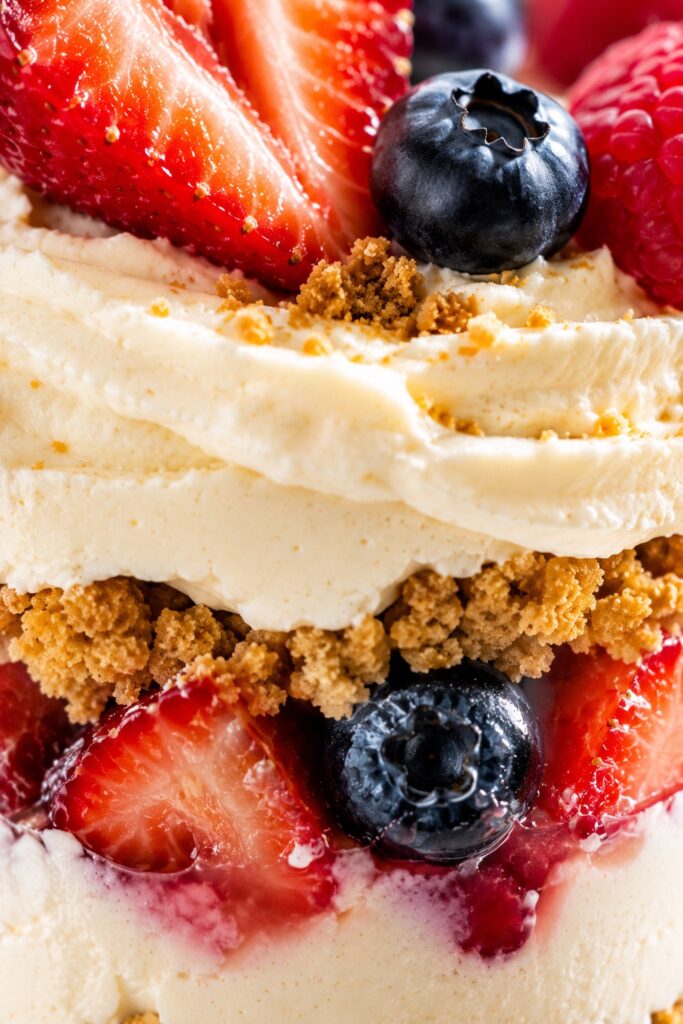
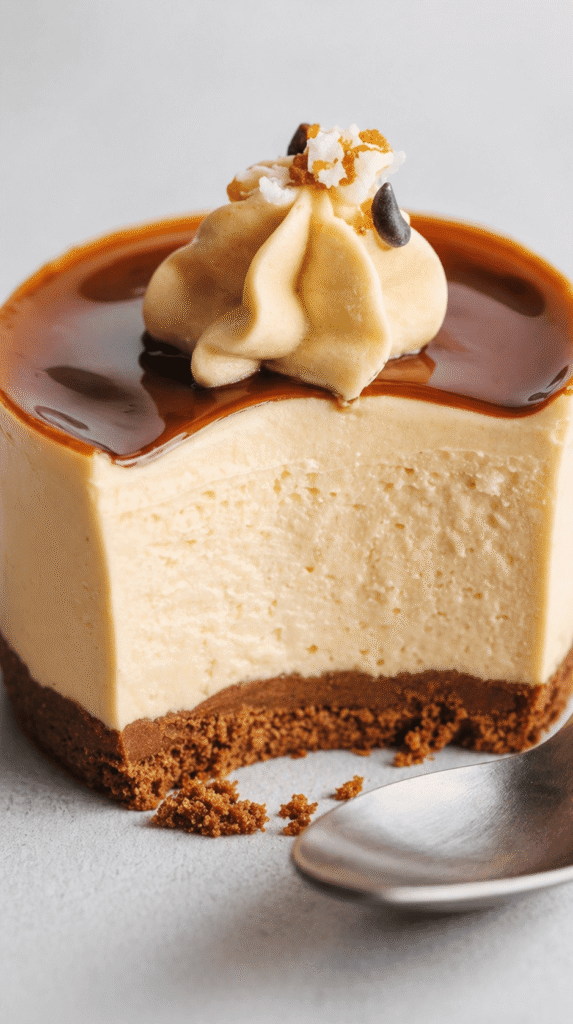
There’s something irresistibly comforting about a dessert that feels both indulgent and effortless. These cheesecake cups are exactly that — soft, creamy, layered, and perfectly portioned, with that classic cheesecake flavor in a simpler, no-bake form.

Each spoonful gives you that smooth, velvety cream cheese filling balanced with a buttery crumb base and a fresh, lightly sweet topping. It’s the kind of dessert that looks elegant in a glass, yet comes together with minimal effort and simple ingredients.
This cheesecake cups recipe is one of those desserts people instantly save — not just because it looks beautiful, but because it solves a problem: you get all the richness of cheesecake without baking, cracking, or waiting hours for it to cool.
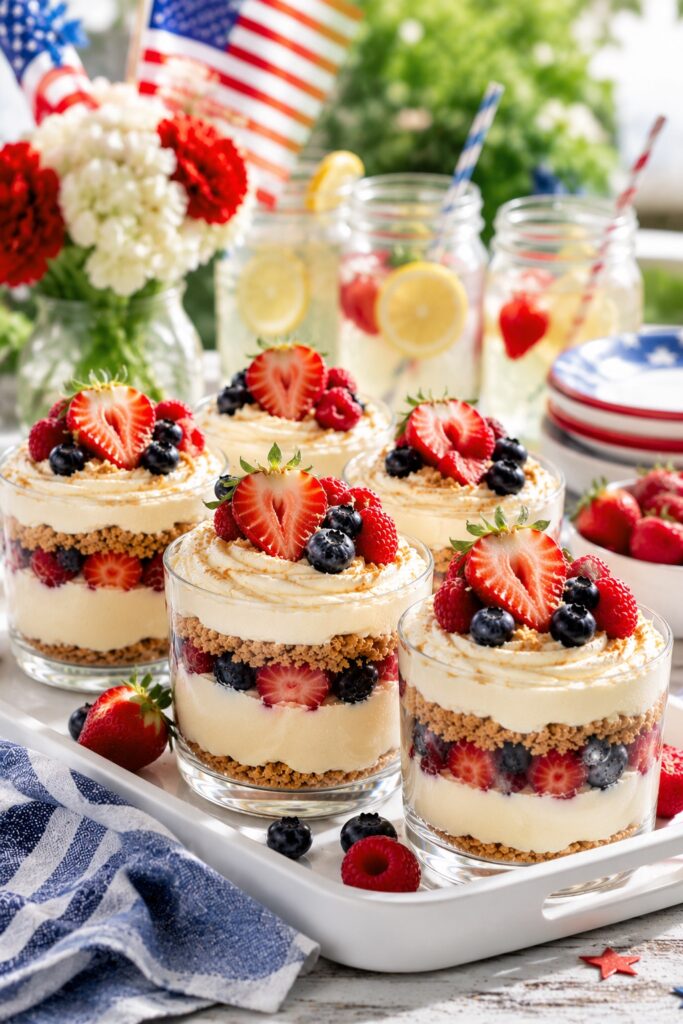
Perfect for gatherings, holidays, or quiet evenings when you want something sweet but easy, these mini cheesecake cups are as versatile as they are satisfying.
What Are Cheesecake Cups?
Cheesecake cups are individual, no-bake layered desserts made with a crumb base (often graham crackers or biscuits), a creamy cheesecake-style filling, and optional toppings like fruit, sauces, or whipped cream.
Unlike traditional cheesecake, they don’t require baking or a water bath. Instead, they rely on chilling to set, creating a soft, spoonable texture that’s lighter but still rich and satisfying.
Quick Recipe Overview
| Element | Details |
|---|---|
| Texture | Creamy, smooth, lightly set |
| Flavor | Sweet, tangy, buttery |
| Difficulty | Easy |
| Time | 20 minutes + chilling |
| Servings | 5 cups |
| Method | No-bake |
| Best For | Parties, make-ahead desserts, quick treats |
In short: A creamy, no-bake cheesecake layered in cups that looks elegant but is incredibly easy to make.
Why You’ll Love These Cheesecake Cups
These cheesecake cups combine everything people love about classic cheesecake in a simple no-bake dessert that’s easy to make and easy to serve. Whether you’re preparing dessert for a holiday gathering, a family dinner, or a casual weekend treat, these individual cheesecake cups deliver impressive results with minimal effort.
- No baking required, making them perfect for warm weather and busy days.
- Rich, creamy cheesecake flavor without the hassle of a traditional cheesecake.
- Individual portions make serving simple and elegant.
- Easy to customize with fruit, chocolate, caramel, or cookie toppings.
- Perfect make-ahead dessert for parties, holidays, and special occasions.
- Uses simple ingredients that are easy to find year-round.
- Light, mousse-like texture that feels indulgent without being overly heavy.
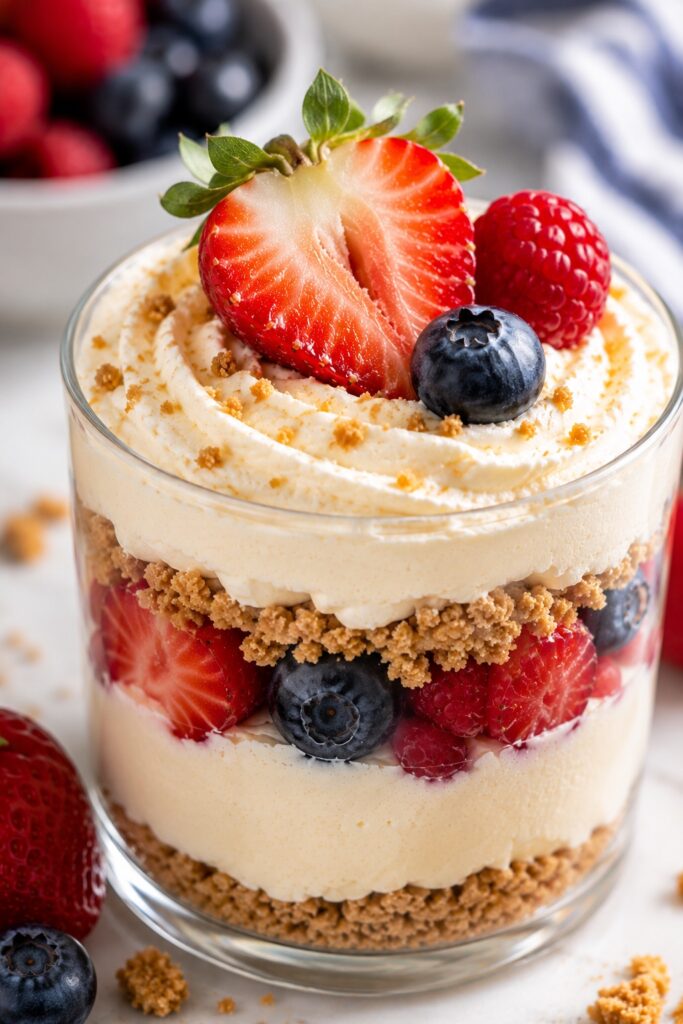
- Beautiful presentation in clear dessert cups or small jars.
Best of all, these cheesecake cups look bakery-worthy while requiring only a fraction of the time and effort of a traditional cheesecake.
Why This Recipe Works
This cheesecake cups recipe works because it balances structure, fat, and air perfectly:
• The whipped cream lightens the filling, creating a soft, mousse-like texture
• The cream cheese provides richness and structure without needing eggs
• The crumb base adds contrast and prevents the dessert from feeling too soft
Small detail that makes a big difference:
Folding instead of mixing aggressively keeps the texture smooth and airy instead of dense.
Recipe Science
Even without baking, there’s structure happening here:
• Fat (from cream cheese + cream) stabilizes the filling
• Air (from whipped cream) creates lightness
• Chilling allows the mixture to firm up just enough to hold layers
The result is a perfectly balanced texture — not too firm, not too loose.
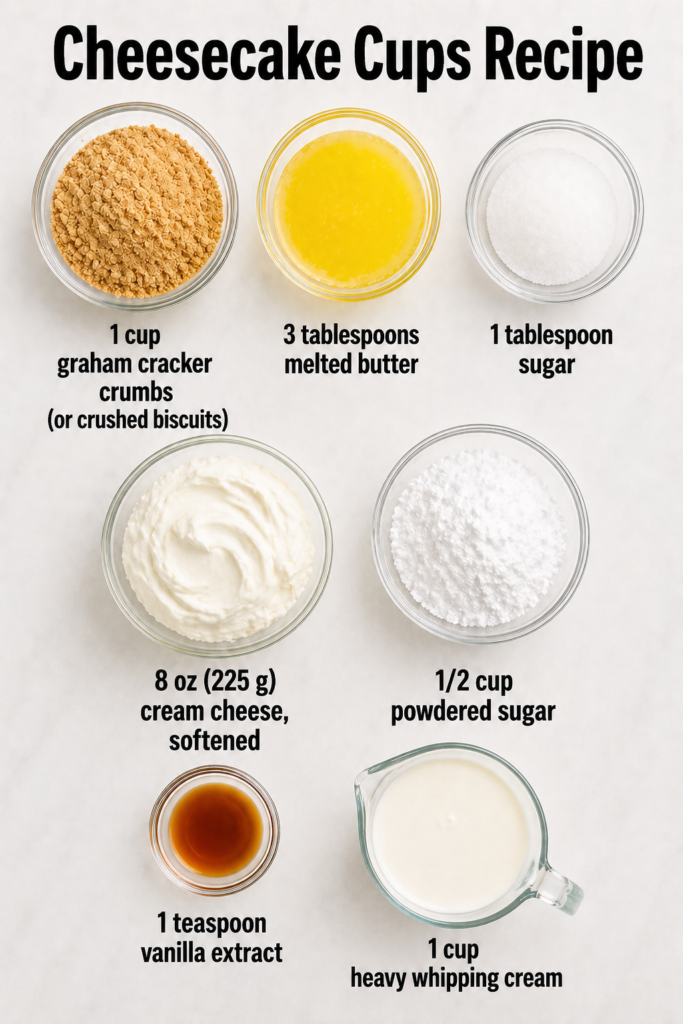
Ingredients
For the crust:
- 1 cup graham cracker crumbs (or crushed biscuits)
- 3 tablespoons melted butter
- 1 tablespoon sugar
For the cheesecake filling:
- 8 oz (225 g) cream cheese, softened
- 1/2 cup powdered sugar
- 1 teaspoon vanilla extract
- 1 cup heavy whipping cream
Optional toppings:
- Fresh berries
- Fruit sauce (strawberry, raspberry, blueberry)
- Chocolate drizzle
- Whipped cream
Ingredient Notes
- Cream cheese: Full-fat gives the best texture and stability
- Powdered sugar: Dissolves smoothly for a silky filling
- Heavy cream: Must be cold for proper whipping
- Crumbs: Finer crumbs = better layering and structure
Pro insight:
If the cream cheese is even slightly cold, the filling won’t be smooth — it will turn grainy.
Kitchen Tools You’ll Need
- Mixing bowls
- Hand mixer or stand mixer
- Spatula
- Serving glasses or jars
Practical note:
Clear glasses elevate this dessert visually and increase Pinterest save rate.
How to Make Cheesecake Cups
1. Prepare the crust
In a bowl, mix the graham cracker crumbs, melted butter, and sugar until the texture resembles wet sand.
Spoon a layer into each cup and press lightly.
Visual cue: The crumbs should hold together when pressed, but not feel greasy.
2. Whip the cream
In a separate bowl, whip the heavy cream until soft peaks form.
Tip: Stop at soft peaks — overwhipping will make the filling heavy.
3. Make the cheesecake base
In another bowl, beat the softened cream cheese with powdered sugar and vanilla until smooth and creamy.
Visual cue: No lumps, silky texture.
4. Fold the mixture
Gently fold the whipped cream into the cream cheese mixture using a spatula.
Do not mix aggressively.
This is where the magic happens — the texture turns light and cloud-like.
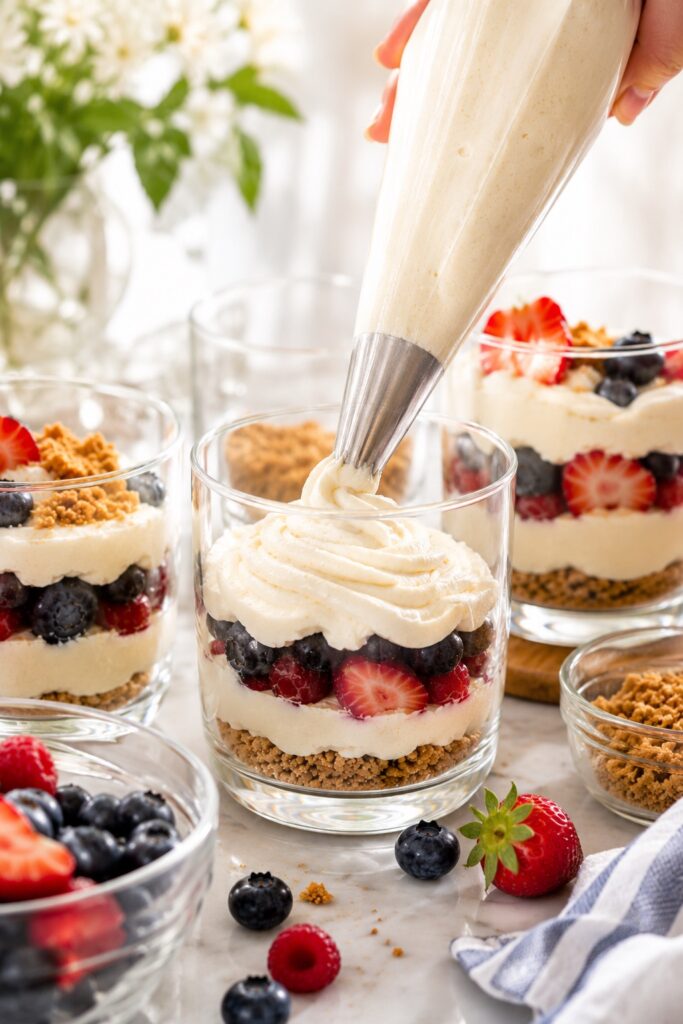
5. Assemble the layers
Spoon or pipe the cheesecake filling over the crust layer.
Repeat layers if desired.
6. Add toppings
Top with fruit, sauce, or whipped cream.
7. Chill
Refrigerate for at least 2 hours before serving.
Visual cue: The filling should feel softly set and hold its shape when scooped.
Visual Cues
| What to Look For | Meaning |
|---|---|
| Smooth surface | Proper mixing |
| Holds shape softly | Perfect set |
| No liquid separation | Stable filling |
| Light, airy texture | Correct folding |
Texture & Behavior Guide
| If You Get This | It Means | Fix |
|---|---|---|
| Dense filling | Overmixed or overwhipped | Fold gently next time |
| Grainy texture | Cream cheese too cold | Use fully softened |
| Too soft | Not chilled enough | Chill longer |
| Runny layers | Cream not whipped enough | Whip to soft peaks |
Expert Tips
- Use room temperature cream cheese — always
- Chill your bowl before whipping cream for better stability
- Pipe the filling for clean, bakery-style layers
- Add toppings right before serving for freshness
Common Mistakes
- Overmixing → dense, heavy texture
- Skipping chill time → unstable dessert
- Using low-fat cream cheese → less structure
- Overwhipping cream → grainy filling
Cheesecake Cups vs Classic Cheesecake
| Feature | Cheesecake Cups | Classic Cheesecake |
|---|---|---|
| Method | No-bake | Baked |
| Texture | Light & creamy | Dense & rich |
| Time | Quick | Long |
| Difficulty | Easy | Medium |
| Serving | Individual | Sliced |
How to Serve
Serve these cheesecake cups chilled, topped with fresh fruit or a glossy fruit sauce.
They’re perfect for:
- dinner parties
- holidays
- brunch tables
- last-minute desserts
Save this for when you need a dessert that feels elegant but takes almost no effort.
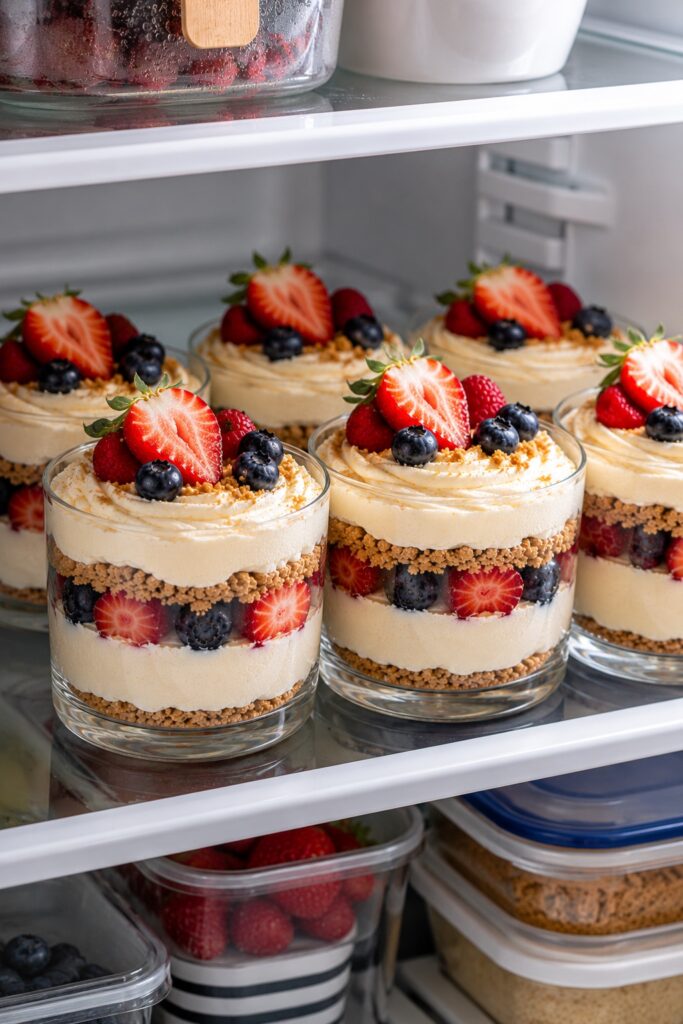
Storage & Make-Ahead
- Store in fridge: up to 3 days
- Cover tightly to prevent drying
- Best served chilled
Make-ahead tip:
Prepare a day in advance for best texture and flavor.
High Protein Cheesecake Cups (Easy No-Bake Protein Dessert)
If you’re looking for a protein cheesecake cups recipe that’s creamy, easy, and doesn’t require baking, this variation is one of the simplest ways to upgrade a classic dessert into something more balanced.
These no-bake protein cheesecake cups keep the same smooth, velvety texture as traditional cheesecake cups, but include added protein for a more satisfying and nourishing dessert.
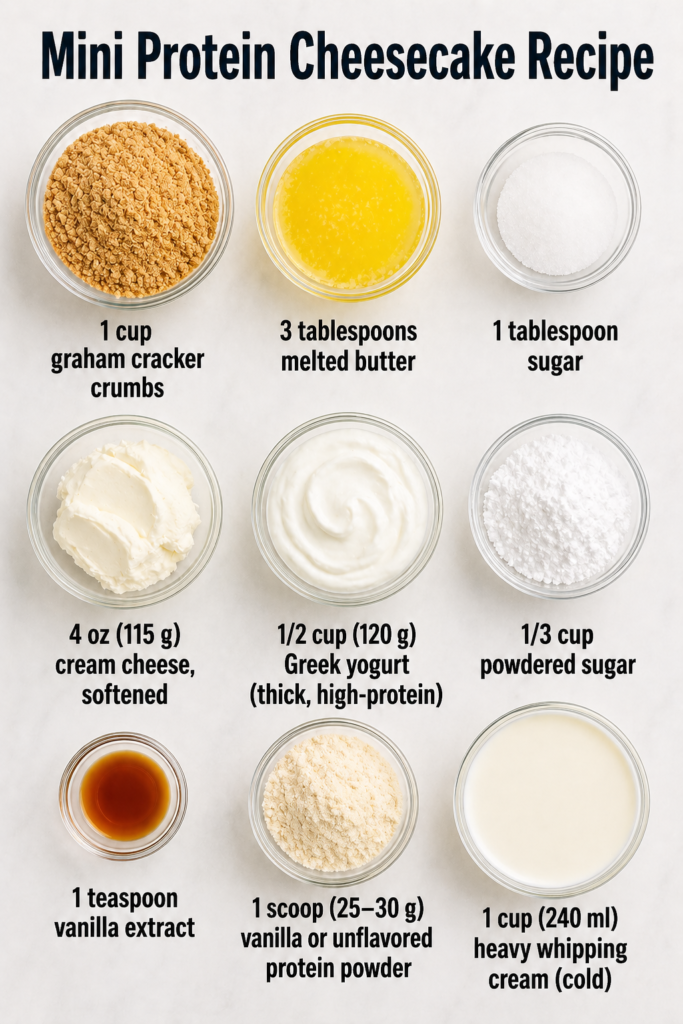
Ingredients
For the crust:
- 1 cup graham cracker crumbs (or digestive biscuits)
- 3 tablespoons melted butter
- 1 tablespoon sugar
For the high protein cheesecake filling:
- 4 oz (115 g) cream cheese, softened
- 1/2 cup (120 g) Greek yogurt (thick, high-protein)
- 1/3 cup powdered sugar (adjust to taste)
- 1 teaspoon vanilla extract
- 1 scoop (25–30 g) vanilla or unflavored protein powder
- 1 cup (240 ml) heavy whipping cream (cold)
Optional (only if needed for texture):
- 1–2 tablespoons milk (to loosen the mixture if it becomes too thick)
Optional toppings:
- Fresh berries (strawberries, blueberries, raspberries)
- Fruit sauce (low sugar or homemade)
- Dark chocolate shavings
- Crushed nuts or granola (for added texture + protein)
Texture Calibration (VERY important for success)
- If using whey protein → filling will be smoother, slightly softer
- If using plant protein → thicker texture, may need milk to adjust
- If mixture feels too dense before folding → always loosen slightly before adding whipped cream
Notes
The ratio here is intentional:
- Reduced cream cheese → prevents heaviness
- Greek yogurt → adds protein + slight tang (enhances cheesecake flavor naturally)
- Protein powder → increases structure but thickens the base
- Whipped cream → restores lightness and airy texture
👉 That balance is what keeps this from turning into a dense “protein dessert” and instead makes it feel like a real cheesecake.
How to Make Protein Cheesecake Cups
- Prepare the crust: Mix graham cracker crumbs, melted butter, and sugar. Press into the bottom of each cup.
- Whip the cream: Whip cold heavy cream until soft peaks form. Set aside.
- Make the filling: Beat cream cheese, Greek yogurt, powdered sugar, and vanilla until smooth.
Add protein powder gradually and mix until combined. - Adjust texture (if needed): If the mixture is too thick, add 1–2 tablespoons milk to loosen.
- Fold: Gently fold the whipped cream into the mixture until light and smooth.
- Assemble: Spoon or pipe the filling over the crust. Repeat layers if desired.
- Chill: Refrigerate for at least 2 hours, until softly set.
Texture & Taste
- Creamy and smooth, slightly lighter than the classic version
- Mild tang from yogurt enhances the cheesecake flavor
- More filling and satisfying due to added protein
Why This Version Works
This variation works because it keeps the core structure of the dessert:
- Fat (cream cheese) → richness and stability
- Protein (yogurt + protein powder) → structure + satiety
- Air (whipped cream) → light, mousse-like texture
The balance creates a dessert that feels indulgent but slightly lighter and more functional.
FAQ
Can I make cheesecake cups ahead of time?
Yes, they’re ideal for make-ahead desserts.
Can I freeze them?
Not recommended — texture changes after thawing.
What can I use instead of graham crackers?
Digestive biscuits, vanilla cookies, or Oreo crumbs.
Why is my filling runny?
Either the cream wasn’t whipped enough or it needs more chilling.
Can I use low-fat cream cheese?
You can, but the texture will be softer and less rich.
More Creamy No-Bake Desserts You’ll Love
If you love easy desserts with creamy textures, layered fillings, and make-ahead convenience, these recipes are worth adding to your dessert rotation. From classic cheesecakes to fruit-filled treats and elegant dessert cups, each recipe offers a delicious way to enjoy rich flavors with minimal fuss.
- No Bake Cheesecake – A classic creamy cheesecake with all the richness of traditional cheesecake and none of the baking.
- Strawberry Cheesecake – Smooth cheesecake paired with fresh strawberry flavor for a timeless dessert combination.
- Strawberry Cheesecake Banana Pudding – A creamy layered dessert that combines banana pudding and cheesecake flavors in one irresistible treat.
- Dubai Chocolate Strawberry Cup Recipe – Elegant individual dessert cups layered with chocolate and fresh strawberries.
- Parfait Recipe – Another beautiful layered dessert that’s easy to customize with fruit, cream, and crunchy toppings.
- Panna Cotta – A silky Italian dessert with a smooth texture that cheesecake lovers often enjoy.
- Chocolate Mousse – Light, airy, and luxurious, perfect when you’re craving a spoonable dessert.
Whether you’re planning a holiday dessert table, a dinner party menu, or simply looking for an easy make-ahead treat, these creamy desserts offer plenty of inspiration for your next sweet creation.
Recipe Summary
This cheesecake cups recipe is a simple, no-bake dessert made with layers of buttery crumbs and a smooth, creamy cheesecake filling. It’s easy to prepare, beautifully portioned, and perfect for any occasion where you want something quick yet impressive.
Final Thoughts
Some desserts are about technique. Others are about comfort.
These cheesecake cups are about both — simple enough to make anytime, but special enough to feel like a treat every single time you serve them.

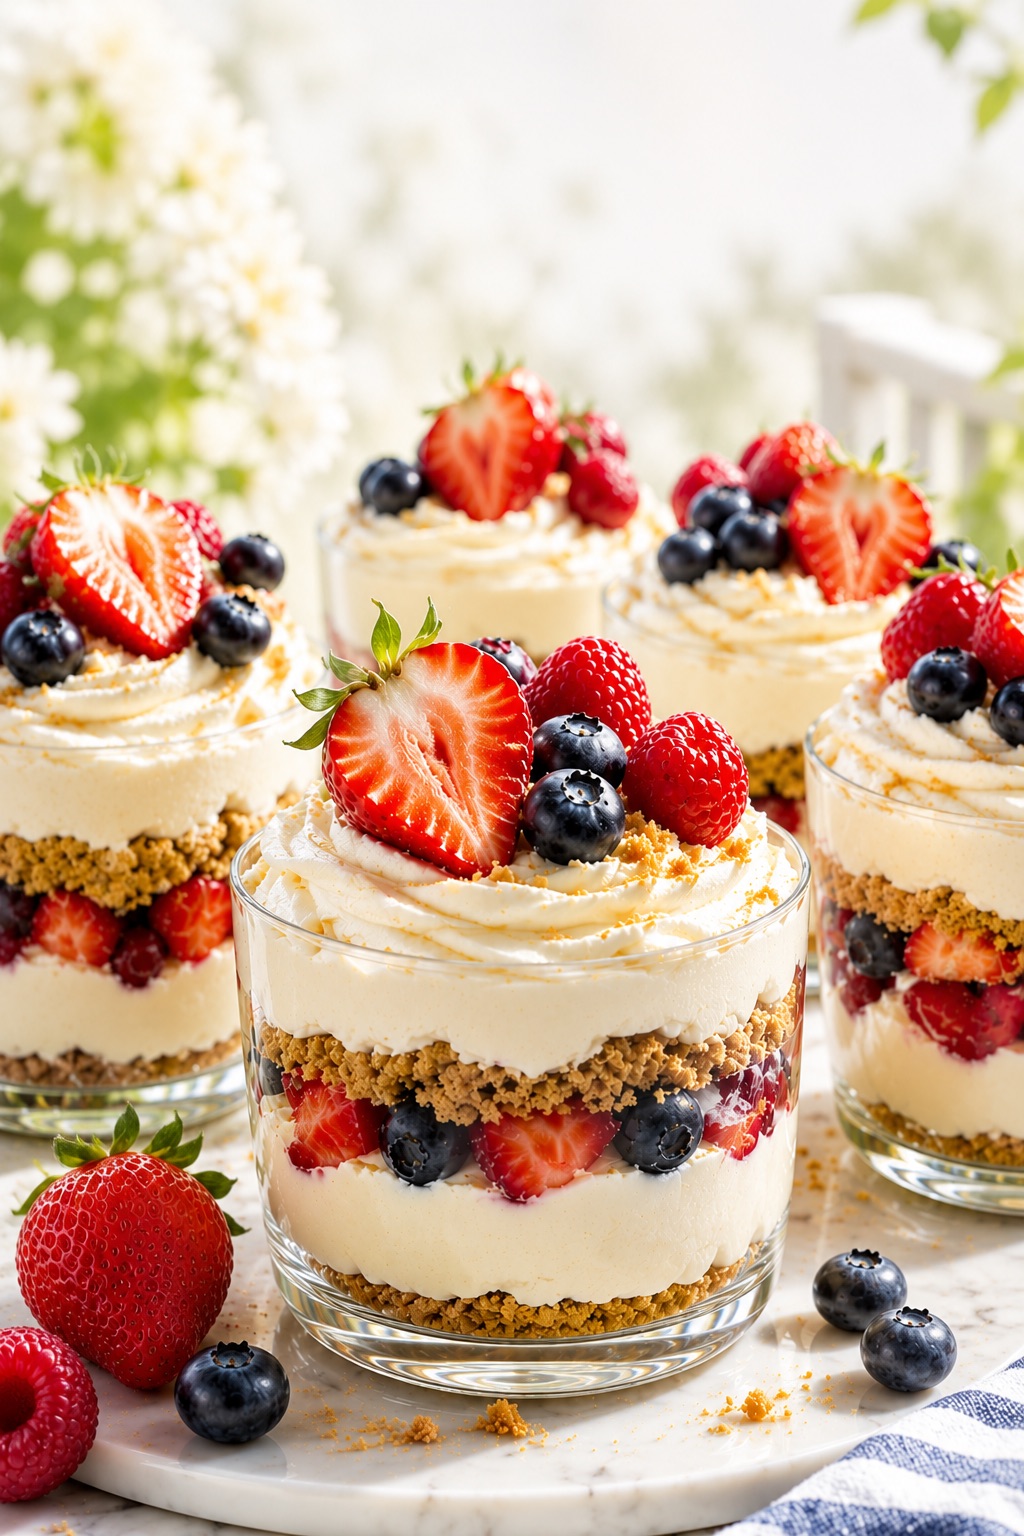
Cheesecake Cups (Easy No-Bake Dessert)
These cheesecake cups are a creamy, no-bake dessert made with layers of buttery graham cracker crumbs and a smooth, fluffy cheesecake filling. This easy cheesecake cups recipe is perfect for parties, holidays, or anytime you want a quick homemade dessert that looks elegant and tastes rich without baking.
Ingredients
For the crust
- 1 cup graham cracker crumbs (or crushed biscuits)
- 3 tablespoons melted butter
- 1 tablespoon granulated sugar
For the cheesecake filling
- 8 oz (225 g) cream cheese, softened
- 1/2 cup powdered sugar
- 1 teaspoon vanilla extract
- 1 cup heavy whipping cream (cold)
Optional toppings
- Fresh berries
- Strawberry or raspberry sauce
- Chocolate drizzle
- Whipped cream
Instructions
- Prepare the crust
In a bowl, mix the graham cracker crumbs, melted butter, and sugar until the texture resembles wet sand. Spoon into serving cups and press lightly to form the base. - Whip the cream
In a separate bowl, whip the cold heavy cream until soft peaks form. Do not overwhip. - Make the cheesecake base
In another bowl, beat the softened cream cheese with powdered sugar and vanilla extract until smooth and creamy, with no lumps. - Fold the mixture
Gently fold the whipped cream into the cream cheese mixture using a spatula until fully combined and light in texture. - Assemble the cups
Spoon or pipe the cheesecake filling over the crust layer. Add additional layers if desired. - Add toppings
Top with fresh fruit, fruit sauce, chocolate drizzle, or whipped cream. - Chill before serving
Refrigerate for at least 2 hours, or until the filling is softly set and holds its shape when scooped.
Notes
- Use fully softened cream cheese for a smooth, lump-free filling
- Heavy cream must be cold for proper whipping
- Do not overmix after folding — this keeps the texture light and airy
- Chill time is essential for structure and clean layers
- For best presentation, use clear glasses or jars
- Add toppings just before serving for the freshest look
Nutrition Information:
Yield: 5 cups Serving Size: 1 cupAmount Per Serving: Calories: 320Total Fat: 24gSaturated Fat: 14gCarbohydrates: 22gSugar: 15gProtein: 4g
Nutrition information is estimated and may vary based on ingredients and portion sizes.
12 Sweet Favourites — Yours, Free 🍰
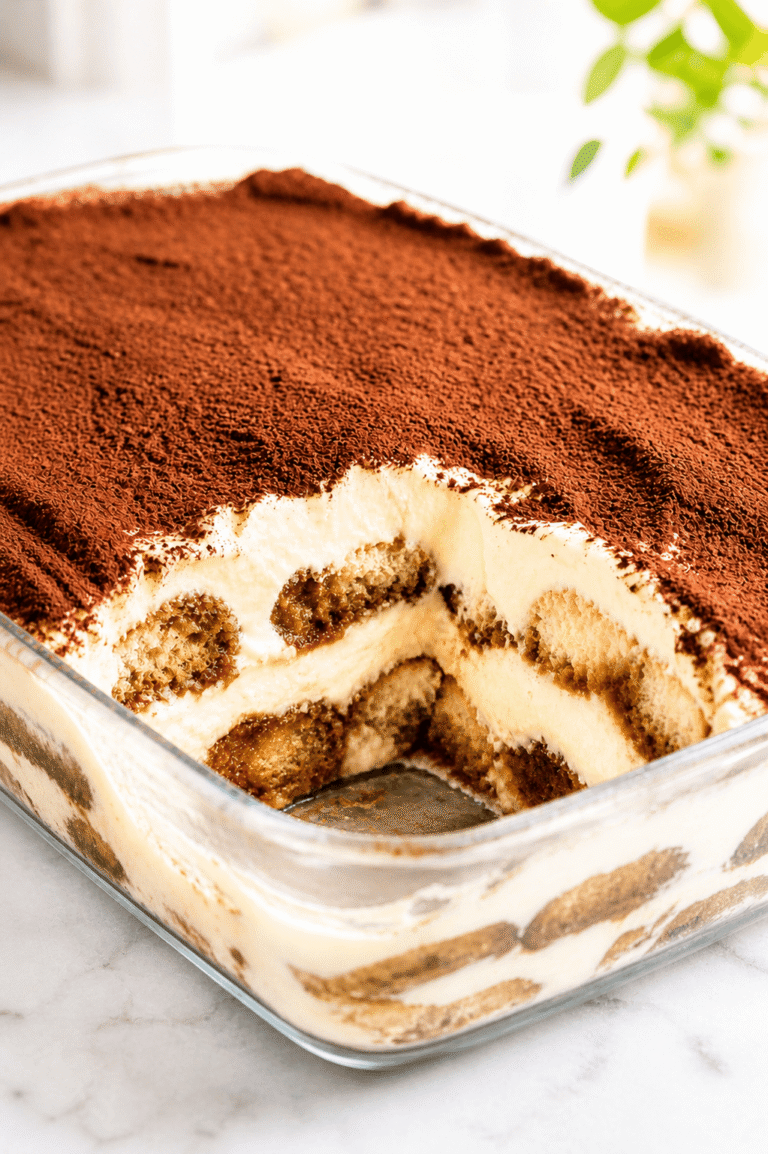
Tiramisù, no-bake cheesecake, the perfect chocolate chip cookie & 9 more reader-loved desserts — gathered into one beautiful free recipe book. From my kitchen to yours.
No spam, just sweet things. Unsubscribe anytime.