Chocolate Cream Pie with Silky Custard & Whipped Cream
🎁 FREE E-BOOK: 12 Sweet Favorites — reader-loved desserts in one beautiful recipe book.
Chocolate Cream Pie brings together a silky chocolate custard, a golden pastry shell, and a soft sweep of vanilla whipped cream. Cocoa gives the filling depth, chopped semisweet chocolate rounds it out, and each cold forkful carries a little crisp pastry beneath all that creaminess.

There is something wonderfully familiar about a cream pie on the dessert table. The pale topping, the crimped edge, and that first dark slice make it feel welcoming enough for a family supper and generous enough for a small celebration.
Keep this recipe close when you want to make the filling the day before and finish dessert near serving. The cooking and chilling cues are especially useful to return to: they show what the custard should look like in the pan and what it needs before you cut a slice.
Quick Overview of This Chocolate Cream Pie
Plan this pie around its refrigerator time. The filling cooks on the stovetop, but the recipe begins with a fully baked, completely cooled shell and needs at least six hours of chilling before it can be served.
| Detail | What to plan for |
|---|---|
| Yield | One 9-inch / 23 cm deep-dish pie, cut into 8 generous slices |
| Preparation | 20 minutes, including the topping |
| Cooking | 15 minutes |
| Chilling | At least 6 hours; overnight is preferred |
| Total | 6 hours 35 minutes, starting with a baked and cooled shell |
| Pan | Deep-dish metal pie plate, about 2 inches / 5 cm deep, with approximately 4 cups of usable filling space |
| Method | Stovetop custard, refrigerated setting, freshly whipped topping |
| Difficulty | Moderate: steady whisking and attention to the cooking cue matter |
| Texture | Creamy chocolate filling that holds a cold slice |
| Make ahead | Prepare the filled pie one day ahead; add whipped cream near serving |
The hands-on work is fairly short; the long pause belongs to the refrigerator. If your shell still needs baking, allow that preparation and cooling time before you begin.
Why This Chocolate Cream Pie Holds a Creamy Slice
This pie gets its creamy body from a cooked custard enriched with semisweet chocolate. The filling, pastry, and lightly sweet cream each contribute something different to the finished slice.
- A filling with body. Cornstarch and egg yolks support the custard, while the chopped chocolate adds richness to the chilled filling.
- Chocolate in two forms. Dutch-process cocoa brings a deep cocoa flavor, and melted semisweet chocolate gives it a smoother, rounded finish.
- Contrast in every layer. The pastry gives the soft filling a base, while fresh whipped cream lightens the impression of the rich chocolate.

Why You’ll Love Making This Chocolate Cream Pie
This is a good dessert to plan ahead when you can give the filling an uninterrupted turn on the stove and plenty of refrigerator time afterward. You do not need a stand mixer or a separate pastry-making session within these steps.
- A prepared-shell starting point. You can concentrate on the custard once your pastry shell is fully baked and cool.
- Ordinary kitchen tools. A saucepan and whisk handle the filling; a hand mixer or whisk handles the cream.
- Less work close to dessert. Make the filled pie the previous day and leave the fresh topping for serving day.
- Eight generous portions. One pie gives you a clear serving plan for a small gathering.
The Science Behind Silky Chocolate Custard
The filling changes in two important ways: it thickens with heat, then gains more body as it cools. The whipped topping gets its lightness from a different process, which is why it is made separately and added to the cold pie.
Heat Builds the Custard Structure
As the mixture heats, the starch takes up liquid and thickens, while the egg yolks contribute richness and body. A noticeable thickening is a useful sign that cooking is progressing, but it is not the stopping point for this custard.
The center needs to produce repeated bubbles before the final minute begins. That distinction matters because a custard can look thick enough to pour into a crust before it has completed the cooking stage called for here.
Cooling Gives the Filling Its Slice
Cooling gives the cooked custard a firmer body, and the chocolate contributes to the structure of the chilled filling. A glossy, thick mixture in the saucepan is therefore still quite different from the filling you want to slice.
Give the assembled pie the full refrigerated setting time. Its center should be cold and cohesive before you add the topping; a cool outer edge alone does not tell you that the middle is ready.
Cold Cream Holds a Light Topping
Whipping traps air in cream, with the fat helping support the bubbles. Cold heavy cream is better suited to building a light foam that holds its shape than cream that has warmed on the counter.
Stop while the cream is smooth and its peaks bend gently. Beating past that stage can leave a grainy topping instead of the soft, billowy layer that suits this pie.
Chocolate Cream Pie Ingredients and Smart Choices
The pie has four simple components: a ready-baked pastry shell, cooked chocolate filling, vanilla whipped cream, and optional chocolate shavings. Measure the filling ingredients before cooking, because the custard needs steady attention once it starts to thicken.
Ingredient List
Start with a fully baked, completely cooled shell. The chocolate shavings are optional and are separate from the chocolate measured for the filling.

Crust
- 1 fully baked and completely cooled 9-inch / 23 cm pastry pie shell in a deep-dish metal plate
Filling
- 1 cup (200 g) granulated sugar
- 1/4 cup (32 g) cornstarch, weighed or level-measured
- 2 tablespoons (about 10 g) unsweetened Dutch-process cocoa powder
- 1/4 teaspoon (about 1.5 g) fine salt
- 3 cups (720 ml) whole milk
- 4 large (about 72 g) egg yolks, without whites
- 6 ounces (170 g) semisweet chocolate bar, 55–60% cacao, finely chopped
- 2 tablespoons (28 g) unsalted butter, cut into small pieces
- 1 teaspoon (5 ml) vanilla extract
Topping
- 1 cup (240 ml) heavy whipping cream, at least 35% fat, cold
- 2 tablespoons (about 15 g) powdered sugar
- 1/2 teaspoon (2.5 ml) vanilla extract
Garnish
- about 2 tablespoons (about 10 g) semisweet chocolate shavings (optional)
Choosing Chocolate and Cocoa
Use a finely chopped semisweet chocolate bar with 55–60% cacao and unsweetened Dutch-process cocoa. Together they give the filling its chocolate flavor without making the whipped topping heavily sweet.
Chop the bar before you start cooking so it can melt quickly into the hot custard off the heat. Keep the garnish separate: the filling needs its full 6 ounces / 170 g of chocolate even if you also shave a little over the finished pie.
Natural unsweetened cocoa can replace the Dutch-process cocoa at the same weight, about 10 g. Expect a lighter color and a sharper cocoa note. Sweetened drinking-chocolate mixes, milk chocolate, and white chocolate do not make the same filling.
Milk, Yolks, and Measured Cornstarch
Whole milk, egg yolks, and the measured cornstarch work together to give this filling its intended body. Use the yolks without the whites, and weigh the cornstarch or level it carefully in the measuring cup.
Keep the milk, starch, and chocolate amounts as written. Low-fat or plant milk, whole eggs, and a different thickener can change the texture enough that the same cooking and chilling cues no longer tell the whole story.
If you would rather serve chocolate by the spoonful, homemade chocolate pudding is a separate dessert to consider. Use its own recipe rather than pouring an unrelated pudding into this shell.
The Ready-Baked Shell and Whipped Topping
The shell must be fully baked before it receives the filling, since the assembled pie does not return to the oven. Choose a deep shell with approximately four cups of usable space, and keep the heavy cream cold until you are ready to whip it.
A dry, golden pastry base is important here; a pale, partly baked shell will not finish baking in the refrigerator. For the topping, choose heavy whipping cream with at least 35% fat. Powdered sugar and a little vanilla lightly sweeten it without competing with the filling.

Kitchen Tools for Smooth Custard and Clean Slices
Set up the cooking, straining, and chilling tools before heating the custard. The most useful pieces are a pan with an even, sturdy base, a whisk that reaches its corners, and a shell large enough to hold the filling without overflowing.
- Prepared-shell support: one 9-inch / 23 cm deep-dish metal pie plate, about 2 inches / 5 cm deep, and its fully baked cooled pastry shell; approximately 4 cups usable filling capacity.
- Custard cooking: 3-quart heavy-bottom saucepan, balloon whisk and heat-resistant flexible spatula.
- Measuring and finishing: digital scale, US measures, knife/chopping board, fine-mesh sieve and heatproof mixing bowl.
- Chilling: refrigerator maintained at or below 40°F / 4°C, clear shelf space, food-safe surface-contact cover suitable for warm food, and covered container for any excess.
- Topping and serving: chilled bowl, hand mixer or whisk, small spatula, thin slicing knife and pie server.
Before You Begin This Chocolate Cream Pie
A few checks now make it easier to stay with the whisk later. Have the shell, finishing ingredients, and refrigerator space ready so the hot custard can move straight into the next stage.
- The shell is fully baked, completely cool, and deep enough for approximately 4 cups of filling.
- All filling ingredients are measured, and the chocolate is finely chopped.
- The saucepan, whisk, and heat-resistant flexible spatula are within reach.
- A fine-mesh sieve is set over a heatproof bowl.
- The surface-contact cover is food-safe and suitable for warm food.
- The refrigerator has clear shelf space, and you have at least 6 hours available for chilling.
What to Expect from This Chocolate Cream Pie
Expect a dense, creamy chocolate custard supported by pastry, with a soft layer of whipped cream on top. It is a custard-style slice rather than an airy mousse pie or a spoonable pudding.
- The warm filling will look thick and glossy, but it has not yet developed its final cold body.
- The chilled filling should hold together while still yielding easily under a fork.
- The topping should look soft and billowy, with gentle swoops rather than firm frosting-like ridges.
How to Make Chocolate Cream Pie
Work from the prepared shell to the cooked filling, then let the refrigerator take over. Add the fresh whipped cream only after the filling is cold, and keep the pie chilled until you are ready to slice it.
1. Check the Shell and Prepare the Filling Ingredients
Start with the fully baked, cooled shell in its 9-inch / 23 cm deep-dish metal plate. Check that it has approximately 4 cups of usable filling space; a shallow disposable shell may be too small.
Finely chop the chocolate. Set out the butter and filling vanilla, place the sieve over a heatproof bowl, and clear a refrigerator shelf. Once cooking begins, you should be able to stay at the stove.
What you should see: The shell is rigid and golden with a dry base, and all finishing ingredients are ready before the custard goes on the heat.

2. Whisk the Cold Custard Base
Off the heat, whisk the 1 cup / 200 g sugar, 1/4 cup / 32 g cornstarch, cocoa, and salt together in a 3-quart heavy-bottom saucepan. Add a small portion of the measured milk and whisk it into a smooth paste.
Gradually whisk in the rest of the 3 cups / 720 ml milk, then the four egg yolks. Making the paste first helps you find dry pockets before they disappear into a full pan of liquid.
What you should see: No dry starch pockets, cocoa lumps or visible yolk streaks remain.

3. Cook to Center Bubbles and Hold for One Minute
Cook over medium heat, whisking continuously and sweeping the base and corners of the pan. Allow about 10–15 minutes for the cooking stage, but watch the custard rather than relying on the clock alone.
When the thickened mixture produces repeated bubbles through the center, cook for one full minute while continuing to whisk. Adjust the burner as needed to maintain controlled bubbling without scorching. Do not start that minute when only thin foam appears around the edge.
What you should see: Broad bubbles break through the thick custard and the whisk leaves clear trails; the hot mixture falls in heavy ribbons.

4. Melt the Chocolate and Strain the Filling
Remove the pan from the heat. Add the 6 ounces / 170 g finely chopped chocolate, 2 tablespoons / 28 g butter, and 1 teaspoon / 5 ml vanilla. Whisk until the chocolate and butter have melted into the custard.

Pass the warm filling through the fine-mesh sieve into the heatproof bowl, using the flexible spatula to help it through. Straining catches small lumps or egg flecks; it does not replace proper cooking or remove a scorched flavor.
What you should see: The filling looks evenly chocolate-brown and glossy, with no unmelted pieces, oily pool or obvious cooked-egg flecks.

5. Fill the Shell and Refrigerate
Pour the warm filling into the cooled shell, stopping below the inner pastry rim. If your shell has less space, put any excess in a separate covered container and refrigerate it rather than overfilling the pie.

Smooth the filling and press food-safe wrap suitable for warm food directly onto its surface. This contact helps keep a skin from forming on top.

Refrigerate promptly, leaving space around the pie for air to circulate. Chill for at least 6 hours, preferably overnight. Do not leave it on the counter until it becomes cold.
What you should see: After chilling, the filling is cold through the center and moves as one soft, cohesive layer rather than flowing like a liquid.
6. Whip the Cream and Finish the Pie
Shortly before serving, beat the cold heavy cream with the powdered sugar and remaining 1/2 teaspoon / 2.5 ml vanilla at medium speed. Stop at medium peaks, while the cream still looks smooth.
Spread the cream over the cold filling, leaving the pastry edge visible. Finish with the optional chocolate shavings if you like.
What you should see: The cream is smooth and holds a mound with a gently bending peak, without a grainy or curdled surface.

7. Slice and Serve Cold
Cut the cold pie into 8 generous slices with a thin knife, wiping the blade between cuts. Slide a pie server beneath each piece so the pastry base has support as you lift it out.
Serve directly from the refrigerator and return the remaining pie promptly to the cold.
What you should see: The filling holds the slice on the plate while remaining creamy under a fork.

How to Tell When Chocolate Cream Pie Is Ready
There are two separate readiness checks for the filling: one at the stove and another after chilling. The first confirms the cooking stage; the second tells you whether the pie is ready for topping and slicing.
| Stage | Ready cue | Not ready or past the target |
|---|---|---|
| Hot custard | Repeated center bubbles, clear whisk trails, and heavy ribbons after the full one-minute hold | Only edge foam or the first noticeable thickening |
| Cold filling | Cold through the center and moving as one soft, cohesive layer | Still warm in the middle or flowing like a liquid |
| Whipped cream | Smooth mound with a gently bending peak | Loose foam, or a grainy, curdled surface |
| Cold slice | Filling stays on the plate with its pastry base and remains creamy under a fork | Filling runs away from the crust |

Expert Tips for a Smoother Chocolate Cream Pie
The small handling details matter most when the custard is hot and the cream is nearly whipped. Keeping each stage moving smoothly helps protect the texture without adding anything to the recipe.
One lesson I learned from making pastry cream is not to stop cooking it the moment it thickens. Letting it reach a true bubble and cooking it for a full minute makes the difference between a filling that holds clean slices and one that loosens after chilling.
Strain while the filling is warm. It passes through the sieve more easily before it cools and thickens further. Work with the flexible spatula rather than letting a full bowl of custard sit while you search for a utensil.
Let the cover touch the surface. A loose tent leaves the top exposed; direct contact helps prevent the thin skin that can pull away when the cover is removed. Use a cover specifically suitable for warm food.
Watch the cream closely near the end. The change from a soft mound to a firmer peak can happen quickly. For a closer look at the texture stages, how to make whipped cream offers a useful companion guide.
Why Chocolate Cream Pie Turns Runny, Lumpy, or Soggy
If a slice looks loose, first consider how the filling was cooked and whether its center is fully cold. Those are different problems: extra chilling can help a warm pie, but it cannot be relied on to correct missed cooking or changed ingredient amounts.
| Mistake | What happens | Why | Prevention or realistic recovery |
|---|---|---|---|
| Stopping at the first thickening | The filling may loosen after chilling. | The chosen cooking endpoint was not completed. | Wait for repeated center bubbles and complete the full minute. There is no dependable rescue promised here for an assembled undercooked pie. |
| Cutting before the center is cold | A soft, warm slice slumps. | The chilled structure has not finished developing. | If the pie has been handled safely, keep it refrigerated and reassess once the center is cold. This does not fix missed cooking or altered ratios. |
| Changing milk, starch, or chocolate amounts | The set differs from the intended filling. | The balance of liquid and structure has changed. | Use the specified quantities. Stirring extra starch into an assembled cold pie is not a reliable fix. |
| Leaving dry pockets or overheating patches of custard | Lumps or cooked-egg flecks appear. | Ingredients were not fully dispersed, or part of the pan overheated. | Mix thoroughly while cold, whisk the base and corners, and strain while warm. Straining cannot remove a burnt taste. |
| Filling a partly baked shell | The base stays soft or doughy. | The assembled pie does not receive an oven bake. | Begin with a fully baked shell. Refrigeration cannot finish baking pastry. |
| Whipping the cream too far | The topping becomes grainy or curdled. | It has passed the smooth medium-peak stage. | Watch the final moments and stop with a gently bending peak. Do not keep beating once the surface turns grainy. |
Beautiful Ways to Serve Chocolate Cream Pie
Let the contrast between the dark filling, pale cream, and golden pastry do most of the decorating. A simple finish makes the pie look generous while keeping the chocolate at the center of attention.
Show the Whole Pie at the Table
Bring the whole pie to the table briefly so the visible pastry rim and soft cream surface can be appreciated before cutting. Low, loose swoops of cream give it a relaxed finish.
Keep the edge of the crust uncovered rather than spreading cream to the outside of the plate. It makes the round shape easy to read and leaves a little golden border around the topping.

Let the Layers Lead on the Plate
Place a cold slice on a plain plate with its cut face turned toward the diner. The pastry base, dark custard, and white topping make a clear layered presentation without extra sauce.
A close view of the cut side also shows the filling at its most inviting: soft enough for a fork, with enough body to stay together on the plate.
Choose a Plain or Chocolate-Shaved Finish
Leave the whipped cream plain for a clean, pale finish, or scatter the optional chocolate shavings lightly over it. Both choices use the same pie and topping.
A restrained scattering keeps some of the white cream visible. Save the contrast for the surface instead of covering it with a thick blanket of chocolate.
Storing Chocolate Cream Pie and Planning Ahead
Keep this pie refrigerated both while it sets and after serving. The custard and fresh cream need cold storage, while the pastry and topping are at their best before they have spent too long assembled.
Refrigeration and Best Texture
Store the covered pie at or below 40°F / 4°C for up to 3 days from the day you make the filling. For the best texture, aim to enjoy it within the first 1–2 days.
The pastry gradually softens, and unstabilized whipped cream can lose some definition. FoodSafety.gov’s custard-pie storage guidance gives a 3–4 day refrigerated window; this recipe uses the shorter, three-day limit.
Keeping the Pie Cold During Serving
Keep cumulative time out of refrigeration within 2 hours, or within 1 hour when the temperature is above 90°F / 32°C. Count time spent setting out, serving, and clearing the pie together.
Return leftovers promptly to the refrigerator. These limits follow FDA guidance for refrigerating perishable food; the pie does not need to become cold on the counter before it goes into the refrigerator.
A Day-Before Plan for Chocolate Cream Pie
For next-day serving, begin the day before with the shell already baked and cool. This leaves an overnight window for the filling to chill and keeps the fresh whipped topping close to dessert time.
| When | What to prepare | Readiness and holding condition |
|---|---|---|
| The day before | Cook the filling, fill the prepared shell, and cover its surface. | Refrigerate promptly with space around the pie. Shell baking and cooling happen before this schedule. |
| Overnight | Leave the filled pie refrigerated. | Allow at least 6 hours; the center must be cold and cohesive before topping. |
| Near serving | Whip the cold cream, finish the pie, and cut the portions. | Keep the pie cold; return the remainder promptly to the refrigerator. |
| After service | Cover the leftovers and refrigerate. | Use within 3 days of making the filling, with the first 1–2 days preferred for texture. |
Freezing and Reheating This Custard Pie
Freezing the assembled custard pie is not recommended because the filling, pastry, and fresh cream may lose their pleasant texture after thawing. Plan on refrigeration for this version.
This is a quality limitation, not a claim that freezing itself makes food unsafe. There is no reheating step: serve the pie cold so the filling and topping keep their intended texture.
Chocolate Cream Pie Questions, Answered
If you are working ahead or deciding whether to use the sieve, the key limits are simple: keep the filled pie cold, finish the cream near serving, and strain for smoothness after the cooking is complete.
How far ahead can I make it?
Make the filled pie one day before serving and refrigerate it overnight. Add the whipped cream near serving for the freshest shape and texture. The three-day storage window starts when you make the filling, so adding the topping the next day does not restart that clock.
Why strain the chocolate filling?
A fine-mesh sieve catches small lumps and cooked-egg flecks that would interrupt the smooth custard. Strain while the mixture is still warm, after the chocolate and butter have melted. The sieve cannot make up for incomplete cooking or remove a scorched flavor.
More Creamy Pies and Chocolate Desserts to Try
Chocolate custard is one way to end a meal with something creamy. A different filling, temperature, or serving shape can give your next dessert a character of its own.
Keep the Cream-Pie Mood
Stay with a cream-topped pie when you want the same generous table presentation with a different filling. Banana, coconut, peanut butter, and caramel each take it in a distinct direction.
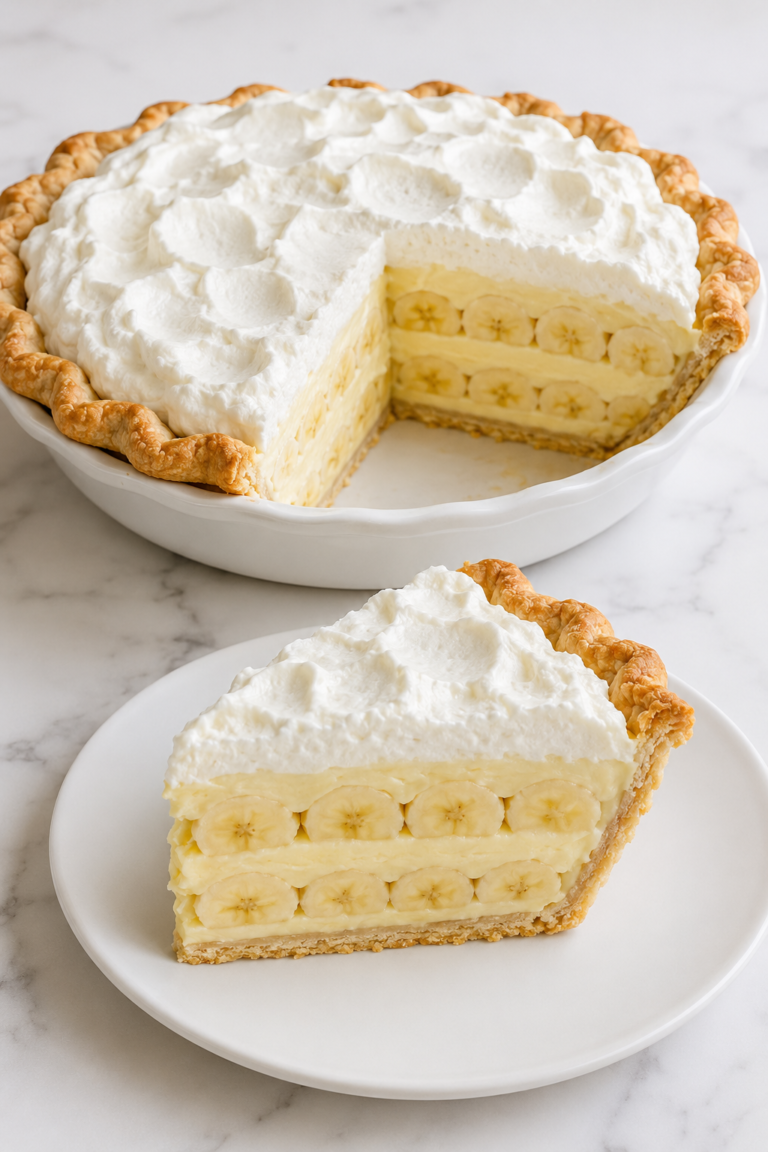
- Banana Cream Pie Recipe: Vanilla custard and banana bring a fruit-centered flavor to the cream-pie format.
- Coconut Cream Pie: Choose coconut when you want a different flavor through a creamy pie filling.
- Peanut Butter Pie: A peanut butter filling offers a nutty direction for the next pie.
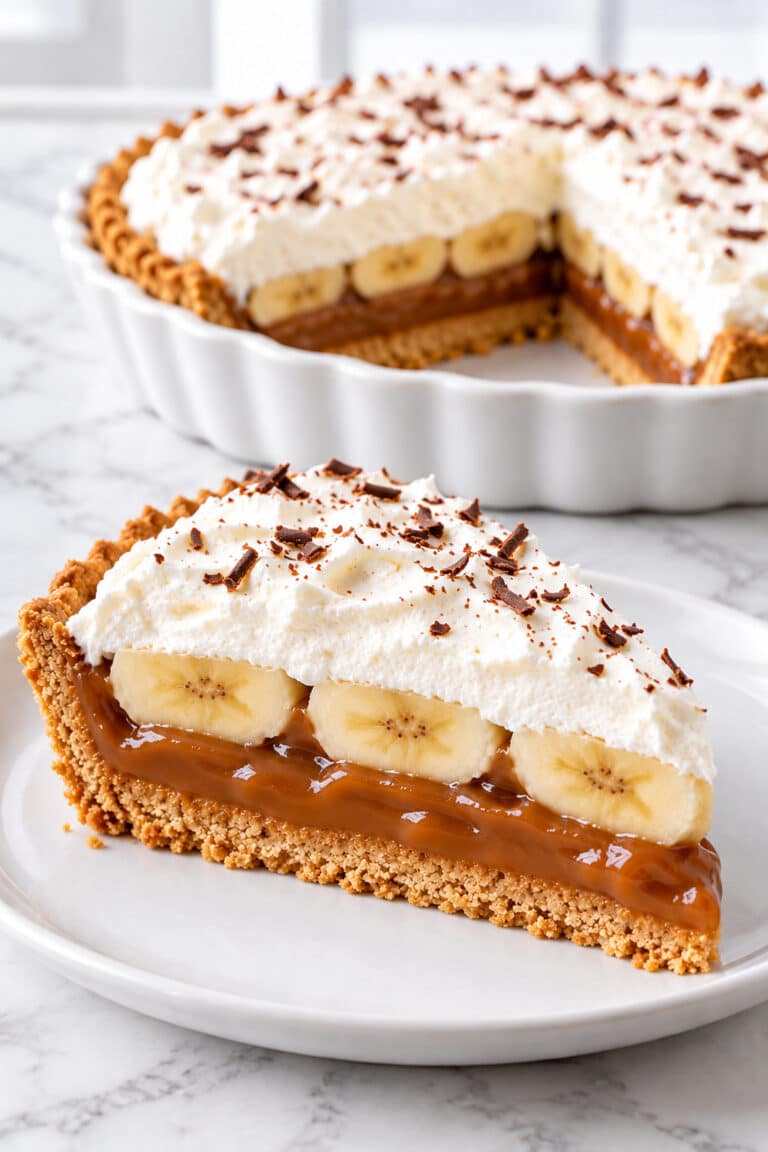
- Banoffee Pie: Banana, caramel, and cream create a different layered finish.
Explore Another Chocolate Texture
Choose another chocolate dessert by the texture you want next: soft enough for a spoon, airy, warm in the center, or dense and baked.
- Chocolate Pudding Recipe: A spoonable chocolate dessert for the evening you do not want pastry.
- Chocolate Mousse: An aerated chocolate dessert when a lighter texture sounds appealing.
- Chocolate Lava Cake Recipe: A warm molten center gives you a contrast to a chilled custard slice.
- Flourless Chocolate Cake: A dense baked cake offers chocolate in another form.
Plan Another Make-Ahead Dessert
For another occasion with preparation before dessert time, consider a chilled dessert with a different serving format. These choices range from individual portions to a shared layered dish.
- Panna Cotta: Individual chilled portions give the dessert table a different shape.
- No Bake Cheesecake: A chilled cream-cheese filling shifts the flavor and texture away from custard.
- Key Lime Pie: A citrus-centered pie brings a brighter flavor to another meal.
- Tiramisu Recipe: Coffee and cream layers offer a shared dessert with a different character.
Why This Chocolate Cream Pie Belongs in Your Recipe Box
Keep a place for this pie among the chocolate desserts you return to for a familiar table. Its custard, soft cream topping, and simple pastry frame give you several reasons to bring it out again.
- A Custard Reference. Return to the same hot-cook and cold-set checkpoints when refreshing your custard technique.
- A Chocolate Classic. Keep a pastry-based chocolate dessert alongside lighter or fruit-centered recipes.
- A Planning Reference. Use the day-before sequence as a reminder to give chilled desserts their own time.
- A Presentation Standard. Revisit the simple dark-filling and pale-cream finish when you want an uncluttered dessert.
- A Texture Benchmark. Use the described creamy slice as a clear goal when comparing other custard desserts.
- A Familiar Occasion. Return to a recognizable pie format that can feel at home on an everyday or celebratory table.
Final Thoughts on Homemade Chocolate Cream Pie
A chocolate cream pie has a particular kind of generosity: a dark, smooth filling, a pale sweep of cream, and pastry that gives each forkful a little contrast. Its appeal comes from letting those familiar parts taste like themselves.
It is a lovely pie to return to when the dessert table calls for something comforting and unmistakably chocolate. The simple finish feels just as at home after supper as it does at a small celebration.
There is pleasure in giving a custard your attention and a chilled dessert its time. By the time the pie reaches the table, the reward is something quiet and tangible: a creamy slice to share.
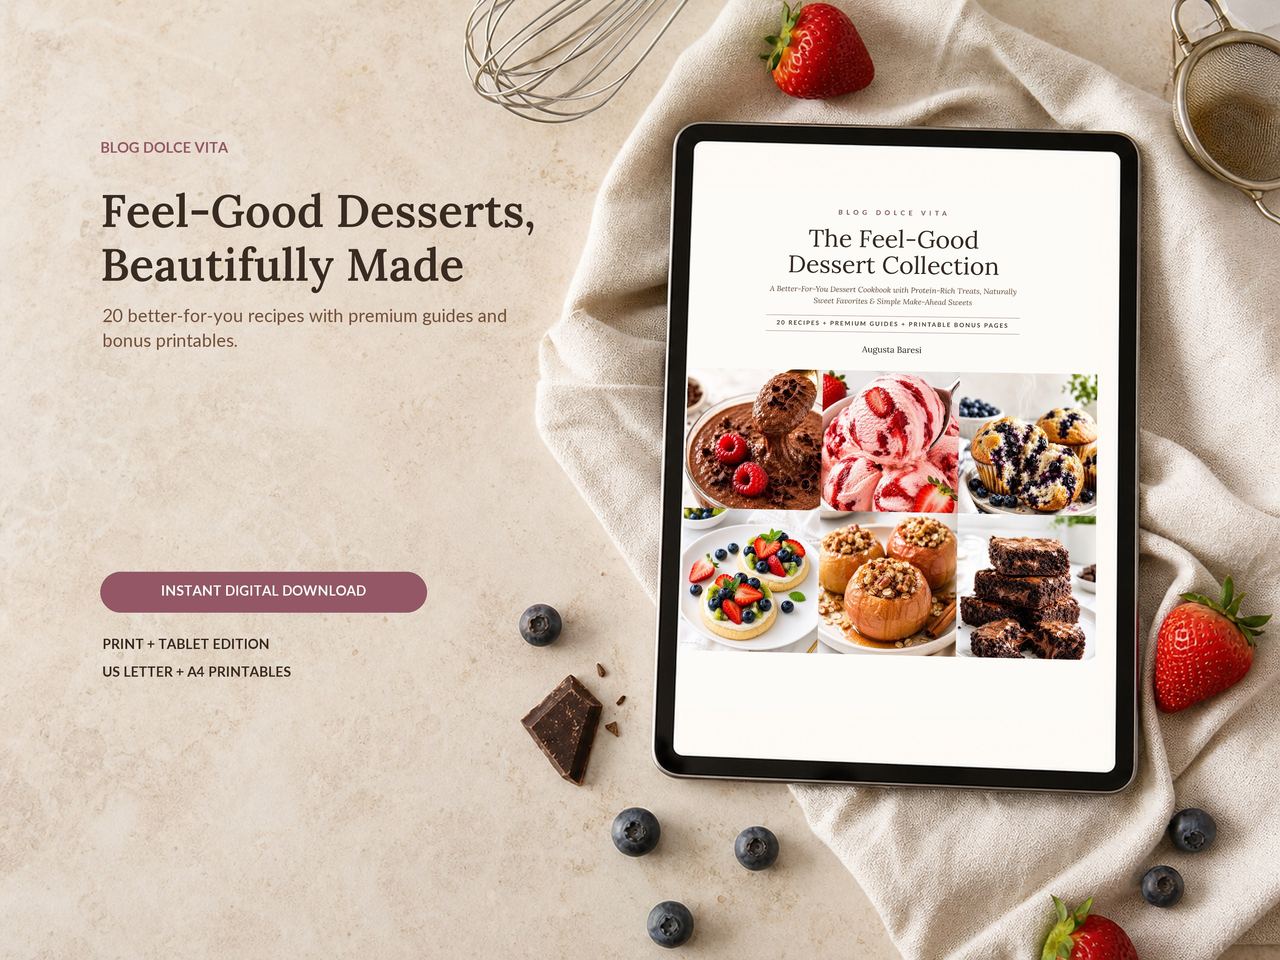
Love this? There are twenty more like it.
128 pages, five chapters, 15 kitchen guides and 16 printable planning pages — in US Letter and A4.

Chocolate Cream Pie
Silky chocolate custard fills a golden pastry shell beneath soft vanilla whipped cream. This homemade chocolate cream pie pairs rich cocoa flavor with a cool, creamy finish and a simple day-before preparation plan.
Ingredients
For the Crust
- 1 fully baked and completely cooled 9-inch / 23 cm pastry pie shell in a deep-dish metal plate
For the Chocolate Filling
- 1 cup (200 g) granulated sugar
- 1/4 cup (32 g) cornstarch, weighed or level-measured
- 2 tablespoons (about 10 g) unsweetened Dutch-process cocoa powder
- 1/4 teaspoon (about 1.5 g) fine salt
- 3 cups (720 ml) whole milk
- 4 large (about 72 g) egg yolks, without whites
- 6 ounces (170 g) semisweet chocolate bar, 55–60% cacao, finely chopped
- 2 tablespoons (28 g) unsalted butter, cut into small pieces
- 1 teaspoon (5 ml) vanilla extract
For the Topping
- 1 cup (240 ml) heavy whipping cream, at least 35% fat, cold
- 2 tablespoons (about 15 g) powdered sugar
- 1/2 teaspoon (2.5 ml) vanilla extract
For the Garnish
- about 2 tablespoons (about 10 g) semisweet chocolate shavings (optional)
Instructions
- Check the Shell and Prepare the Filling Ingredients. Start with one fully baked, cooled pastry shell in a 9-inch deep-dish metal plate. Use a shell with room for approximately 4 cups of filling; do not substitute a shallow disposable shell without checking capacity. Finely chop the chocolate and set out the butter, vanilla, sieve and heatproof bowl. Clear refrigerator space. What you should see: The shell is rigid and golden with a dry base, and all finishing ingredients are ready before the custard goes on the heat.
- Whisk the Cold Custard Base. Off the heat, whisk the 200 g sugar, 32 g cornstarch, cocoa and salt in a 3-quart heavy-bottom saucepan. Whisk in a small portion of the measured milk to make a smooth paste, then gradually add the rest of the 720 ml. Whisk in the four yolks until uniform. What you should see: No dry starch pockets, cocoa lumps or visible yolk streaks remain.
- Cook to Center Bubbles and Hold for One Minute. Cook over medium heat, whisking continuously and sweeping the base and corners. Once the thickened custard produces repeated bubbles through the center, cook for one full minute while continuing to whisk. Adjust the burner to sustain controlled bubbling without scorching. Do not start the minute at the first thin foam around the edge. What you should see: Broad bubbles break through the thick custard and the whisk leaves clear trails; the hot mixture falls in heavy ribbons.
- Melt the Chocolate and Strain the Filling. Remove the pan from the heat. Add the 170 g chopped chocolate, 28 g butter and 5 ml vanilla. Whisk until melted, then pass the warm filling through a fine-mesh sieve into a heatproof bowl. What you should see: The filling looks evenly chocolate-brown and glossy, with no unmelted pieces, oily pool or obvious cooked-egg flecks.
- Fill the Shell and Refrigerate. Pour the warm filling into the cooled shell, stopping below the inner pastry rim. If the shell is smaller, refrigerate excess separately rather than overfilling. Smooth the surface and press food-safe wrap suitable for warm food directly onto it. Refrigerate promptly, with space for air to circulate, for at least 6 hours; an overnight chill is the preferred planning choice. Do not wait for the pie to become cold on the counter. What you should see: After chilling, the filling is cold through the center and moves as one soft, cohesive layer rather than flowing like a liquid.
- Whip the Cream and Finish the Pie. Beat the cold cream with powdered sugar and 2.5 ml vanilla at medium speed until medium peaks form. Spread over the cold filling, leaving the pastry edge visible. Add the optional chocolate shavings. What you should see: The cream is smooth and holds a mound with a gently bending peak, without a grainy or curdled surface.
- Slice and Serve Cold. Cut into 8 generous portions with a thin knife, wiping it between cuts. Support each slice with a pie server and return the remainder promptly to the refrigerator. What you should see: The filling holds the slice on the plate while remaining creamy under a fork.
Notes
- Start with a fully baked, completely cooled pastry shell. The listed time does not include making, baking, or cooling the shell.
- Use a deep-dish 9-inch / 23 cm metal plate with approximately 4 cups of usable filling space. Do not overfill; refrigerate any extra filling separately.
- Use 55–60% semisweet chocolate and whole milk. Natural unsweetened cocoa may replace the Dutch-process cocoa at the same weight; the color and flavor will be lighter and sharper.
- Chill the filled pie for at least 6 hours; overnight is preferred. Add the fresh whipped cream near serving.
- Refrigerate covered at or below 40°F / 4°C for up to 3 days from filling preparation. The first 1–2 days offer the best texture.
- Keep cumulative room-temperature time within 2 hours, or 1 hour above 90°F / 32°C. Return leftovers promptly to the refrigerator.
- Freezing the assembled pie is not recommended for texture. Serve cold; no reheating is needed.
- Nutrition is an estimate per 1/8 of the full recipe, including the whipped cream and excluding optional chocolate shavings. The calculation uses one baked Pillsbury Deep Dish shell, prepared from one 6-ounce / 170 g packaged crust, and a 55% chocolate bar; values vary with your ingredients.
Nutrition Information:
Yield: 8 Serving Size: 1 sliceAmount Per Serving: Calories: 537Total Fat: 32gSaturated Fat: 18gSodium: 218mgCarbohydrates: 60gFiber: 2gSugar: 43gProtein: 8g
Nutrition information is provided as an estimate only and may vary based on specific ingredients, brands, and portion sizes used. This information should not be considered medical or nutritional advice.
12 Sweet Favorites — Yours, Free 🍰
Tiramisù, no-bake cheesecake, the perfect chocolate chip cookie & 9 more reader-loved desserts — gathered into one beautiful free recipe book. From my kitchen to yours.
No spam, just sweet things. Unsubscribe anytime.