Pumpkin Sugar Cookies
🎁 FREE E-BOOK: 12 Sweet Favorites — reader-loved desserts in one beautiful recipe book.
Pumpkin sugar cookies bring together a tender pumpkin center, warm vanilla and a fine sparkle of granulated sugar. The edges turn lightly golden while the middle stays soft, with cinnamon, nutmeg and ginger adding just enough spice to make the kitchen smell like fall.

A small plate of these cookies fits the quieter side of autumn baking: a cup of coffee, an afternoon at home, a few treats set aside for someone else. Their familiar round shape and simple sugar finish make them easy to enjoy without turning the day into a decorating project.
Keep this recipe for the days when you want that soft center and a clear sense of when to stop baking. From the first scoop of chilled dough to the crumb of a cooled cookie, there are visible signs to guide you along the way.
Pumpkin Sugar Cookies at a Glance
This batch makes 24 cookies and takes about 3 hours 20 minutes from mixing to a fully cooled final tray. Most of that time is chilling, so leave room in your schedule even though the hands-on work is fairly short.
| Detail | What to plan for |
|---|---|
| Yield | 24 cookies; 1 cookie per serving |
| Active preparation | About 25 minutes, including shaping and coating |
| Chilling | At least 2 hours, then check that the dough can be rolled |
| Baking | 12–15 minutes per tray; 24–30 minutes for two trays baked one at a time |
| Cooling | 10 minutes on each pan, then about 20 minutes on a rack |
| Total time | About 3 hours 20 minutes, including final cooling |
| Oven and pans | 350°F (175°C), conventional oven, center rack; two light-colored 18 × 13-inch half-sheet pans |
| Finish | A thin coating of plain granulated sugar |
| Make ahead | Covered dough may be refrigerated for up to 24 hours at 40°F (4°C) or below |
Why This Pumpkin Sugar Cookie Recipe Works
The tenderness comes from pumpkin and two kinds of fat, while the egg and flour give the cookies enough structure to hold together. A measured spice blend and a light sugar coating keep the result recognizably a pumpkin sugar cookie.
- Pumpkin with gentle spice. Cinnamon leads the spice blend, with smaller amounts of nutmeg and ginger supporting the pumpkin and vanilla.
- A soft center that holds together. Flour and a whole egg provide structure around the moisture from the pumpkin, and the cookies become more cohesive as they cool.
- A shape suited to soft dough. Chilling makes portioning easier, and gentle flattening gives each round a more even thickness for baking.
- Sugar on the surface. A separate bowl of granulated sugar gives the outside a fine crystalline finish without adding a layer over the pumpkin flavor.
Why You’ll Love Making These Pumpkin Sugar Cookies
These cookies suit a baker who wants a gently spiced treat with a simple finish and has time to let the dough chill. You can spread the work across a day or mix the dough the evening before.
- A Familiar Fall Flavor. Pumpkin and vanilla soften the warmth of cinnamon, nutmeg and ginger.
- A Simple Finish. Rolling in sugar takes the place of mixing, spreading or piping icing.
- Twenty-Four Portions. There is enough for a cookie plate and a few small boxes to share.
- A Day-Ahead Option. The covered dough can wait in the refrigerator for up to 24 hours.
- A Planned Baking Window. The two-hour chill leaves a break between mixing and shaping, as long as you allow time for both trays afterward.
The Science Behind a Soft Pumpkin Sugar Cookie
Three things explain much of this dough’s behavior: the moisture in pumpkin, the way butter responds to chilling and the different jobs of the two leaveners. Understanding them makes the soft dough less surprising to handle.
Pumpkin Moisture and a Tender Center
Pumpkin puree and egg bring moisture into the dough, while flour and egg help build structure during baking. The hot cookies are still delicate; their centers become more cohesive as they cool. Keep the specified pumpkin amount and preparation, and reserve your final texture judgment for a cooled cookie.
Why Chilling Firms This Mixed-Fat Dough
Butter firms as it gets colder, while the neutral oil stays fluid. Chilling therefore makes the dough easier to scoop and roll, but it may never feel completely hard. Look for a portion that holds its mound and tolerates brief handling rather than waiting for a stiff, dry dough.

Baking Powder, Soda, and a Gentle Lift
Double-acting baking powder contains its own acid and base, while baking soda needs an acid to react with. They are not interchangeable spoon for spoon. Use both in the amounts listed to preserve the balance of lift and browning, rather than replacing the powder with extra soda.
Ingredients for Pumpkin Sugar Cookies
Both softened butter and liquid oil go into this dough, along with plain canned pumpkin. Measure the dough sugar and rolling sugar separately so the full cup for mixing stays in the cookies.
Ingredient List
Have the butter softened but still cool before you start, and stir the pumpkin puree before measuring it. The smaller portion of sugar is reserved for coating the shaped dough.
Dough
- 2 1/4 cups all-purpose flour (270 g), spooned and leveled
- 1 teaspoon double-acting baking powder (4 g)
- 1/4 teaspoon baking soda (about 1.5 g)
- 1/2 teaspoon fine salt (3 g)
- 1 teaspoon ground cinnamon
- 1/2 teaspoon ground nutmeg
- 1/4 teaspoon ground ginger
- 1/2 cup unsalted butter (113 g), softened but still cool
- 1 cup granulated sugar (200 g), for the dough
- 1/2 cup neutral vegetable oil (120 ml)
- 1/2 cup canned 100% pumpkin puree (113 g), stirred and unblotted
- 1 large egg (about 50 g without shell), not refrigerator-cold
- 1 teaspoon vanilla extract (5 ml)
For Rolling
- 1/4 cup granulated sugar (50 g), for rolling

Choosing Pumpkin, Butter, and Oil
Choose canned 100% pumpkin puree, not sweetened pumpkin pie filling. Stir it, measure 1/2 cup (113 g) and use it without blotting. Butter should yield to gentle pressure while still feeling cool, with no melted edges or oily patches.
Use a neutral liquid vegetable oil, such as canola, and measure it by volume: 1/2 cup (120 ml). Avoid adding a refrigerator-cold egg directly to the softened butter mixture, which can make smooth mixing more difficult.
Flour, Sugar, and Substitution Limits
Weigh the flour if possible, or spoon it into the cup and level the top without packing. Keep granulated white sugar in the dough; brown sugar brings molasses flavor, darker color and different moisture behavior.
Another neutral liquid vegetable oil can replace the canola in the same 120 ml amount, although flavor and nutrition may differ. Watery homemade puree, gluten-free flour, egg substitutes and reduced sugar call for more than a simple swap, so use a recipe written for those ingredients. Adding extra flour is not a reliable way to correct a wetter puree.

Kitchen Tools for Mixing and Shaping Pumpkin Cookies
A scale helps keep the 24 portions even, and two suitable pans let the second tray stay cold while the first bakes. Set out the mixing and shaping tools before the dough comes out of the refrigerator.
- Measuring tools. A digital kitchen scale, US cups and level measuring spoons.
- Mixing tools. Medium and large bowls, an electric hand mixer or stand mixer with paddle, a whisk and a flexible spatula.
- Baking pans. Two light-colored 18 × 13-inch half-sheet pans lined with parchment, each planned for 12 cookies.
- Portioning and coating tools. A scoop or two spoons, a shallow sugar bowl and a flat-bottomed glass.
- Oven, chilling space, and cooling racks. A conventional oven with a center rack, refrigerator space for covered dough and the waiting tray, wire cooling racks, airtight containers and freezer-safe packaging.
Before You Mix the Pumpkin Cookie Dough
Check the butter, pumpkin and refrigerator space before mixing. Once the dough is made, it needs a covered place to chill, and the waiting tray will need cold space too.
- The butter is pliable but still cool, with no melted or oily patches.
- The pumpkin is plain canned puree, stirred and measured without blotting.
- The refrigerator has space for the covered dough and a waiting prepared tray.
- Two cool light-colored half-sheet pans, parchment and rack space are available.
- The baking window allows at least two hours of chilling plus two oven cycles and final cooling.
Keep the raw dough for baking rather than tasting: both flour and raw eggs can carry harmful germs. The FDA guidance on raw flour and dough explains why uncooked cookie dough should stay off the tasting spoon.
Plan the Chill, Two Trays, and Cooling Time
Allow about 3 hours 20 minutes for the whole batch, starting with the ingredients in the states listed above. Mixing and shaping together take about 25 minutes; they happen on opposite sides of the chill.
| When | Work to do | What needs to be ready |
|---|---|---|
| Start | Mix the dough, then cover it. | The mixed dough is soft and cohesive. |
| Next: at least 2 hours | Refrigerate the dough; preheat the oven near the end. | A chilled scoop holds its mound and can be rolled. |
| After chilling | Divide, coat and flatten all 24 portions. | The pans are cool; the waiting second tray stays refrigerated. |
| First 12–15-minute oven cycle | Bake the first tray, then start its pan rest. | Judge the edges and center before removing it. |
| Second 12–15-minute oven cycle | Bake the second tray while the first cools. | Move the first cookies to the rack after their 10-minute rest. |
| About 30 minutes after the last tray exits | Finish the final pan rest and rack cooling. | All cookies are fully cool before packing. |
Extra chilling or an additional oven batch extends the schedule. The first tray’s cooling overlaps the second bake, so it does not add another half hour to the total.
What to Expect from This Soft Pumpkin Cookie Dough
Expect a soft pumpkin drop-cookie dough that bakes into gently flattened rounds with a tender center. These cookies have a light sugar coating; dough designed to hold sharp cookie-cutter outlines is a different style.
- Before chilling, the dough should be soft and cohesive; afterward, it becomes manageable rather than rock-hard.
- The rounds have softly shaped edges and a fine layer of visible sugar crystals.
- A lightly golden perimeter and a tender, slightly cakey center suit this dough.
- Warm cookies feel delicate, then become easier to lift and handle as they cool.

For a brown-sugar dough with a cinnamon-sugar finish, try Pumpkin Spice Cookies. That gives you a different pumpkin-cookie flavor without changing the ingredients here.
How to Make Pumpkin Sugar Cookies
Mix the dough gently, give it a full chill, then divide it evenly before coating and flattening. Bake one tray at a time and let each tray finish its pan rest before moving the cookies.
1. Whisk the Dry Ingredients
In a medium bowl, whisk together the flour, baking powder, baking soda, salt, cinnamon, nutmeg and ginger. Distributing the small amounts now helps prevent a concentrated pocket of spice or leavener in the dough.
What you should see: An even dry mixture with no visible pockets of spice or leavener; stop once everything is distributed.
2. Combine the Butter, Sugar, and Oil
In a large bowl, beat the softened butter and 1 cup (200 g) dough sugar on medium speed for about 1 minute. Scrape the bowl, then slowly add the 1/2 cup (120 ml) oil and mix just until it is evenly incorporated.
Keep the mixing restrained rather than whipping the mixture into a large, airy volume.
What you should see: A creamy, slightly grainy mixture without separate pools of oil; stop once the oil is blended in.

3. Mix in Pumpkin, Egg, and Vanilla
Add the stirred, unblotted pumpkin puree, egg and vanilla. Mix on low to medium speed, scraping the bottom and sides of the bowl as needed so no butter remains hidden underneath.
What you should see: Even pumpkin color, with no large butter pieces or oil pools; a little fine graininess is normal and does not need extra flour.

4. Fold in the Flour Mixture
Add the flour mixture on low speed. As the flour streaks disappear, switch to a spatula and fold just enough to bring the dough together, checking the bottom of the bowl for dry patches.
What you should see: A soft, cohesive dough with no dry streaks. It should not pour like batter; stop mixing when the flour is fully incorporated.

5. Chill Until the Dough Holds Its Shape
Cover the bowl and refrigerate the dough for at least 2 hours. Near the end of the chill, preheat a conventional oven to 350°F (175°C) with a rack in the center, and line two cool, light-colored 18 × 13-inch pans with parchment.
What you should see: A scoop holds a mound and can be rolled with brief, gentle handling. If it smears, chill for another 15–20 minutes and check again.
If the dough remains oily or pourable after chilling, check the ingredient amounts, especially the oil, flour and pumpkin. Continued chilling alone will not correct a measuring error.

6. Portion, Coat, and Flatten the Cookies
Scrape out all the dough and divide it into 24 equal portions, roughly 36 g each before coating. Divide the actual batch evenly rather than making extra small cookies from any remainder.
Put the separate 1/4 cup (50 g) sugar in a shallow bowl. Gently roll each portion into a ball, coat it lightly with sugar and set it on a prepared pan.

Flatten each portion with the bottom of a glass to about 1/2 inch thick. A diameter of about 2–2 1/4 inches is a guide; even portions and thickness matter more than forcing an exact diameter.
Plan 12 cookies per pan in four rows of three, leaving roughly 2 inches between the unbaked disks where the pan allows. If the portions cannot fit with adequate gaps, bake an extra batch. Keep the second prepared tray refrigerated, and never place raw dough on a hot pan. Discard rolling sugar left after contact with raw dough.
What you should see: Similar, gently flattened disks with a thin sugar coating and space to spread, rather than thick domes or tightly packed rows.

7. Bake One Tray at a Time
Bake the first tray on the center rack for 12–15 minutes, checking at 12 minutes. If the center still has wet-looking patches, continue in 1-minute intervals and check again. Bake the second tray separately, judging its own appearance; colder dough may need a little more time.
What you should see: Set edges, a mostly matte surface and a soft but set center, with only light golden color around the perimeter. Remove the tray once the center no longer has liquid-looking patches; do not wait for deep browning.

8. Cool on the Pan, Then the Rack
Leave each tray undisturbed for 10 minutes, then carefully move the cookies to a wire rack for about 20 minutes more. Let them cool completely before packing so steam does not dampen the sugar finish.
What you should see: After the pan rest, the cookies lift intact; once fully cool, the center is tender and cohesive, without shiny paste or a wet flour layer.

For a double batch, repeat the base batch and allow additional oven cycles. Smaller pans can also require more batches, so allow extra time rather than crowding the dough.
How to Tell When Pumpkin Sugar Cookies Are Done
A finished hot cookie still feels soft, but its edges hold their shape and its center has lost its wet shine. Equal portions help you read that change across the tray; judge the cold second tray on its own rather than copying the first tray’s time automatically.
| Checkpoint | Look for | What it tells you |
|---|---|---|
| At the oven | Set edges, a mostly matte center and a lightly golden perimeter | A wet-looking central patch needs more baking; softness alone is not the same as raw dough. |
| After the 10-minute pan rest | A cookie that can be lifted intact | The delicate hot structure has had time to firm enough for transfer. |
| Once fully cool | A tender, cohesive crumb with no shiny paste or wet flour | This is the time to judge the finished texture; cooling does not turn raw paste into a baked center. |

I used to give soft cookies another minute or two in the oven because the centers seemed too delicate. What I learned was to let them finish setting on the baking sheet before judging the texture. Now I look for set edges and a center that has lost its wet shine, then give the cookies time to cool.
Expert Tips for Even Pumpkin Sugar Cookies
Two quick checks can catch uneven portions before they reach the oven: compare the last pieces with the first, then look at the flattened dough from the side. Both help you notice differences that a tidy tray can hide.
Rebalance the Last Portions. Small differences in each scoop can leave the final pieces noticeably undersized. If that happens, redistribute a little dough among the uncoated portions before finishing the tray, so all 24 cookies start at a similar size instead of leaving a few thin extras.
Check the Side Profile. A neat circle viewed from above can still have a thick dome in the middle. Look across the pan at dough level and gently flatten any thicker centers to the same approximate half-inch depth, helping the centers bake more evenly with the edges.
Pumpkin Sugar Cookie Mistakes and How to Avoid Them
Spreading, dry centers and damp sugar can come from different stages, so match the symptom to what happened before changing anything. Some adjustments help the next tray; they cannot restore a shape or moisture already lost in baking.
| Mistake | What Happens | Why It Happens | How to Prevent or Fix It |
|---|---|---|---|
| Working warm dough or using a hot pan | Cookies spread too far or merge. | Warm fat and insufficient space allow the portions to spread into one another. | Keep waiting dough cold and load cool pans with adequate gaps. Correct later portions; merged cookies will not regain their original shape. |
| Adding flour because the dough feels soft | Cookies become dry, tall or overly fluffy. | Extra flour changes the balance of the dough. | Use the specified flour amount and the chill cue. Softness alone is not a reason to add more flour. |
| Whipping until very airy or leaving thick domes | Cookies puff more or bake unevenly. | Extra air or a deep center changes how the dough heats and sets. | Keep mixing restrained and flatten consistently. Improve the remaining portions rather than expecting dry baked cookies to recover. |
| Waiting for a firm hot center or dark edges | The cooled cookies are drier than intended. | The hot texture is being judged as though it were already cool. | Use the set-edge and matte-center cues. A storage trick cannot replace moisture lost through overbaking. |
| Mis-measuring oil or leaveners | The texture may be greasy or the flavor alkaline. | The fat or leavener amounts no longer balance the other ingredients. | Check ingredient identity and measurements before another batch; persistent oiliness needs more than extra chilling. |
| Packing while warm | The sugar coating becomes damp. | Trapped steam moistens the surface. | Cool completely before packing. Some softening during storage is normal even with careful cooling. |
Beautiful Ways to Serve Pumpkin Sugar Cookies
Fully cooled cookies are easiest to arrange because their centers have had time to set. Keep the presentation simple enough to show their lightly sugared tops, whether you are filling a plate or setting aside a few to share.
A Simple White-Platter Stack
Arrange the cookies loosely on a white platter, or make low stacks with the sugared tops facing up. A little space between the stacks makes the fine crystals and softly rounded edges easy to see.

A Fall Dessert Table
Add a creamy contrast beside the cookie plate with Pumpkin Cheesecake Bars. Serve the bars in a separate dish and follow their own chilled-storage instructions; the two desserts do not share the same storage needs.
Small Boxes for Sharing
Set a few fully cooled cookies in a shallow box with parchment between layers. Leave enough room that the lid does not press on the tops, and keep stacks low to protect the tender centers.

Coffee and Tea Pairings
Plain coffee or warm tea gives the sweet sugar finish a less sweet companion. Serve the drink alongside the cookies so the pumpkin and vanilla remain the focus of each bite.

Storing Pumpkin Sugar Cookies and Making the Dough Ahead
Store raw dough in the refrigerator, but pack the baked cookies only after they are completely cool. Airtight containers help keep the centers soft, while freezer packaging is useful for a longer pause between baking and serving.
Keeping Baked Cookies Soft
Keep fully cooled, unfrosted cookies in an airtight container with parchment between layers, and enjoy them within 3 days for best quality in a cool room. Freeze extra cookies sooner if your kitchen is hot or humid. The sugar coating may soften as moisture moves through the cookies.

Making the Dough a Day Ahead
Cover the dough and refrigerate it at 40°F (4°C) or below for up to 24 hours. Portion it while it is pliable enough to shape, keep unused dough cold and use the same appearance cues when baking.

Freezing and Thawing Baked Cookies
Pack fully cooled cookies in airtight freezer-safe packaging and freeze at 0°F (-18°C) or below for up to 2 months for best quality. Thaw them covered at room temperature, then uncover briefly if surface condensation appears.
Choose packaging that keeps out air and moisture, following the guidance on freezing and thawing baked goods from the National Center for Home Food Preservation. After thawing, the sugar may be less crisp, and the cookies can be served without reheating.
Pumpkin Sugar Cookie Questions, Answered
Shape and storage depend on which pumpkin cookie you are making. These answers apply to the unfrosted, sugar-coated cookies here and keep the baked cookies separate from the raw dough.
Can I use cookie cutters for these pumpkin sugar cookies?
Use this dough for scooped and flattened rounds. For sharp cookie-cutter shapes, choose a recipe specifically made for rolling and cutting; extra flour would change the texture of these cookies.
Do pumpkin sugar cookies need refrigeration?
For these unfrosted baked cookies, use an airtight container in a cool room and enjoy them within 3 days for best quality. Unbaked dough belongs in the refrigerator at 40°F (4°C) or below for up to 24 hours. Freeze baked extras sooner in hot or humid conditions.
Continue Your Pumpkin Baking Journey
Pumpkin works in much more than a sugared cookie. If you have another baking day in mind, choose a cookie with a different texture, a breakfast bake or a cake to slice and share.
More Pumpkin Cookies to Share
Stay with cookies when you want another small, shareable bake, but let chocolate, oats or a different coating change the next batch.
- Bake Pumpkin Cookies for another pumpkin-cookie option to add to your baking list.
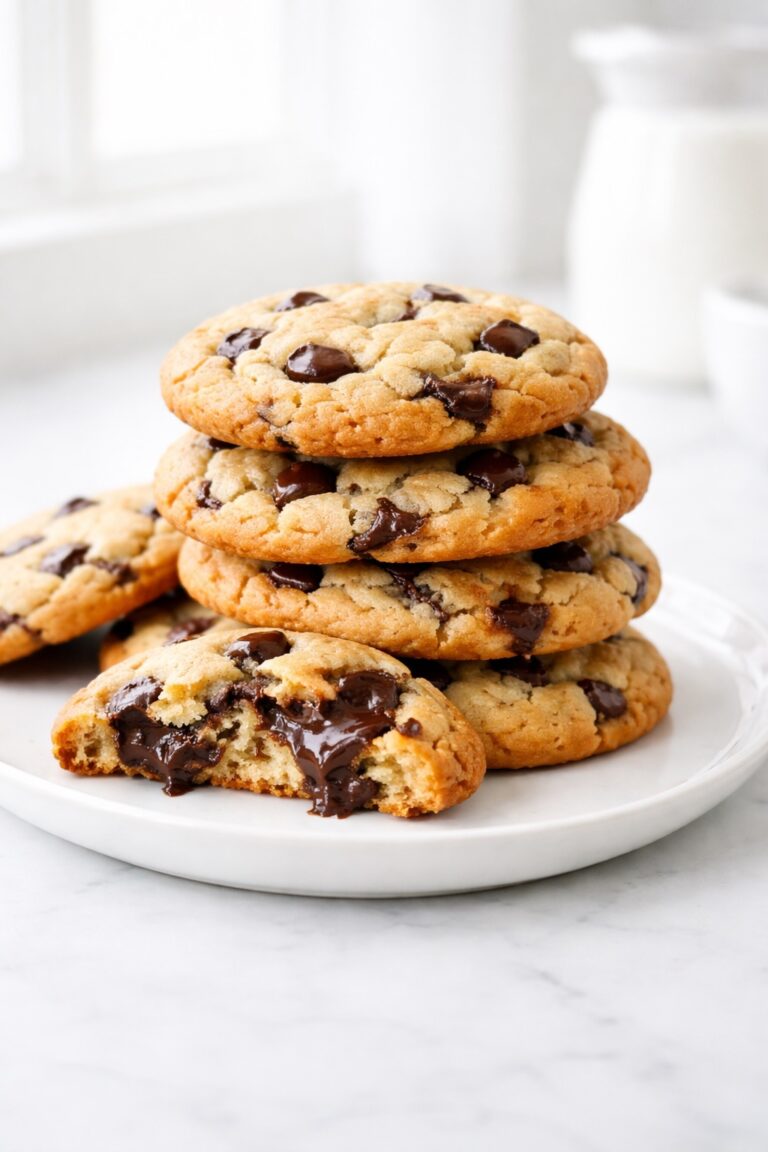
- Choose Pumpkin Chocolate Chip Cookies when you want chocolate pieces alongside the pumpkin.
- Try Pumpkin Snickerdoodle Cookies for a pumpkin take on the familiar snickerdoodle style.
- Turn to Pumpkin Oatmeal Cookies when an oat-filled texture sounds appealing.
Pumpkin Bakes for Breakfast
For a morning bake, pumpkin can take the shape of a sliceable loaf, individual muffins or cinnamon rolls served from the pan.
- Slice Pumpkin Bread for a pumpkin loaf you can bring to the breakfast table.
- Bake Pumpkin Muffins when individual breakfast portions are more useful than a loaf.
- Choose Pumpkin Chocolate Chip Muffins to bring chocolate into that same muffin format.
- Plan Pumpkin Cinnamon Rolls when you feel like making a rolled pumpkin-and-cinnamon bake.
Pumpkin Cakes for the Table
Choose a cake when you want to cut slices at the table or set out individual frosted portions for a gathering.
- Slice a Pumpkin Roll to show the filling wound through a rolled cake.
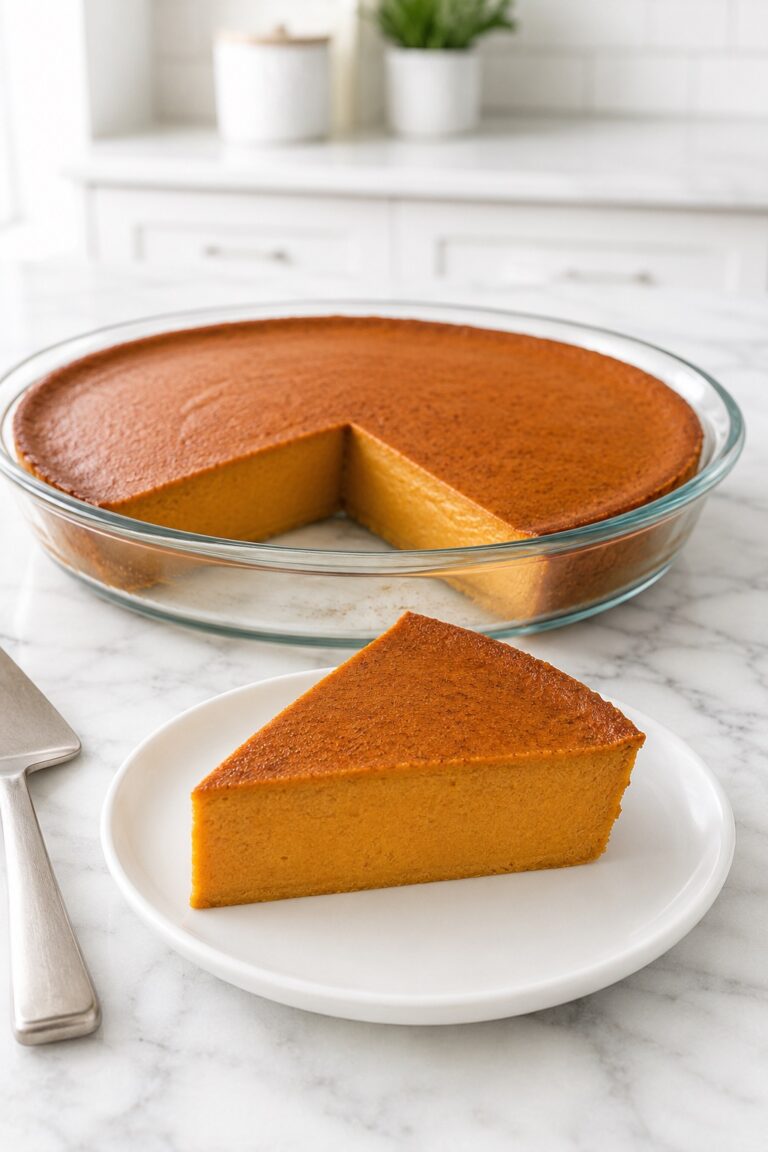
- Bring Pumpkin Cake to the table when you would rather share cake slices than cookies.
- Serve Pumpkin Coffee Cake when the next bake is for a coffee gathering.
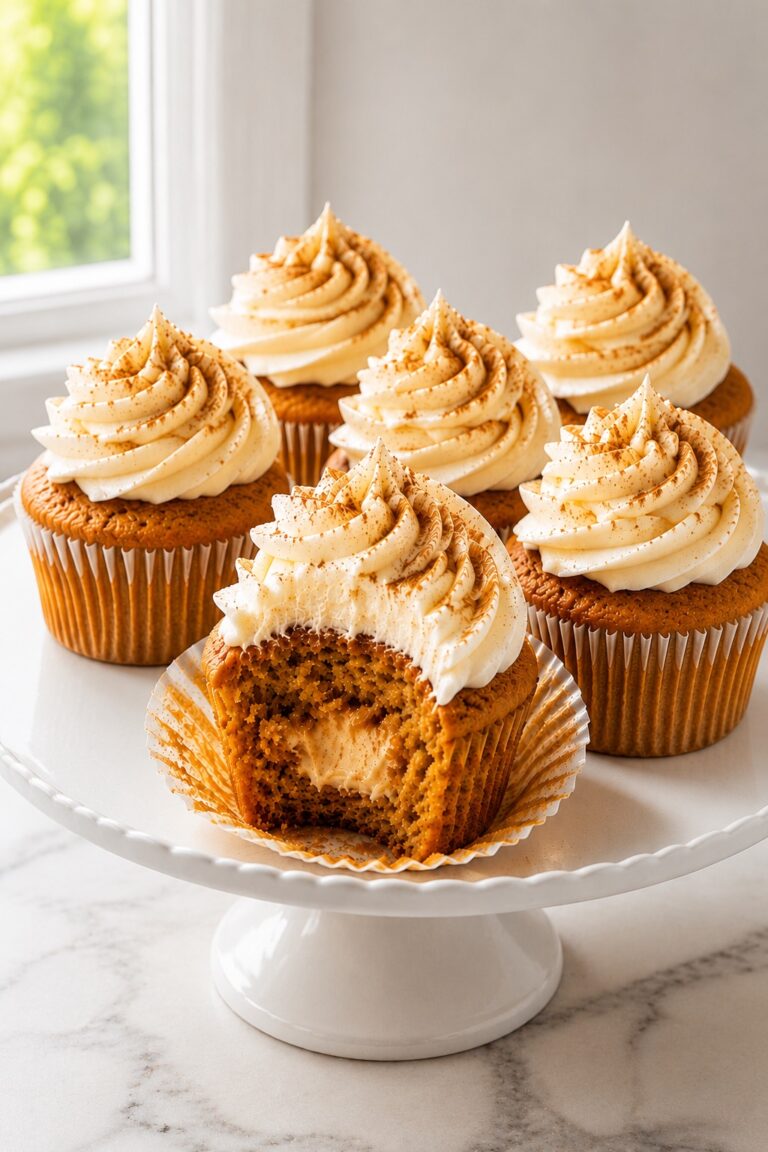
- Make Pumpkin Cupcakes when individual frosted cakes suit the occasion.
Why This Pumpkin Sugar Cookie Recipe Belongs in Your Recipe Box
A place in your recipe box gives this pumpkin cookie a use beyond the first batch.
- A Seasonal Reference. A familiar pumpkin-and-vanilla cookie gives you a starting point when autumn baking comes around again.
- Better Baking Judgment. Learning to separate hot softness from cooled texture can make other soft cookies easier to judge.
- A Useful Portion Habit. Dividing the whole bowl evenly is a skill you can carry into future batches of cookies.
- A Shareable Method. Observable checkpoints make this a useful recipe to pass along to someone learning to read cookie dough and doneness.
- A Clear Comparison. A familiar batch of these sugar-coated pumpkin cookies gives you a reference when you try other pumpkin-cookie styles.
A Final Note on Pumpkin Sugar Cookies
Pumpkin often arrives at the dessert table beneath a generous swirl of cream or frosting. Here, a little sparkle of sugar is enough to give it a place among everyday cookies, with the pumpkin still at the heart of the bite.
There may be an afternoon when a larger dessert feels unnecessary, but turning on the oven still sounds inviting. That is a good moment for a bowl of pumpkin cookie dough and enough time to let the baking unfold without rushing.
The quiet interval while a tray cools is part of the pleasure, too: the kitchen still carries the spice, and the cookies are becoming ready to hold. A little attention to that pause can be as satisfying as taking the first bite.

Pumpkin Sugar Cookies
Soft pumpkin sugar cookies with vanilla, gentle warm spices and a thin granulated-sugar coating. Chill the dough, shape it into rounds and bake until the edges are set and the centers look mostly matte.
Ingredients
For the Dough
- 2 1/4 cups all-purpose flour (270 g), spooned and leveled
- 1 teaspoon double-acting baking powder (4 g)
- 1/4 teaspoon baking soda (about 1.5 g)
- 1/2 teaspoon fine salt (3 g)
- 1 teaspoon ground cinnamon
- 1/2 teaspoon ground nutmeg
- 1/4 teaspoon ground ginger
- 1/2 cup unsalted butter (113 g), softened but still cool
- 1 cup granulated sugar (200 g), for the dough
- 1/2 cup neutral vegetable oil (120 ml)
- 1/2 cup canned 100% pumpkin puree (113 g), stirred and unblotted
- 1 large egg (about 50 g without shell), not refrigerator-cold
- 1 teaspoon vanilla extract (5 ml)
For Rolling
- 1/4 cup granulated sugar (50 g), for rolling
Instructions
- Whisk the Dry Ingredients. In a medium bowl, whisk together the flour, baking powder, baking soda, salt, cinnamon, nutmeg and ginger. Distributing the small amounts now helps prevent a concentrated pocket of spice or leavener in the dough. What you should see: An even dry mixture with no visible pockets of spice or leavener; stop once everything is distributed.
- Combine the Butter, Sugar, and Oil. In a large bowl, beat the softened butter and 1 cup (200 g) dough sugar on medium speed for about 1 minute. Scrape the bowl, then slowly add the 1/2 cup (120 ml) oil and mix just until it is evenly incorporated. Keep the mixing restrained rather than whipping the mixture into a large, airy volume. What you should see: A creamy, slightly grainy mixture without separate pools of oil; stop once the oil is blended in.
- Mix in Pumpkin, Egg, and Vanilla. Add the stirred, unblotted pumpkin puree, egg and vanilla. Mix on low to medium speed, scraping the bottom and sides of the bowl as needed so no butter remains hidden underneath. What you should see: Even pumpkin color, with no large butter pieces or oil pools; a little fine graininess is normal and does not need extra flour.
- Fold in the Flour Mixture. Add the flour mixture on low speed. As the flour streaks disappear, switch to a spatula and fold just enough to bring the dough together, checking the bottom of the bowl for dry patches. What you should see: A soft, cohesive dough with no dry streaks. It should not pour like batter; stop mixing when the flour is fully incorporated.
- Chill Until the Dough Holds Its Shape. Cover the bowl and refrigerate the dough for at least 2 hours. Near the end of the chill, preheat a conventional oven to 350°F (175°C) with a rack in the center, and line two cool, light-colored 18 × 13-inch pans with parchment. What you should see: A scoop holds a mound and can be rolled with brief, gentle handling. If it smears, chill for another 15–20 minutes and check again. If the dough remains oily or pourable after chilling, check the ingredient amounts, especially the oil, flour and pumpkin. Continued chilling alone will not correct a measuring error.
- Portion, Coat, and Flatten the Cookies. Scrape out all the dough and divide it into 24 equal portions, roughly 36 g each before coating. Divide the actual batch evenly rather than making extra small cookies from any remainder. Put the separate 1/4 cup (50 g) sugar in a shallow bowl. Gently roll each portion into a ball, coat it lightly with sugar and set it on a prepared pan. Flatten each portion with the bottom of a glass to about 1/2 inch thick. A diameter of about 2–2 1/4 inches is a guide; even portions and thickness matter more than forcing an exact diameter. Plan 12 cookies per pan in four rows of three, leaving roughly 2 inches between the unbaked disks where the pan allows. If the portions cannot fit with adequate gaps, bake an extra batch. Keep the second prepared tray refrigerated, and never place raw dough on a hot pan. Discard rolling sugar left after contact with raw dough. What you should see: Similar, gently flattened disks with a thin sugar coating and space to spread, rather than thick domes or tightly packed rows.
- Bake One Tray at a Time. Bake the first tray on the center rack for 12–15 minutes, checking at 12 minutes. If the center still has wet-looking patches, continue in 1-minute intervals and check again. Bake the second tray separately, judging its own appearance; colder dough may need a little more time. What you should see: Set edges, a mostly matte surface and a soft but set center, with only light golden color around the perimeter. Remove the tray once the center no longer has liquid-looking patches; do not wait for deep browning.
- Cool on the Pan, Then the Rack. Leave each tray undisturbed for 10 minutes, then carefully move the cookies to a wire rack for about 20 minutes more. Let them cool completely before packing so steam does not dampen the sugar finish. What you should see: After the pan rest, the cookies lift intact; once fully cool, the center is tender and cohesive, without shiny paste or a wet flour layer.
Notes
- Use canned 100% pumpkin puree, stirred and unblotted, rather than pumpkin pie filling. Use the level spoon measure for the small amount of baking soda. Measure the oil as 1/2 cup (120 ml).
- The prep time starts with butter softened but still cool and an egg that is not refrigerator-cold. Allow extra time to bring ingredients to these states if needed.
- Allow at least 2 hours for chilling, 12–15 minutes of baking per tray and 10 minutes on the pan followed by about 20 minutes on a rack. The first tray can cool while the second bakes. The whole batch takes about 3 hours 20 minutes, including chilling and final cooling; extra chilling or oven cycles add time.
- Use a scoop or two spoons to divide the actual batch into 24 equal portions. The approximate 36 g portion weight is before the sugar coating. Keep the waiting tray refrigerated and use cool pans.
- For a double batch, repeat the base batch and allow additional oven cycles. Smaller pans may also require more cycles; keep the same portion size, thickness and doneness cues.
- Do not taste raw dough. Discard sugar that remains after coating raw dough.
- Store fully cooled, unfrosted cookies airtight with parchment between layers in a cool room for up to 3 days for best quality. Freeze extras sooner in hot or humid conditions. The sugar coating may soften during storage.
- Refrigerate covered raw dough at 40°F (4°C) or below for up to 24 hours. Keep unused dough cold while shaping.
- Freeze fully cooled cookies in airtight freezer-safe packaging at 0°F (-18°C) or below for up to 2 months for best quality. Thaw covered at room temperature, then uncover briefly if condensation appears. Serve without reheating.
- Nutrition is an estimate per cookie and includes all 1/4 cup (50 g) of rolling sugar, although some may remain in the bowl. Actual values vary with ingredients and the amount of sugar that adheres.
Nutrition Information:
Yield: 24 Serving Size: 1 cookieAmount Per Serving: Calories: 164Total Fat: 8.8gSaturated Fat: 2.8gCholesterol: 18mgSodium: 87mgCarbohydrates: 19.6gFiber: 0.5gSugar: 10.6gProtein: 1.5g
Nutrition information is provided as an estimate only and may vary based on specific ingredients, brands, and portion sizes used. This information should not be considered medical or nutritional advice.
12 Sweet Favorites — Yours, Free 🍰
Tiramisù, no-bake cheesecake, the perfect chocolate chip cookie & 9 more reader-loved desserts — gathered into one beautiful free recipe book. From my kitchen to yours.
No spam, just sweet things. Unsubscribe anytime.