Blondie Recipe (Chewy Chocolate Chip Bars)
🎁 FREE E-BOOK: 12 Sweet Favorites — reader-loved desserts in one beautiful recipe book.
This blondies recipe makes chewy chocolate chip bars with golden edges, a soft, fully baked center, and the warm flavor of brown sugar and vanilla. Melted butter brings the batter together, and small pockets of semisweet chocolate punctuate each square.

A plain square beside a cup of coffee has an easy, familiar appeal. These are the kind of bars that suit a quiet afternoon as comfortably as a shared dessert plate, with no frosting or elaborate finishing needed.
Keep this recipe for the moments when you want a modest pan of bars and clear guidance on the center. The baking cues help distinguish moist crumbs from melted chocolate, while the cooling instructions tell you when the blondies are ready to slice.
Chocolate Chip Blondies at a Glance
One 8-inch square pan makes nine portions. Mixing is brief, but plan the bake around complete cooling so the bars can be lifted and cut neatly.
| Feature | What to know |
|---|---|
| Texture | Dense and chewy, with set edges and a soft baked middle |
| Flavor | Brown sugar, butter, vanilla, and semisweet chocolate |
| Difficulty | Straightforward; no electric mixer needed |
| Time | About 10 minutes prep, 20–30 minutes baking, then roughly 60–90 minutes cooling; about 90–130 minutes until slicing |
| Servings | 9 squares, cut in a 3 × 3 grid |
| Method | Whisk the wet ingredients, fold in the dry ingredients, spread, bake, and cool |
| Best For | An afternoon treat, a dessert plate, or baking ahead for sharing |
In short: A single pan of chocolate chip blondies with a short mixing stage and a full cooling wait before cutting.
Why This Blondie Recipe Delivers a Chewy Center
The recipe is built around a dense bar: melted butter, a generous measure of brown sugar, and just enough flour to hold a slice. Gentle mixing and a cue-led bake preserve a soft center without relying on a wet middle.
- A measured base: The gram weights keep packing and scooping differences from changing the butter, sugar, and flour balance.
- Restrained aeration: A whisk and spatula combine the ingredients without an extended creaming stage.
- A deliberate finish: Baking until the center sets, then cooling fully, separates oven readiness from slicing readiness.
Why You’ll Love These Classic Blondies
Seven familiar ingredients and two hand tools make these approachable for a small home bake. The work is concentrated at the beginning, leaving time for other things while the pan bakes and cools.
There is no dough to portion or second tray to rotate, and the nine-square yield is convenient for sharing. Bake them ahead when you want dessert ready before guests arrive, rather than trying to squeeze cooling into the last few minutes.
The Science Behind Dense, Chewy Blondies
Blondie texture depends on moisture, the amount of air mixed into the batter, and how the flour and egg set during baking. Each of these has a practical consequence for this simple pan of bars.
Brown Sugar and Moisture
Brown sugar contributes moisture and a denser texture to cookie dough, as Iowa State University Extension explains in its guide to how brown sugar affects cookie texture. Here, keeping the brown sugar helps support the intended chew; replacing it with white sugar changes more than the color.
Melted Butter and a Low Rise
Melted butter combines with sugar without the air pockets created by creaming softened butter. Whisk to blend rather than to build volume, keeping the batter suited to a compact bar.
Flour, Mixing, and the Chewy Bite
Flour supplies structure, but extra flour can push the bars toward a dry, firm result. Once it meets the wet mixture, prolonged mixing also develops more gluten. Measure the flour carefully and stop folding when its dry streaks disappear.
Heat Sets the Center; Cooling Firms the Slice
During baking, the egg proteins and flour help the center hold together. Cooling then firms the baked slab for cutting. These are separate stages: cooling can improve a baked bar’s slice, but it cannot finish cooking liquid batter.
Ingredients for Classic Chocolate Chip Blondies
Use the seven ingredients below for the base batch. Measure before mixing, and pay particular attention to the butter temperature and flour weight.
Ingredient List
These quantities fill one 8 × 8-inch pan. All of the chocolate chips go into the batter; no extra topping portion is needed.
- 1/2 cup unsalted butter (113 g), melted and cooled until warm
- 1 cup packed light brown sugar (200 g)
- 1 large egg, at room temperature (about 50 g without shell)
- 2 teaspoons vanilla extract (10 ml)
- 1 cup all-purpose flour (120 g), spooned and leveled
- 1/2 teaspoon fine sea salt (about 3 g)
- 1/2 cup semisweet chocolate chips (85 g)

Choosing the Brown Sugar
Light brown sugar gives the bars a gentle molasses flavor. Choose a soft, fresh bag so hard lumps do not remain in the batter. Dark brown sugar can be used at the same 200 g weight for a stronger molasses flavor and darker color.
Preparing the Butter and Egg
Use unsalted butter and melt it without browning. Let it cool until warm before adding the room-temperature egg; hot butter can begin setting the egg instead of blending smoothly with it.
Measuring Flour and Fine Salt
A scale makes the 120 g flour measure easy to repeat. For the cup measure, spoon flour into the cup and level it without packing. Choose fine sea salt; coarse or kosher crystals do not give the same salt amount by teaspoon.
Choosing the Chocolate Chips
Semisweet chips balance the sweet brown-sugar base. A different chip type can be used at the same 85 g weight, with a corresponding change in sweetness and flavor. Fold in the full portion rather than adding an unmeasured handful on top.
For a sweeter chocolate flavor in a cookie instead of a bar, white chocolate chip cookies offer another way to enjoy that pairing.

The Pan and Tools for Evenly Baked Blondies
Pan size and material matter because they affect batter depth and the way the edges bake. A parchment sling makes it easier to lift the cooled slab without prying at its sides.
- 8 × 8-inch light-colored metal pan, at least 2 inches deep, and parchment sling
- Digital scale, measuring cups and measuring spoons
- Large heatproof mixing bowl and a microwave-safe butter-melting vessel or small saucepan
- Whisk and flexible spatula
- Wire rack, cutting board, sharp knife and toothpick
Before You Begin Baking Blondies
A few checks before mixing prevent interruptions once the egg and flour are in the bowl. Include cooling time in your plan, especially if the bars are for an event.
- Set out the 8 × 8-inch light-colored metal pan and parchment sling.
- Preheat a conventional oven to 350°F (175°C), with the rack in the middle.
- Have the egg at room temperature and the melted butter warm, not hot.
- Measure the flour and sugar, and break up any hard sugar lumps.
- Allow roughly 60–90 minutes after baking for cooling, with extra time if the slab is still warm.
What to Expect from These Chocolate Chip Blondies
Expect a thick, sticky batter that needs spreading into the corners. The finished bars are low-profile and dense, with golden edges, a soft set middle, and chocolate chips throughout. They have a modest rise rather than a tall cake-like crumb, and the center should be baked rather than raw cookie dough.
How to Make Blondies, Step by Step
Combine the wet ingredients first, fold in the flour and chips, and spread the batter evenly. Check the center as the bake approaches its finishing window, then leave the slab in its pan until completely cool.
1. Prepare the oven and pan
Preheat the oven to 350°F (175°C) in conventional mode and position the rack in the middle. Line the 8 × 8-inch metal pan with parchment across the base and sides, leaving an overhang for lifting.
What you should see: Paper sits flat against the base, with an accessible overhang on opposite sides.
2. Combine butter and brown sugar
Melt the butter gently in a suitable vessel or small saucepan without browning it. Whisk in the brown sugar until evenly combined. If the mixture is hot, let it cool until warm before continuing.
What you should see: A damp, slightly grainy mixture with evenly distributed sugar and no darkened butter solids.

3. Add egg and vanilla
Whisk in the egg and vanilla until the mixture is cohesive. Stop when the egg is incorporated; there is no need to whip the mixture into a pale foam.
What you should see: A smoother mixture with no separate streaks of egg.

4. Fold in flour, salt and chips
Add the flour and salt, then fold with a flexible spatula until the dry streaks disappear. Scrape the bottom of the bowl to catch flour pockets, and fold in all of the chocolate chips.
What you should see: Thick, sticky, spreadable batter with chips distributed throughout and no patches of dry flour.

5. Spread and bake
Transfer the batter to the pan and spread it into an even layer, including the corners. Bake on the middle rack, starting checks at 20 minutes. Allow approximately 20–30 minutes, using the edges, center, and a tester placed clear of a chocolate chip to judge readiness.
What you should see: Golden, set edges and a center that holds its surface without liquid movement. A toothpick in the baked center should carry moist crumbs rather than wet batter.

6. Cool and cut
Set the pan on a wire rack and cool completely before lifting out the slab. Allow roughly 60–90 minutes for planning, but wait longer if it is still warm. Transfer to a cutting board and cut three rows in each direction to make nine squares.
What you should see: The pan and slab are at room temperature, and each cut holds an edge. Wipe the sharp knife between cuts if chocolate collects on the blade.
How to Tell When Blondies Are Baked and Ready to Slice
Use the edges, center surface, and toothpick together. A smear of melted chocolate can make a baked center look wetter on the tester than it is, so check where the tester entered the batter.
Read the Edges, Center, and Tester
The tester is most useful when it passes through the blondie itself. Compare what it carries with the center’s appearance before deciding whether to remove the pan.
| Tester result | Check beside it | What to do |
|---|---|---|
| Moist crumbs | Golden set edges; the center holds its surface without liquid movement | Remove the pan when the cues agree, then cool completely. |
| Dark chocolate smear | The tester may have passed through a chip | Retest nearby, clear of a chip, before changing the baking time. |
| Pale wet batter | The center may still show liquid movement | Continue baking and recheck. Cooling will not cook a raw center. |

Wait Until the Slab Is Ready to Slice
Bake completion is not the same as cutting readiness. Keep the slab in its pan on the rack until both have reached room temperature, then lift it with the sling. If the middle is still warm, give it more time before cutting.
I learned with brownies that cutting a pan while it is still warm can leave the edges messy. That is why I let bars cool completely before cutting them into squares.

Expert Tips for Better Blondie Texture
Small choices help the edges and center bake more evenly and make the cooled squares easier to cut. Focus on the pan, the depth of the batter, and what your tester actually touches.
- Use the specified light-colored metal pan. Material and color affect heating, so matching the pan keeps the bake window more useful for the center and edges.
- Check butter temperature before adding the egg. Warm butter blends readily; very hot butter can set small bits of egg and leave the mixture uneven.
- Level the batter into the corners. A mound in the middle makes that area deeper, so an even layer reduces the chance of baked edges surrounding a slower center.
- Choose a clear tester path. Passing through chocolate can obscure the crumb result, so a nearby chip-free check gives a more useful reading.
- Wipe the blade between cuts. Chocolate and crumbs on the knife drag across the next edge; a clean blade leaves neater squares.
Common Blondie Mistakes and How to Prevent Them
An unwanted texture often points to measurement, heat, or slicing. Some issues can be prevented in the next batch, while others simply need more time before you continue.
| Mistake | Symptom | Likely cause | Prevention or realistic recovery |
|---|---|---|---|
| Adding too much flour | Dry, firm bars | A packed or heaped flour cup | Weigh 120 g, or spoon and level. Extra flour cannot be removed after mixing. |
| Overbaking | Dry edges and a firm center | Waiting for a completely clean tester | Start checking at 20 minutes. Serve dry bars with an optional accompaniment; added baking time cannot be reversed. |
| Changing the pan | Uneven timing or a different bar depth | Different dimensions, color, or material | Use the specified pan. Do not carry the same bake window unchanged to a different setup. |
| Adding egg to hot butter | Small set egg pieces or an uneven mixture | Butter was still too hot | Let the butter-sugar mixture become warm first. If the egg has visibly cooked, restart the wet mixture. |
| Overmixing after flour | A tougher bite | Working the hydrated flour too long | Fold only until dry streaks disappear; stop once the chips are distributed. |
| Cutting while warm | Ragged edges or a slab that bends | The baked bars have not firmed during cooling | Stop slicing and let the remaining slab cool completely before continuing. |
Beautiful Ways to Serve Chocolate Chip Blondies
The fully cooled square is the starting point for serving. Keep accompaniments optional so the brown-sugar and chocolate flavor can stand on its own.
A Plain Square at Room Temperature
Place a square on a small plate with the cut face visible. Room temperature lets the dense crumb feel softer than a chilled bar, without adding a topping.

With Vanilla Ice Cream
Add a scoop of vanilla ice cream beside a cooled square for a simple plated dessert. The cold, creamy accompaniment contrasts with the chewy bar; add it just before serving.

With Coffee or Tea
Serve a plain square with coffee or black tea when you want a small afternoon treat. An unsweetened drink balances the bar’s brown sugar and chocolate without requiring another dessert component.
On a Dessert Plate to Share
Arrange the nine cooled squares in a single layer or slightly overlapping rows. Keeping the cut edges visible makes them easy to pick up and avoids compressing soft pieces beneath a tall stack.

Keeping Blondies Soft: Storage, Freezing, and Make-Ahead
Let the blondies cool completely before sealing them. Trapped warmth can create condensation, while exposure to air gradually dries the cut edges.
Storing at Room Temperature
Store in an airtight container in a cool room for up to three days. Separate layers with parchment if needed. In a warm room, refrigeration is an option; let a chilled square return to room temperature for a softer texture.
Freezing and Thawing Individual Squares
Wrap completely cooled squares individually, then place them in a sealed freezer container. Use within about three months for best quality. Thaw wrapped at room temperature until fully thawed before serving.

Baking Ahead and Packing for Sharing
Bake early enough to finish cooling before packing, or bake the day before and store airtight. For transport, use a snug container and parchment between layers so the squares do not slide into each other.
Questions About Baking and Storing Blondies
Pan changes affect batter depth and timing. If you need a different batch size, keep those changes separate from the measurements for this 8-inch pan.
Can I double this recipe?
For more squares, two separate 8 × 8-inch batches keep the batter depth consistent. Check each pan on its own. A doubled batch in a 9 × 13-inch pan has a different depth, so do not assume the same baking time.
Can I use a 9-inch square pan or a glass pan?
The 9-inch pan spreads the batter more thinly, while glass changes how the pan heats. For the result and timing described here, use the 8 × 8-inch light-colored metal pan. A different setup needs its own timing checks.
Your Next Bake After Blondies
Choose another bake by the texture or occasion you want next: a different brownie, a buttery cookie, or a dessert made to share.
Explore More Brownie Textures
Stay with a sliceable chocolate dessert while changing its format, filling, or flavor.
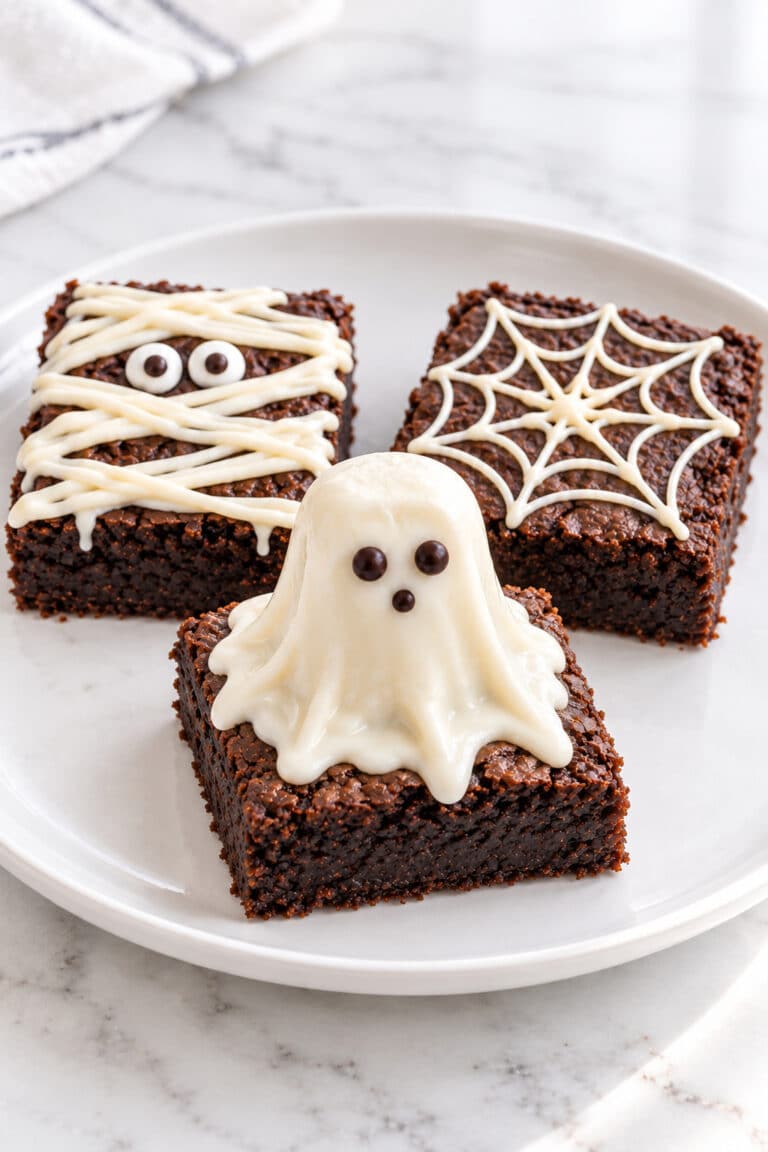
- Brownie bites bring the brownie idea into small portions.
- Cream cheese brownies add a contrasting creamy swirl.
- Red velvet brownies move toward a different cocoa-bar flavor.
- Apple brownies offer a fruit-centered direction for your next pan.
Keep Exploring Buttery Cookies
If you enjoy the butter and chocolate pairing, try it in individually portioned cookies.
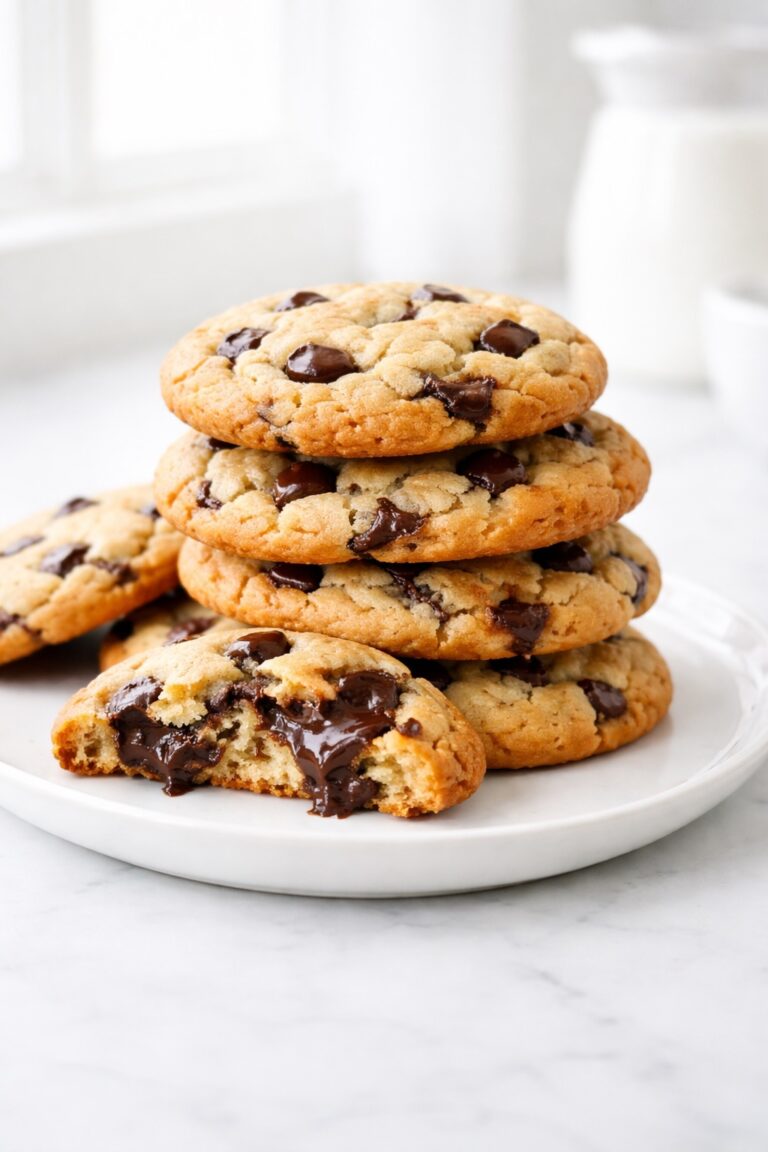
- Chocolate chip cookies keep the familiar chocolate-chip combination.
- Oatmeal chocolate chip cookies bring oats into the bite.
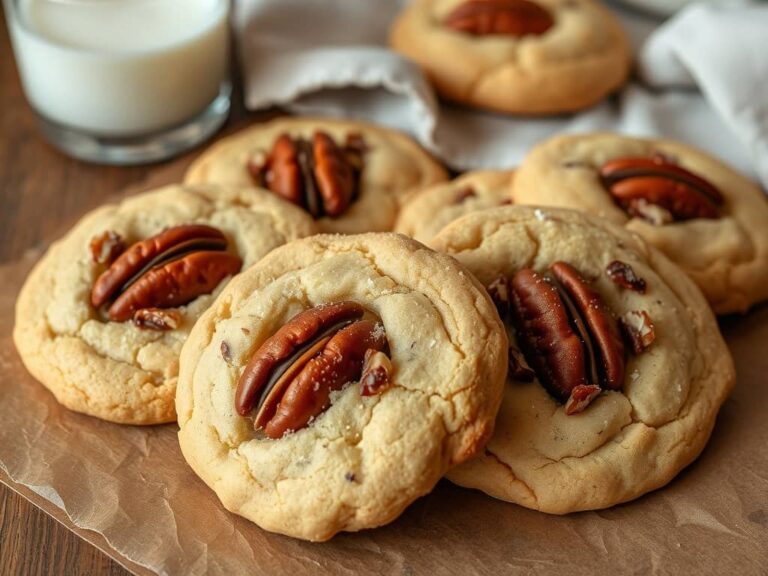
- Butter pecan cookies pair buttery dough with pecans.
- Chocolate crinkle cookies take the cookie tray in a more chocolate-focused direction.
Bake Another Dessert to Share
For another table or gathering, choose a pan dessert with a different principal flavor.
- Magic cookie bars offer a layered bar dessert.
- Peanut butter bars put peanut butter at the center.
- Lemon bars provide a citrus contrast to brown sugar and chocolate.
- Chocolate sheet cake suits an occasion calling for cake slices.
Why These Blondies Belong in Your Recipe Box
This is a useful recipe to keep for a manageable pan of bars, with enough detail to judge the bake and plan the cooling wait.
- One-Pan Baking: A single 8-inch pan holds the full batch.
- Everyday Ingredients: Seven familiar ingredients make the base.
- Readable Bake Cues: Edge, center, and tester checks help you decide when to remove the pan.
- Nine Shareable Squares: A 3 × 3 cut gives nine defined portions.
- Advance-Bake Option: The cooled bars can be stored airtight before serving.
- Clear Cooling Guidance: Room-temperature readiness governs when to lift and cut.
A Simple Pan of Blondies, Made with Care
Blondies give a shared dessert plate an uncomplicated center. Each square carries its own portion of brown-sugar crumb and chocolate, so it can be passed around with very little ceremony.
Return to these bars when you want the familiar flavor of a chocolate chip bake in a square you can put straight on a plate. The dessert can be as small as a single serving or as sociable as the whole pan.
There is room for a plain blondie on a carefully set table. Serve it with the same care you gave the bake, and let a simple square be enough.

Blondies
Chewy chocolate chip blondies with golden edges, a soft baked center, and brown-sugar and vanilla flavor.
Ingredients
- 1/2 cup unsalted butter (113 g), melted and cooled until warm
- 1 cup packed light brown sugar (200 g)
- 1 large egg, at room temperature (about 50 g without shell)
- 2 teaspoons vanilla extract (10 ml)
- 1 cup all-purpose flour (120 g), spooned and leveled
- 1/2 teaspoon fine sea salt (about 3 g)
- 1/2 cup semisweet chocolate chips (85 g)
Instructions
- Prepare the oven and pan. Preheat a conventional oven to 350°F (175°C), with the rack in the middle. Line an 8 × 8-inch light-colored metal pan, at least 2 inches deep, with a parchment sling.
- Combine butter and brown sugar. Melt the butter gently without browning. Whisk in the brown sugar. Let the mixture become warm rather than hot before adding the egg.
- Add egg and vanilla. Whisk in the room-temperature egg and vanilla until cohesive, without whipping into a pale foam.
- Fold in flour, salt and chips. Fold in the flour and fine salt just until dry streaks disappear, then fold in all of the chocolate chips.
- Spread and bake. Spread the batter evenly into the pan, including the corners. Bake for approximately 20–30 minutes, starting checks at 20 minutes. Look for golden set edges, a center without liquid movement, and moist crumbs on a toothpick placed clear of a chocolate chip. If the tester carries a chocolate smear, retest nearby; wet batter needs more baking.
- Cool and cut. Cool completely in the pan on a wire rack. Allow roughly 60–90 minutes for planning, and wait longer if the slab is still warm. Lift onto a cutting board and cut into a 3 × 3 grid with a sharp knife, wiping it between cuts.
Notes
- Time fields allow 30 minutes baking and 90 minutes cooling. Baking usually falls within 20–30 minutes; complete cooling determines slicing readiness. Plan about 90–130 minutes from preparation to slicing, allowing longer if needed.
- Use the specified 8 × 8-inch light-colored metal pan. Different pan sizes or materials need their own timing checks.
- Dark brown sugar may replace light brown sugar at the same 200 g weight for stronger molasses flavor. A different chocolate chip type can be used at the same 85 g weight.
- Store completely cooled bars airtight in a cool room for up to 3 days. Wrap cooled squares individually, seal in a freezer container, and use within about 3 months for best quality. Thaw wrapped at room temperature until fully thawed.
- Ice cream and other serving accompaniments are optional and are not included in the base batch.
- Nutrition is an estimate for one of nine squares and excludes optional accompaniments. Ingredient brands and portion sizes can change the values.
Nutrition Information:
Yield: 9 Serving Size: 1 squareAmount Per Serving: Calories: 279Total Fat: 14gSaturated Fat: 8gCholesterol: 48mgSodium: 146mgCarbohydrates: 38gFiber: 1gSugar: 27gProtein: 3g
Nutrition information is provided as an estimate only and may vary based on specific ingredients, brands, and portion sizes used. This information should not be considered medical or nutritional advice.
12 Sweet Favourites — Yours, Free 🍰
Tiramisù, no-bake cheesecake, the perfect chocolate chip cookie & 9 more reader-loved desserts — gathered into one beautiful free recipe book. From my kitchen to yours.
No spam, just sweet things. Unsubscribe anytime.