Chocolate Peanut Butter Texas Sheet Cake
🎁 FREE E-BOOK: 12 Sweet Favorites — reader-loved desserts in one beautiful recipe book.
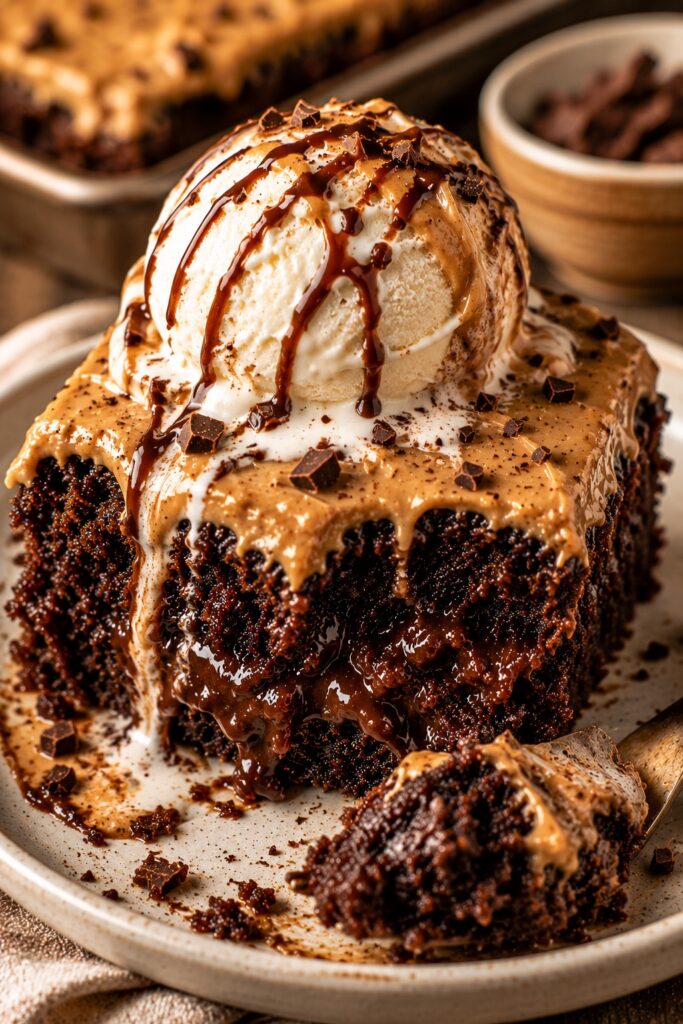
A warm Chocolate Peanut Butter Texas Sheet Cake should smell deeply of cocoa, slice into a tender fully baked crumb, and carry a smooth peanut butter frosting that tastes rich without becoming cloying. Chopped roasted peanuts across the top add the salty crunch that makes the chocolate-peanut butter contrast feel complete.

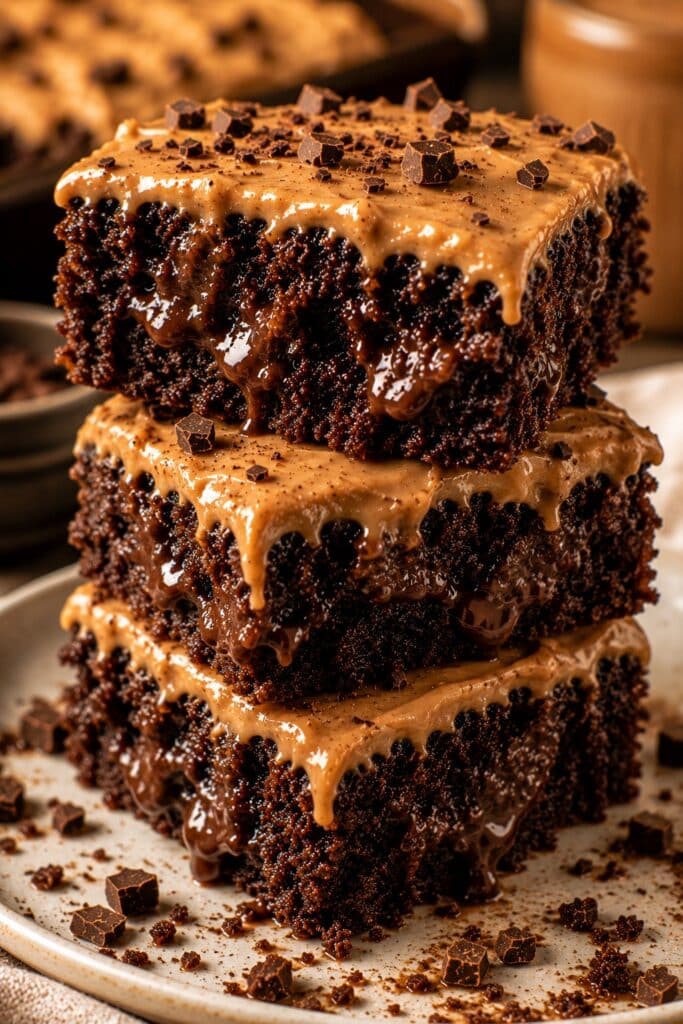
This is the relaxed kind of cake that belongs at birthdays, potlucks, game days, and family dinners: one shallow pan, no stacking, no piping, and plenty of neat squares to share. The cake is soft and cocoa-rich, while the warm poured frosting settles into an even, softly set layer.
The details that make this version dependable are unusually specific: a light-colored 15 × 10 × 1-inch jelly-roll pan, a realistic 24–30 minute baking window, clear center-doneness cues, and a peanut butter frosting made with less powdered sugar, with the milk added gradually for the right consistency. Save this recipe when you want an easy crowd cake without guessing whether the middle is truly baked.
Why This Chocolate Peanut Butter Texas Sheet Cake Works
This recipe is designed around the pan, the final texture, and the frosting-to-cake balance rather than a generic sheet-cake clock.
- The pan and bake window agree. A 15 × 10-inch pan creates a thicker layer than a 13 × 18-inch half-sheet pan, so the cake receives enough time for the center to set.
- The batter stays tender. Hot cocoa-butter liquid hydrates the dry ingredients quickly, while buttermilk and eggs give the fine crumb moisture and structure.
- The frosting stays balanced. Reducing the powdered sugar also requires reducing the milk; this keeps the warm frosting cohesive instead of thin or greasy.
- The finish adds contrast. Roasted salted peanuts sharpen the peanut flavor and break up the soft cake-and-frosting texture.
Why You’ll Love This Chocolate Peanut Butter Cake
It gives you the comfort of a homemade celebration cake with far less assembly than a layer cake.
- One shallow pan feeds 16 generous servings.
- No mixer is required for the cake or the poured frosting.
- The peanut butter layer is noticeably less sweet than the original version.
- Observable cues tell you when the center is baked—no blind reliance on the timer.
- The cake travels and portions easily for parties and potlucks.
- It can be made ahead and freezes well in individual slices.
Quick Recipe Overview and Texture
This is a thin American jelly-roll-pan cake with a soft, fully set cocoa crumb and warm peanut butter frosting. It is moister and more frosting-forward than a layer cake, but it is not a brownie, molten cake, or pudding cake. For the traditional cocoa-and-chocolate-frosting version, see this classic Texas sheet cake recipe.
| Detail | What to Know |
|---|---|
| Pan | 15 × 10 × 1-inch light-colored metal jelly-roll pan |
| Texture | Tender, fine, fully set cocoa crumb; soft poured frosting |
| Flavor | Chocolate-forward with roasted, salty-sweet peanut butter |
| Bake | 350°F (175°C) for 24–30 minutes; cues decide doneness |
| Yield | 16 generous squares |
| Total time | About 1 hour 35 minutes, including cooling |
Recipe Science: Tender Cocoa Crumb and Cohesive Frosting
Three ingredient interactions explain the finished texture: cocoa dispersion, acid-and-soda leavening, and the sugar-to-liquid ratio in the frosting.
Hot Liquid Disperses the Cocoa
Heating natural cocoa with butter and water removes dry specks and distributes cocoa flavor evenly. The mixture needs only to become smooth, steaming, and gently bubbling at the edge; a prolonged hard boil can evaporate water and change the batter balance.
Buttermilk Supports Tenderness and Rise
Buttermilk supplies moisture and acidity. That acidity reacts with baking soda, while the eggs provide enough structure for a soft cake that still slices cleanly once cooled.
Less Sugar Requires Less Milk
Powdered sugar does more than sweeten—it also thickens the frosting. Because this version deliberately limits the powdered sugar, the milk begins at only 2 tablespoons. Extra milk is added by the teaspoon only when the frosting needs help falling in a broad ribbon.
Ingredients for Chocolate Peanut Butter Texas Sheet Cake
Use the following quantities for one 15 × 10-inch cake. US measures come first, with metric weights and volumes in parentheses for consistent results.
Ingredient List
The ingredients are grouped and listed in the same order in which they are used.
Chocolate Cake
- 2 cups (240 g) all-purpose flour, spooned and leveled
- 2 cups (400 g) granulated sugar
- 1/2 teaspoon (3 g) fine sea salt
- 1 teaspoon (5 g) baking soda
- 1/4 cup (21 g) natural unsweetened cocoa powder
- 1 cup (226 g) unsalted butter, cut into pieces
- 1 cup (240 ml) water
- 1/2 cup (120 ml) full-fat buttermilk, at room temperature
- 2 large eggs (100 g without shells), at room temperature
- 1 teaspoon (5 ml) pure vanilla extract
Peanut Butter Frosting
- 1/2 cup (113 g) unsalted butter
- 1/2 cup (128 g) conventional creamy no-stir peanut butter
- 2 tablespoons (30 ml) whole milk, plus up to 1 additional tablespoon (15 ml) only if needed
- 2 1/2 cups (300 g) powdered sugar, sifted only if visibly lumpy
- 1 teaspoon (5 ml) pure vanilla extract
- 1/4 teaspoon (1.5 g) fine sea salt, slightly less if the peanut butter is notably salty
Recommended Finish
- 1/3 to 1/2 cup (45–70 g) roasted salted peanuts, coarsely chopped, optional but recommended
Ingredient Notes That Protect the Texture
A few ingredient specifications carry more weight than they may appear to.
- Natural cocoa powder: Use natural unsweetened cocoa in this recipe. Dutch-process cocoa reacts differently with baking soda and may change the cake’s rise.
- Full-fat buttermilk: It provides the moisture and acidity needed for a tender crumb and proper rise.
- No-stir peanut butter: Conventional creamy peanut butter emulsifies predictably. Separating natural peanut butter can make a warm frosting oily.
- Powdered sugar: Measure by weight when possible. Add it in three stages so the warm frosting stays smooth.
- Roasted salted peanuts: They are optional but strongly recommended for crunch and a cleaner sweet-salty finish.
Kitchen Tools Needed
The exact pan is the most important tool in this recipe; the remaining equipment keeps the hot batter and frosting sequence efficient.
- Baking pan: one light-colored metal 15 × 10 × 1-inch jelly-roll pan, measured across the inside top edges
- Mixing: one large heat-safe bowl, one liquid measuring jug, a whisk, and a flexible spatula
- Stovetop: two clean medium saucepans, or one saucepan washed between the cocoa mixture and frosting
- Finishing: an offset spatula and parchment paper
- Checking and cooling: a cake tester or toothpick, optional instant-read thermometer, and a wire cooling rack
A 15 × 10 × 1-inch pan is a defined jelly-roll-pan size, and pan color also affects browning; this jelly-roll pan equipment guide explains the dimensions and why dark metal browns baked goods faster.
What to Expect From This Texas Sheet Cake
The batter will look thinner than standard butter-cake batter, the baked cake will be soft but fully set through the center, and the warm frosting will pour rather than spread like fluffy buttercream.
- Batter: glossy, fluid, and easy to level into the corners
- Baked cake: matte across the center, springy under a light touch, with no jiggle
- Warm frosting: opaque and cohesive, falling from the whisk in a broad ribbon
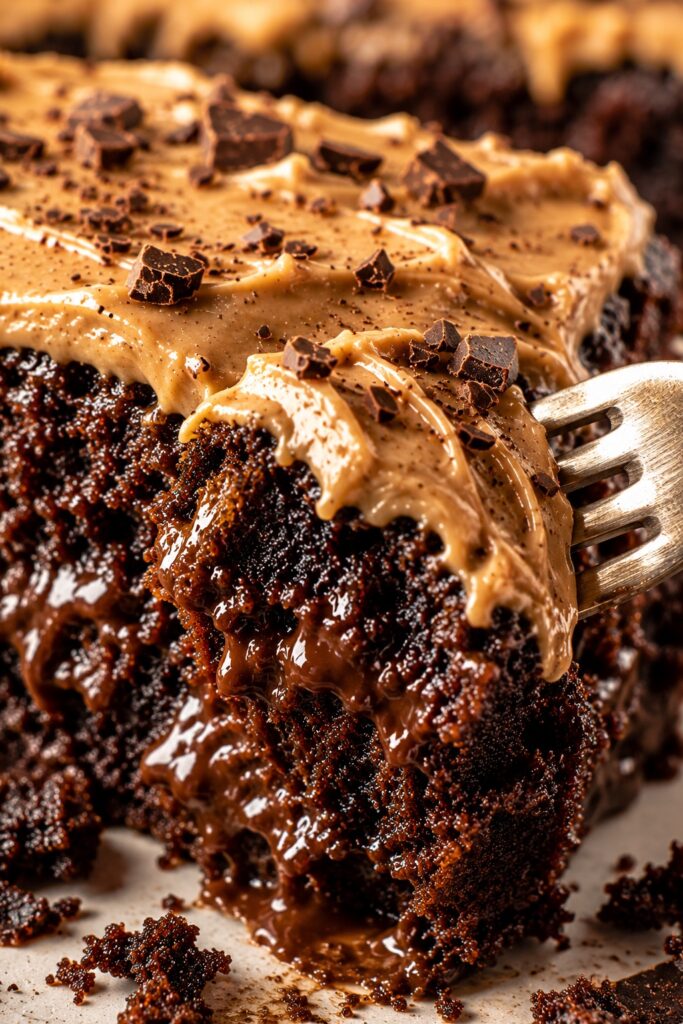
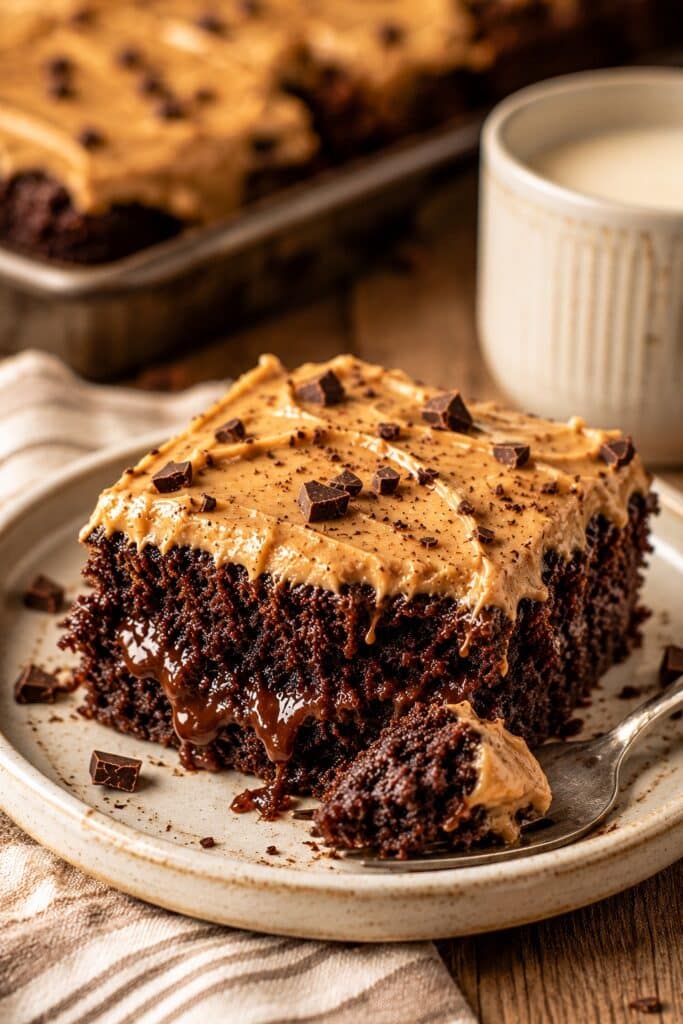
- Cooled slice: tender cocoa crumb with no wet band and a softly set peanut butter top
How to Make Chocolate Peanut Butter Texas Sheet Cake
Keep the cake and frosting stages moving in order so the batter enters the oven promptly and the warm frosting is ready when the baked center is fully set.
1. Prepare the Oven and Pan
Set a rack in the center of the oven and preheat to 350°F (175°C). Grease a light-colored metal 15 × 10 × 1-inch jelly-roll pan. Line the bottom with parchment, leaving the sides exposed, then lightly grease the parchment.
What you should see: flat parchment under a thin, even film of grease, with no folds or deep pools in the corners.
2. Combine the Dry Ingredients
Whisk the flour, granulated sugar, salt, and baking soda in a large heat-safe bowl for about 30 seconds.
What you should see: an evenly pale mixture without compacted flour, salt, or baking soda pockets.
3. Bloom the Cocoa
Combine the butter, water, and cocoa in a medium saucepan. Heat over medium, whisking often, until the butter melts and the mixture is smooth and steaming. At the first gentle bubbles around the edge, remove the pan from the heat; do not maintain a hard boil.
What you should see: a fluid, glossy, uniformly dark mixture with no dry cocoa specks or butter slick on top.
4. Finish the Chocolate Batter
Pour the hot cocoa mixture over the dry ingredients and whisk just until mostly smooth. In the measuring jug, whisk the buttermilk, eggs, and vanilla until uniform. Add it to the bowl and whisk only until no flour or egg streaks remain. Scrape the bottom and corners once with a flexible spatula.
What you should see: thin, glossy, pourable chocolate batter. Small surface bubbles are normal; dry pockets, egg streaks, or oily separation are not.
5. Bake Until the Center Is Fully Set
Pour the batter immediately into the prepared pan and level it into the corners. Bake on the center rack for 24–30 minutes, beginning to check at 24 minutes. If the center has not passed every doneness cue, continue in 3-minute increments.
What you should see: the entire surface is matte; the center does not ripple when the pan is nudged; a light fingertip press springs back; and a center tester shows either no crumbs or a few set moist crumbs, never glossy batter. An internal temperature around 205–210°F (96–99°C) may support those cues but does not replace them.
6. Make the Balanced Peanut Butter Frosting
During the final 8–10 minutes of baking, melt the butter and peanut butter in a clean medium saucepan over low heat, whisking until completely smooth. Whisk in 2 tablespoons milk and heat only until steaming. Remove from the heat. Add the powdered sugar in three additions, whisking smooth after each, then add vanilla and salt. If needed, add more milk 1 teaspoon at a time, using no more than 1 additional tablespoon. If the cake needs extra oven time, cover the frosting off heat and rewarm it gently just before pouring.
What you should see: cohesive warm frosting that falls in a broad ribbon and slowly levels. It should not look watery, oily, grainy, or stiff like piping buttercream.
7. Frost the Fully Baked Cake
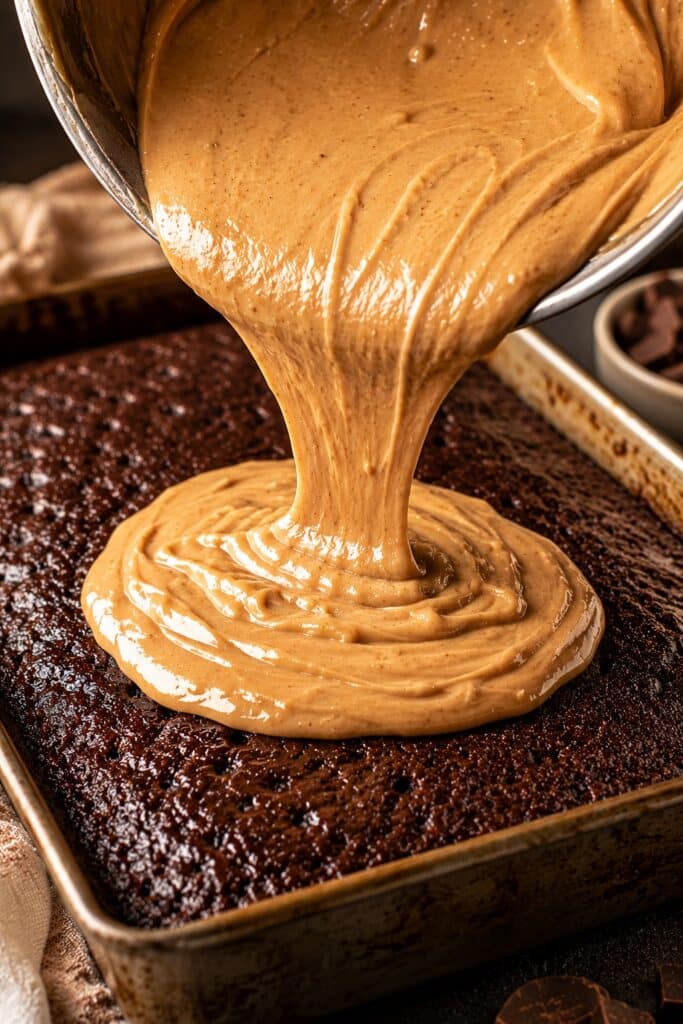
Let the cake stand for 3–5 minutes so the most forceful steam can escape. Pour the warm frosting over the cake and spread gently to the edges. Scatter the chopped roasted salted peanuts over the frosting while it is still glossy.
What you should see: an even, opaque peanut butter layer that stays on the surface while settling softly into the top of the crumb.
8. Cool and Slice
Cool the cake uncovered in the pan on a wire rack for at least 45 minutes. Slice only after the frosting loses its wet shine and feels softly set.
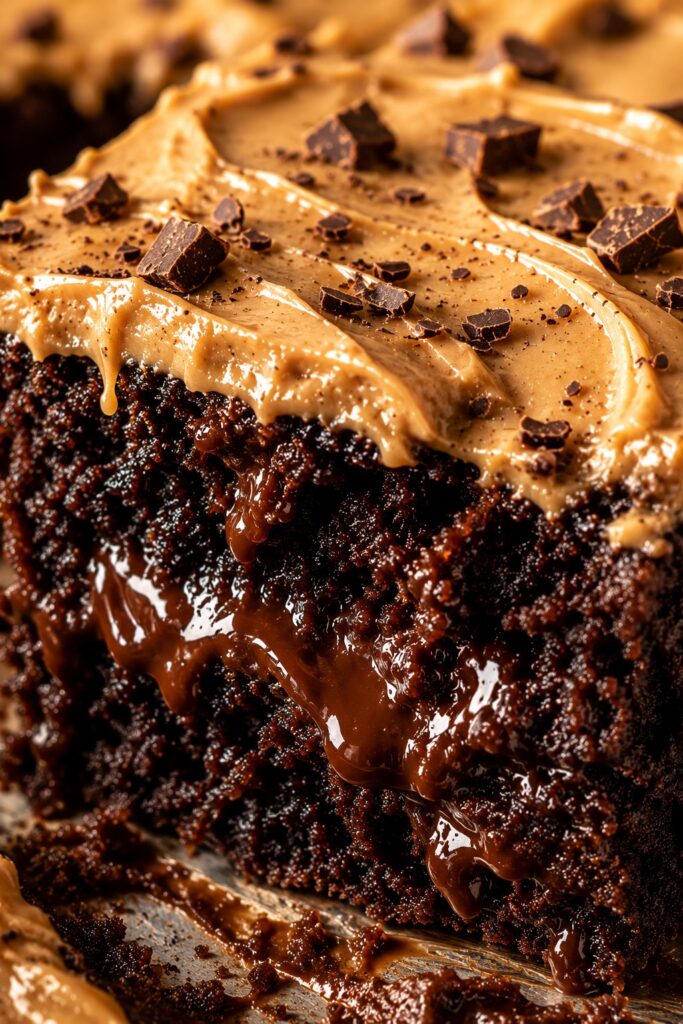
What you should see: a tender, fully baked chocolate crumb and a cohesive peanut butter layer that remains on the slice instead of running from the cut edge.
How to Tell When This Texas Sheet Cake Is Done
Chocolate cake cannot be judged reliably by color, so read several physical signs together. King Arthur Baking likewise recommends combining aroma, edge behavior, tester results, and spring-back when checking whether a cake is done.
| State | Surface and Movement | Touch and Tester | Action |
|---|---|---|---|
| Underdone | Glossy center; visible ripple or jiggle | Wet dent; tester carries liquid batter | Return to oven for 3 minutes, then recheck every cue |
| Correctly baked | Matte center; no wave when nudged | Light spring-back; clean tester or set moist crumbs | Remove from oven and rest 3–5 minutes before frosting |
| Overbaked | Dark hard perimeter; broad side separation | Dry crumb and firm surface | Remove immediately; serve with ice cream if the crumb cooled dry |
Residual heat can finish setting a crumb that is already baked through, but it cannot turn a fluid center into cake. The timer tells you when to inspect; the center tells you when to remove the pan.
Expert Tips for a Fully Baked Cake and Smooth Frosting
I learned to pour the warm peanut butter frosting over the cake after only a short rest; waiting too long makes the frosting set before it can spread into a smooth layer.
These are the most useful details for preventing a wet center, dry edges, or separated frosting.
- Treat time as a checkpoint. Reader feedback on the original bake window reinforced the most useful rule in this recipe: never remove the cake while the center is still fluid, even if the printed time has elapsed.
- Measure the inside of the pan. A half-sheet pan is larger than a 15 × 10-inch jelly-roll pan and creates a thinner cake; a 9 × 13-inch pan creates a much thicker one.
- Keep the oven door closed until minute 24. Early heat loss can delay the center just as the cake is building structure.
- Mix the eggs with the buttermilk first. This tempers their contact with the hot cocoa mixture and reduces the chance of egg streaks.
- Add extra milk by the teaspoon. Warm frosting loosens quickly, and it is easier to thin a cohesive frosting than to rescue a watery one.
- Frost after a short rest, not over a visibly steaming center. Three to five minutes lets forceful steam escape while the surface remains warm enough for easy spreading.
Common Chocolate Peanut Butter Texas Sheet Cake Mistakes
Use the symptom to identify the likely cause, make the immediate correction where possible, and prevent the same result on the next batch.
| Symptom | Likely Cause | Correction | Prevention |
|---|---|---|---|
| Fluid or gummy center | Cake removed by time alone | Before frosting, return it to the oven in 3-minute increments | Require matte surface, no jiggle, spring-back, and a set tester |
| Dry dark edges | Dark pan, high heat, or overbaking | Serve with a soft accompaniment | Use light-colored metal at 350°F and check from minute 24 |
| Oily frosting | Separating natural peanut butter or overheating | Whisk off heat; if still split, do not add more milk | Use conventional no-stir peanut butter and low heat |
| Watery frosting | Too much milk for the reduced sugar | Whisk in powdered sugar 1 tablespoon at a time | Begin with 2 tablespoons milk and add only by teaspoons |
| Stiff frosting that tears the cake | Frosting cooled too long | Warm gently over low heat with 1 teaspoon milk | Make it during the final 8–10 minutes of baking |
| Dense or tough crumb | Packed flour or prolonged mixing | No full repair after baking | Weigh flour and stop mixing when streaks disappear |
Beautiful Ways to Serve This Texas Sheet Cake
The shallow slices look best when the serving style keeps the glossy peanut butter layer and dark cocoa crumb visible.
- Classic party squares: Cut a clean 4 × 4 grid and arrange the 16 pieces on a white platter.
- Warm dessert plates: Serve a slightly warm slice with vanilla ice cream and a few extra salted peanuts.
- Small dessert-table bites: Cut 20 smaller rectangles after the frosting is fully set for a more delicate party-size serving.
- Chocolate-peanut butter board: Pair modest squares with fresh raspberries and unsweetened coffee for contrast.
If you want a chilled no-bake companion for the same flavor family, these peanut butter bars create a firmer, denser contrast beside the soft cake.
Storage, Freezing, and Gentle Reheating
Cool the cake completely before covering it so trapped condensation does not make the frosting wet.
- Room temperature: Keep tightly covered in a cool room for up to 2 days.
- Refrigerator: Store for up to 5 days when the room is warm. Let slices stand at room temperature for 15–20 minutes before serving.
- Freezer: Wrap fully cooled individual slices tightly, place in an airtight container, and freeze for up to 2 months. Thaw wrapped in the refrigerator, then bring toward room temperature.
- Microwave: For one room-temperature slice, heat only until barely warm: 12–15 seconds at 700 W, 10–12 seconds at 800 W, 8–10 seconds at 1000 W, or 6–8 seconds at 1200 W. The frosting will soften quickly, so begin at the lower time.
Topping Variations
Keep the cake and frosting unchanged, then vary only the finish so the texture remains consistent.
- Dark chocolate: Add 1/3 cup finely chopped dark chocolate after the frosting begins to set.
- Peanut butter cup: Replace half the chopped peanuts with 1/3 cup chopped miniature peanut butter cups; expect a sweeter finish.
- Flaky salt: Use only a small pinch across the finished pan if the peanuts are already salted.
- Plain smooth top: Omit the chopped peanuts for a completely smooth surface. This remains a peanut-containing dessert because the frosting uses peanut butter.
Chocolate Peanut Butter Texas Sheet Cake FAQ
These answers cover common questions about pan size and frosting consistency.
Can I bake this cake in a 9 × 13-inch pan?
Not with the published timing. A 9 × 13-inch pan creates a materially thicker cake and requires a different baking time. For the result described in this recipe, use the specified 15 × 10 × 1-inch pan.
Can I use natural peanut butter in the warm frosting?
Separating natural peanut butter is not recommended because its free oil can make the frosting split. Use a conventional creamy no-stir peanut butter for the smoothest emulsion.
What if the frosting is too thick or too thin?
If it is too thick, warm it gently and whisk in milk 1 teaspoon at a time. If it is too thin, remove it from the heat and whisk in powdered sugar 1 tablespoon at a time. The target is a broad ribbon that slowly levels.
Why This Crowd Cake Belongs in Your Recipe Box
Keep this recipe for the occasions when you need a generous homemade dessert with clear guidance and uncomplicated serving.
- One-pan ease: No layers, piping bags, or complicated assembly.
- Reliable center: Multiple doneness cues remove the guesswork.
- Balanced frosting: Less powdered sugar keeps peanut flavor in front.
- Make-ahead friendly: The cake holds well for parties and potlucks.
- Freezer ready: Individual squares thaw conveniently.
- Easy to share: A clean 4 × 4 grid gives 16 generous servings.
Continue Your Baking Journey
Follow the flavor you loved here—deep chocolate, peanut butter, or smaller shareable treats—with one of these related recipes.
More Chocolate Cakes and Warm Desserts
Choose these when you want chocolate in a different texture or serving style.
- Matilda Cake — A towering, deeply chocolatey celebration cake with plush layers and glossy frosting.
- Chocolate Poke Cake — A soft chocolate cake filled through with creamy chocolate for an extra-moist finish.
- Chocolate Cobbler — A warm, spoonable dessert that bakes its own rich chocolate sauce beneath a tender top.
- Chocolate Lava Cake — Individual chocolate cakes with delicate edges and a deliberately molten center.
Brownies, Cookies, and Chocolate Bites
These smaller formats work especially well for dessert trays and casual sharing.
- Buckeye Brownies — Fudgy brownies layered with creamy peanut butter and a smooth chocolate finish.
- Brownie Cookies — Crackly-topped chocolate cookies with chewy edges and soft brownie-like centers.
- Brownie Bites — Rich, two-bite brownies made for party trays, lunchboxes, and easy sharing.
- Chocolate Fudge — Dense, creamy chocolate squares that deliver big cocoa flavor in a small bite.
More Peanut Butter Favorites
Stay with the roasted peanut flavor while changing the texture from creamy pie to chewy cookies.
- Peanut Butter Fudge — Smooth, melt-in-your-mouth squares with concentrated roasted peanut flavor.
- Peanut Butter Pie — A cool, creamy slice with a light peanut butter filling and crisp cookie crust.
- Peanut Butter Chocolate Chip Cookies — Soft, chewy cookies balancing nutty peanut butter with pockets of melted chocolate.
- Peanut Butter Blossom Cookies — Classic tender peanut butter cookies finished with a chocolate kiss at the center.
A Final Note on Chocolate Peanut Butter Texas Sheet Cake
This cake is meant to make generous, informal serving feel dependable: one shallow pan, a fully baked cocoa crumb, and warm peanut butter frosting that settles without overwhelming the cake.
Return to it when you need a crowd dessert that travels easily but still gives people the unmistakable comfort of chocolate and peanut butter made from scratch.
The best sheet cakes are not memorable because they are complicated. They are memorable because every simple layer—cake, frosting, and finish—is properly balanced.

Chocolate Peanut Butter Texas Sheet Cake
A tender cocoa Texas sheet cake baked in a 15 × 10-inch jelly-roll pan, topped with a warm, balanced peanut butter frosting and roasted salted peanuts. Clear center-doneness cues make the soft crumb reliable without leaving it wet or gummy.
Ingredients
For the Chocolate Cake
- 2 cups (240 g) all-purpose flour, spooned and leveled
- 2 cups (400 g) granulated sugar
- 1/2 teaspoon (3 g) fine sea salt
- 1 teaspoon (5 g) baking soda
- 1/4 cup (21 g) natural unsweetened cocoa powder
- 1 cup (226 g) unsalted butter, cut into pieces
- 1 cup (240 ml) water
- 1/2 cup (120 ml) full-fat buttermilk, at room temperature
- 2 large eggs (100 g without shells), at room temperature
- 1 teaspoon (5 ml) pure vanilla extract
For the Peanut Butter Frosting
- 1/2 cup (113 g) unsalted butter
- 1/2 cup (128 g) conventional creamy no-stir peanut butter
- 2 tablespoons (30 ml) whole milk, plus up to 1 additional tablespoon (15 ml) only if needed
- 2 1/2 cups (300 g) powdered sugar, sifted only if visibly lumpy
- 1 teaspoon (5 ml) pure vanilla extract
- 1/4 teaspoon (1.5 g) fine sea salt, slightly less if the peanut butter is notably salty
Recommended Finish
- 1/3 to 1/2 cup (45–70 g) roasted salted peanuts, coarsely chopped, optional but recommended
Instructions
- Prepare the oven and pan. Set a rack in the center of the oven and preheat to 350°F (175°C). Grease a light-colored metal 15 × 10 × 1-inch jelly-roll pan. Line the bottom with parchment, leaving the sides exposed, then lightly grease the parchment. The parchment should lie flat under a thin film of grease.
- Combine the dry ingredients. Whisk the flour, granulated sugar, salt, and baking soda in a large heat-safe bowl for about 30 seconds, until evenly combined with no compacted pockets.
- Bloom the cocoa. Combine the butter, water, and cocoa in a medium saucepan. Heat over medium, whisking often, until the butter melts and the mixture is smooth and steaming. Remove it at the first gentle bubbles around the edge; do not maintain a hard boil. It should be glossy and uniformly dark with no cocoa specks or butter slick.
- Finish the Chocolate Batter. Pour the hot cocoa mixture over the dry ingredients and whisk just until mostly smooth. In a measuring jug, whisk the buttermilk, eggs, and vanilla until uniform. Add to the bowl and whisk only until no flour or egg streaks remain. Scrape the bottom and corners once. The batter should be thin, glossy, and pourable.
- Bake until the center is fully set. Pour the batter immediately into the prepared pan and level it into the corners. Bake on the center rack for 24–30 minutes, beginning to check at 24 minutes. If the center has not passed every doneness cue, continue in 3-minute increments. The entire surface must be matte, the center must not ripple or jiggle, a light press must spring back, and a center tester must show no liquid batter. An internal temperature around 205–210°F (96–99°C) may support but never replace those cues.
- Make the balanced peanut butter frosting. During the final 8–10 minutes of baking, melt the butter and peanut butter in a clean medium saucepan over low heat until smooth. Whisk in 2 tablespoons milk and heat only until steaming. Remove from the heat. Add the powdered sugar in three additions, whisking smooth after each, then add vanilla and salt. If needed, add more milk 1 teaspoon at a time, using no more than 1 additional tablespoon. If the cake needs extra oven time, cover the frosting off heat and rewarm it gently just before pouring. The frosting should fall in a broad ribbon and slowly level.
- Frost the fully baked cake. Let the cake stand for 3–5 minutes. Pour the warm frosting over it and spread gently to the edges. Sprinkle with roasted salted peanuts while the frosting is still glossy. The frosting should remain as an even, opaque layer on the surface.
- Cool and slice. Cool the cake uncovered in the pan on a wire rack for at least 45 minutes. Slice after the frosting loses its wet shine and feels softly set. The cut center should show a tender, fully baked crumb with no wet band.
Notes
- Use the specified 15 × 10 × 1-inch light-colored metal pan. A 9 × 13-inch pan creates a materially thicker cake and does not use this timing.
- Do not remove the cake while the center is glossy, fluid, jiggly, or carrying liquid batter on the tester. Residual heat cannot correct a raw center.
- Conventional creamy no-stir peanut butter gives the most reliable warm frosting. Separating natural peanut butter may produce an oily layer.
- Keep covered at cool room temperature for up to 2 days or refrigerate for up to 5 days. Bring refrigerated slices toward room temperature before serving.
- Freeze fully cooled, individually wrapped slices in an airtight container for up to 2 months.
- For one room-temperature slice, microwave only until barely warm: 12–15 seconds at 700 W, 10–12 seconds at 800 W, 8–10 seconds at 1000 W, or 6–8 seconds at 1200 W.
Nutrition Information:
Yield: 16 Serving Size: 1 squareAmount Per Serving: Calories: 440Total Fat: 22gSaturated Fat: 12gCholesterol: 70mgSodium: 250mgCarbohydrates: 58gFiber: 1gSugar: 45gProtein: 5g
Nutrition information is provided as an estimate only and may vary based on specific ingredients, brands, and portion sizes used. This information should not be considered medical or nutritional advice.
12 Sweet Favorites — Yours, Free 🍰
Tiramisù, no-bake cheesecake, the perfect chocolate chip cookie & 9 more reader-loved desserts — gathered into one beautiful free recipe book. From my kitchen to yours.
No spam, just sweet things. Unsubscribe anytime.

This recipe overall was good. I would increase your temperature time and adjust the timing as well. I followed the recipe and it was still jello soup in the middle so I gave it another 10-15 minutes at 4:25 and that’s what set it. Also, I would not use as much sugar for the peanut butter frosting. It was way too sweet. There’s over 5 and 1/2 cups of sugar overall. Maybe just two cups for the frosting. I added crushed peanuts on top.
Thank you so much for sharing these details. I’m glad you enjoyed the cake overall, and your feedback was genuinely helpful.
You were absolutely right that the center should never still be fluid when the cake is removed from the oven. I’ve now updated the recipe with a longer 24–30 minute baking window at 350°F, clearer doneness cues, and instructions to continue baking in 3-minute increments whenever the center needs more time.
I also rebalanced the peanut butter frosting by reducing the powdered sugar from 3½ cups to 2½ cups and reducing the milk so it remains smooth and sets properly without tasting overwhelmingly sweet. Your crushed-peanut finish was such a good idea that roasted salted peanuts are now the recommended topping.
Thank you again for taking the time to share your experience and help make the recipe more reliable for future bakers!