Oreo Mug Cake (Soft, Fluffy & Ready in 5 Minutes)
🎁 FREE E-BOOK: 12 Sweet Favorites — reader-loved desserts in one beautiful recipe book.
Some desserts take hours to make. Others satisfy a chocolate craving almost instantly.
This Oreo Mug Cake is one of those magical recipes that transforms a handful of everyday ingredients into a warm, rich dessert in just a few minutes. Soft, fluffy, and packed with the unmistakable cookies-and-cream flavor of Oreo cookies, it’s the kind of treat that feels comforting from the very first spoonful.
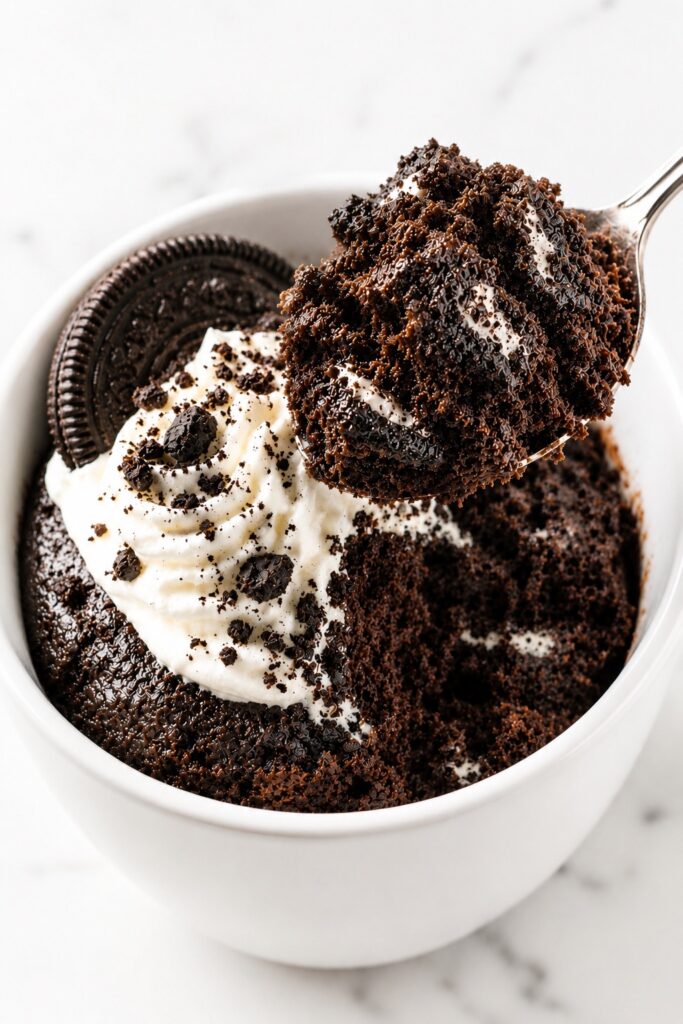
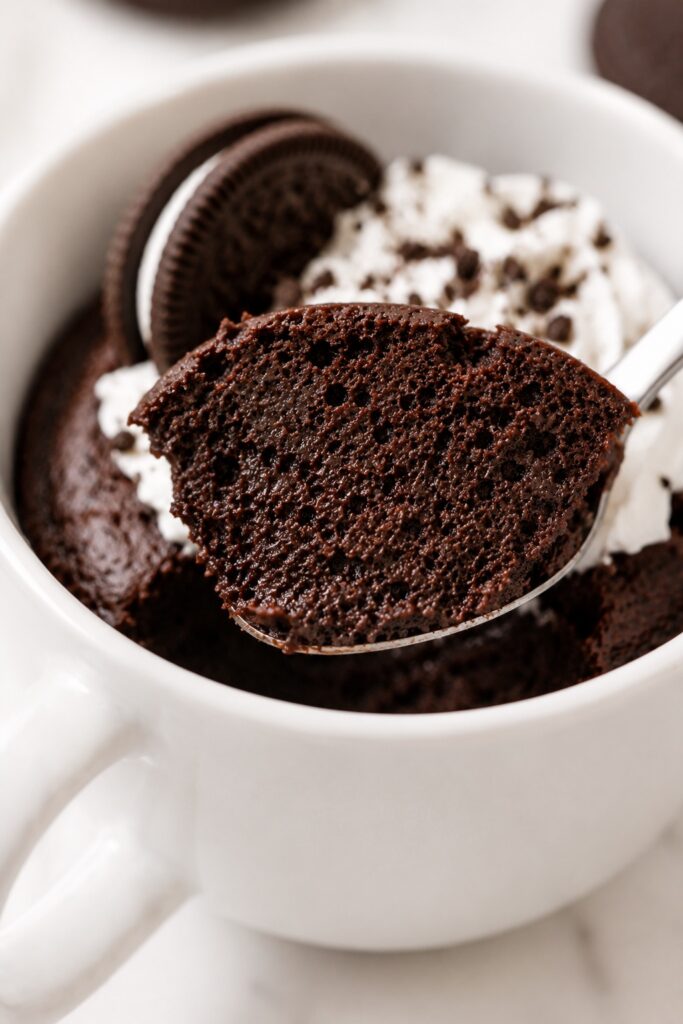
As the cake rises in the microwave, the kitchen quickly fills with the aroma of chocolate and vanilla. The top becomes tender and lightly domed while the center stays moist and delicate, ready to be finished with whipped cream, crushed Oreos, or a scoop of melting vanilla ice cream.
One of the reasons so many people save this Oreo Mug Cake recipe is because it’s incredibly reliable. There are no complicated techniques, no oven to preheat, and almost no dishes to wash. Whether you’re making a late-night dessert, a quick after-school snack, or an easy single-serving treat, this recipe delivers bakery-style comfort in about five minutes.
What Is an Oreo Mug Cake?
An Oreo Mug Cake is a single-serving chocolate cake cooked in a microwave-safe mug instead of a traditional cake pan. Crushed Oreo cookies provide much of the chocolate flavor and sweetness, while a small amount of flour, cocoa powder, baking powder, and milk create a light, fluffy texture that’s much closer to real cake than many two-ingredient mug cake recipes.
Because it cooks in the microwave, the entire dessert is ready in minutes, making it one of the fastest homemade chocolate desserts you can prepare.
Quick Recipe Overview
| Feature | Details |
|---|---|
| Texture | Soft, fluffy, and moist with a tender cake-like crumb |
| Flavor | Rich chocolate with classic cookies-and-cream flavor |
| Difficulty | Easy |
| Time | About 5 minutes |
| Servings | 1 large serving |
| Method | Microwave |
| Best For | Quick desserts, late-night cravings, after-school snacks, and small-batch baking |
In short: This Oreo Mug Cake delivers everything you want from a homemade chocolate dessert—warm, fluffy, rich, and incredibly satisfying—all with just a few pantry ingredients and about five minutes from start to finish. It’s the perfect recipe when you want the comfort of freshly baked cake without turning on the oven.
Why This Oreo Mug Cake Recipe Works
Making a great Oreo Mug Cake isn’t just about mixing a few ingredients together. This recipe is carefully balanced so every ingredient contributes to a soft, fluffy texture and rich cookies-and-cream flavor.
- Oreos build flavor and structure. Finely crushed Oreo cookies don’t just add chocolate flavor—they also contribute starch and sweetness, becoming part of the cake itself rather than simply acting as a mix-in.
- A little flour makes a big difference. Just enough flour strengthens the batter and works with the baking powder to create a lighter, fluffier crumb without masking the Oreo flavor.
- Oil keeps the cake soft. Unlike butter, oil stays liquid after cooking, helping the mug cake remain moist and tender even after it has cooled for a few minutes.
- Whole milk creates a smoother batter. It hydrates the dry ingredients evenly, producing a consistent texture from the center all the way to the edges.
- Stopping at the right moment is the real secret. Mug cakes continue cooking from residual heat after the microwave stops. Removing the cake when the center is just set prevents the dry, rubbery texture that often disappoints first-time mug cake bakers.
In short: Every ingredient has a purpose. Together, they create an Oreo Mug Cake that’s soft, fluffy, moist, and consistently reliable instead of dense or chewy.
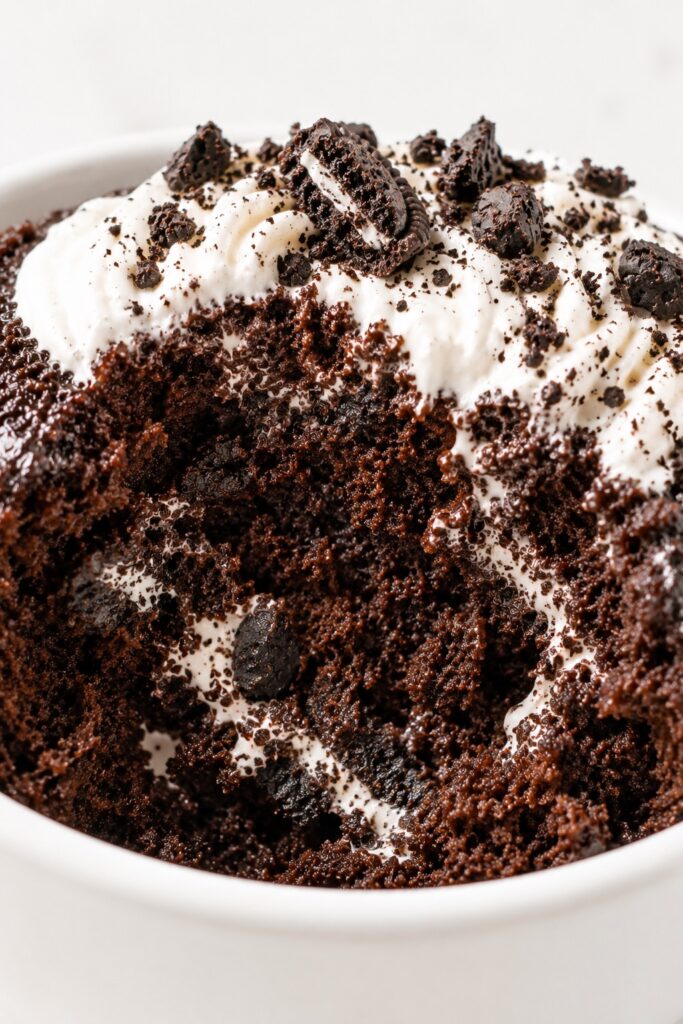
Why You’ll Love This Recipe
Whether you’re making dessert for one or simply want something sweet without the hassle of baking an entire cake, this Oreo Mug Cake checks all the right boxes.
- Ready in about 5 minutes from start to finish.
- No oven required—just a microwave and one mug.
- Soft, fluffy, and moist with a true cake-like texture.
- Rich cookies-and-cream flavor in every bite.
- Made with simple pantry ingredients you may already have on hand.
- Minimal cleanup since everything comes together in one serving.
- Easy to customize with chocolate chips, peanut butter, whipped cream, or ice cream.
- Perfect for late-night cravings, movie nights, after-school treats, or whenever you need a quick homemade dessert.
Best of all: It delivers the comfort of freshly baked chocolate cake without the time, effort, or leftovers of a full-sized dessert.
Why This Oreo Mug Cake Turns Out So Soft
Although an Oreo Mug Cake takes just a few minutes to make, the same baking principles that apply to full-sized cakes are still at work. Understanding what’s happening inside the mug makes it much easier to achieve a soft, fluffy texture every time.
- Microwaves cook differently than ovens. Instead of heating the outside first, microwave energy heats moisture inside the batter very quickly, which is why the cake cooks much faster than a traditional oven-baked cake.
- Steam helps the cake rise. As the batter heats, moisture turns into steam while the baking powder releases carbon dioxide. Together, they create the light, airy texture that makes the cake rise.
- Starch builds the structure. The flour and finely crushed Oreo cookies absorb moisture and set as they cook, creating a tender crumb that holds together without becoming heavy.
- Oil keeps the crumb soft. Because oil stays liquid after cooking, it helps the cake remain moist and tender instead of becoming firm as it cools.
- Residual heat finishes the job. Even after the microwave stops, the cake continues cooking for about a minute. Letting it rest prevents overcooking while giving the center time to finish setting naturally.
Tip: If you’ve ever made a mug cake that turned out dry or rubbery, it was usually overcooked—not under-mixed. Stopping when the center is just set is one of the easiest ways to achieve a softer, more cake-like texture.
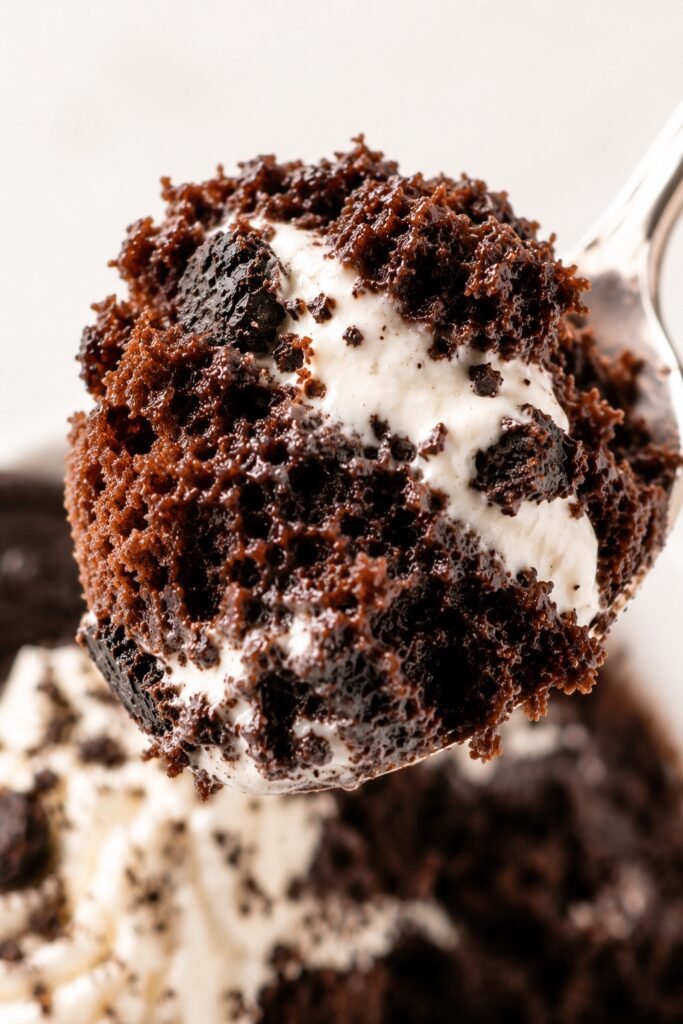
Ingredients You’ll Need
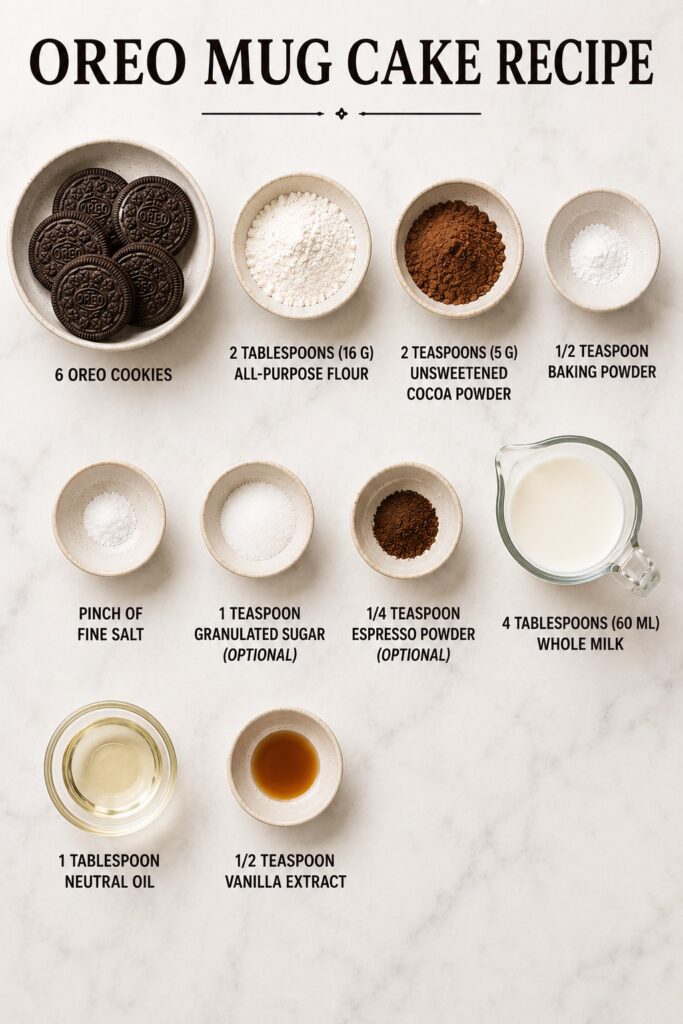
One of the best things about this Oreo Mug Cake is that it uses simple pantry staples. Each ingredient has a specific job, working together to create a soft, fluffy cake with rich cookies-and-cream flavor in just a few minutes.
- 6 Oreo cookies – finely crushed
- 2 tablespoons (16 g) all-purpose flour
- 2 teaspoons (5 g) unsweetened cocoa powder
- ½ teaspoon baking powder
- Pinch of fine salt
- 1 teaspoon granulated sugar (optional)
- ¼ teaspoon espresso powder (optional, enhances the chocolate flavor without tasting like coffee)
- 4 tablespoons (60 ml) whole milk
- 1 tablespoon neutral oil
- ½ teaspoon vanilla extract
Optional Mix-Ins
- 1 tablespoon mini chocolate chips for pockets of melted chocolate.
Optional Toppings
- Crushed Oreo cookies
- Whipped cream
- Vanilla ice cream
- Chocolate syrup
- Chocolate shavings
How Each Ingredient Improves the Texture
Every ingredient in this Oreo Mug Cake has a specific purpose. While the ingredient list is short, each one helps create the soft, fluffy, bakery-style texture that makes this recipe so reliable.
- Oreo cookies provide much of the chocolate flavor, sweetness, and even part of the cake’s structure. Crushing them very finely helps create a smoother, more even crumb.
- All-purpose flour strengthens the batter just enough to support the rise without making the cake heavy. Using too much flour is one of the fastest ways to end up with a dense mug cake.
- Unsweetened cocoa powder deepens the chocolate flavor without overpowering the signature cookies-and-cream taste of the Oreos.
- Baking powder gives the batter lift, creating a lighter, fluffier texture as the cake cooks.
- Whole milk hydrates the dry ingredients evenly and creates a smooth batter. Lower-fat milk works too, but whole milk produces the richest texture.
- Neutral oil keeps the crumb moist because it stays liquid after cooking, helping the cake remain soft instead of firm.
- Vanilla extract rounds out the chocolate flavor and enhances the sweetness without making the cake taste overly sugary.
- Espresso powder (optional) doesn’t make the cake taste like coffee. Instead, it quietly intensifies the chocolate flavor and makes the Oreos taste even richer.
Tip: If you’re tempted to add extra Oreos, it’s better to sprinkle them on top after cooking. Too many crushed cookies in the batter can make the cake heavier and prevent it from rising as well.
Ingredient Substitutions
Don’t have every ingredient on hand? These substitutions work well in this Oreo Mug Cake without changing the texture or flavor too much.
- Whole milk: Use 2% milk, unsweetened oat milk, or almond milk. Whole milk gives the richest texture, while almond milk makes the cake slightly less creamy.
- Neutral oil: Vegetable oil, canola oil, sunflower oil, or avocado oil all work well. Melted butter can be used, but the cake may not stay quite as soft after cooling.
- Unsweetened cocoa powder: Natural cocoa powder is best, but Dutch-process cocoa also works for a slightly smoother chocolate flavor.
- Espresso powder: Simply leave it out if you don’t have it. It deepens the chocolate flavor but is not essential.
- Granulated sugar: Skip the optional sugar if you prefer a less sweet mug cake or if you’re using Double Stuf Oreos.
- Oreo cookies: Classic Oreo cookies give the most reliable flavor and texture. Other chocolate sandwich cookies can work, but the sweetness, filling, and cocoa flavor may vary slightly.
Note: When making substitutions, change only one ingredient at a time. This makes it easier to understand how each swap affects the final texture.
Equipment You’ll Need
You don’t need any special equipment to make this Oreo Mug Cake. A few basic kitchen tools are all it takes to achieve a soft, fluffy dessert in just a few minutes.
- 12–16 oz (350–475 ml) microwave-safe mug – A larger mug gives the batter enough room to rise without overflowing.
- Small mixing bowl – Mixing the batter in a separate bowl creates a smoother texture and distributes the baking powder more evenly.
- Fork or small whisk – Perfect for combining the ingredients into a smooth, lump-free batter.
- Measuring spoons – Small measurements make a big difference in mug cakes, so measuring accurately helps ensure consistent results.
- Microwave – Since microwave wattage varies, begin checking the cake at the earliest recommended cooking time.
Note: A wide mug cooks more evenly than a tall, narrow one. If your mug is very narrow, the center may need a few extra seconds while the edges cook more quickly.
Before you start mixing, pay close attention to the butter texture. For this reverse creaming method, the butter should be soft enough to press but still cool to the touch. That one detail has a big impact on how fine and even the crumb becomes.
How to Make Oreo Mug Cake
This Oreo Mug Cake comes together in just a few minutes. Follow the steps below and use the visual cues to know exactly when each stage is ready.
Step 1: Crush the Oreo Cookies
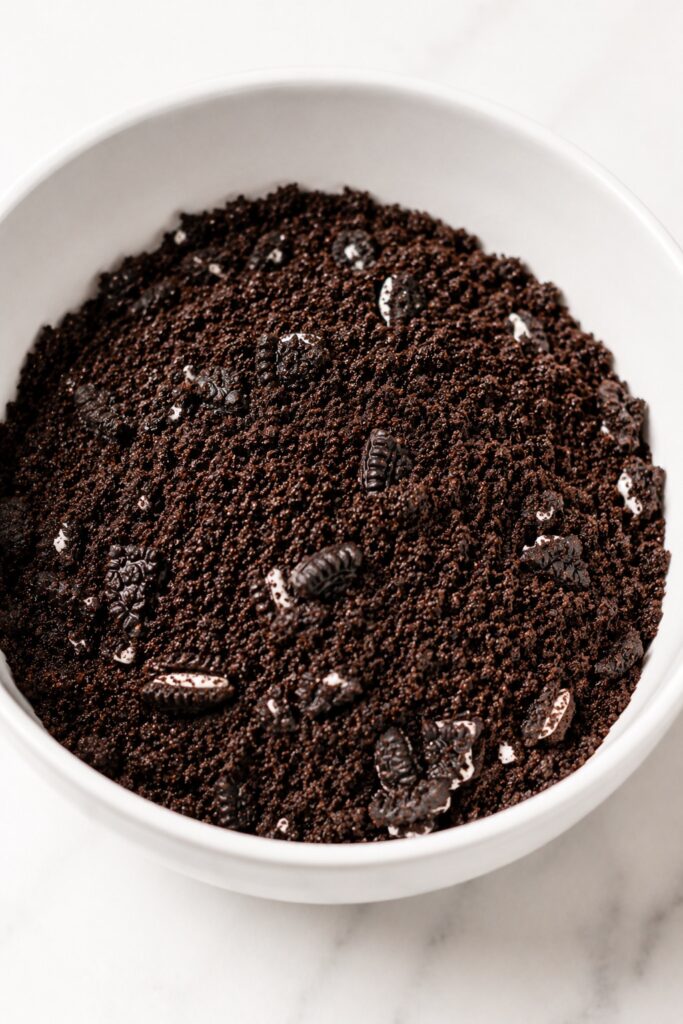
Place the Oreo cookies in a zip-top bag and crush them into fine crumbs using a rolling pin, or pulse them in a food processor.
What you should see:
- Fine, even crumbs with only a few tiny pieces remaining.
- No large chunks of cookie.
Why this matters: Finely crushed Oreos blend more evenly into the batter, creating a softer, smoother crumb.
Step 2: Mix the Dry Ingredients
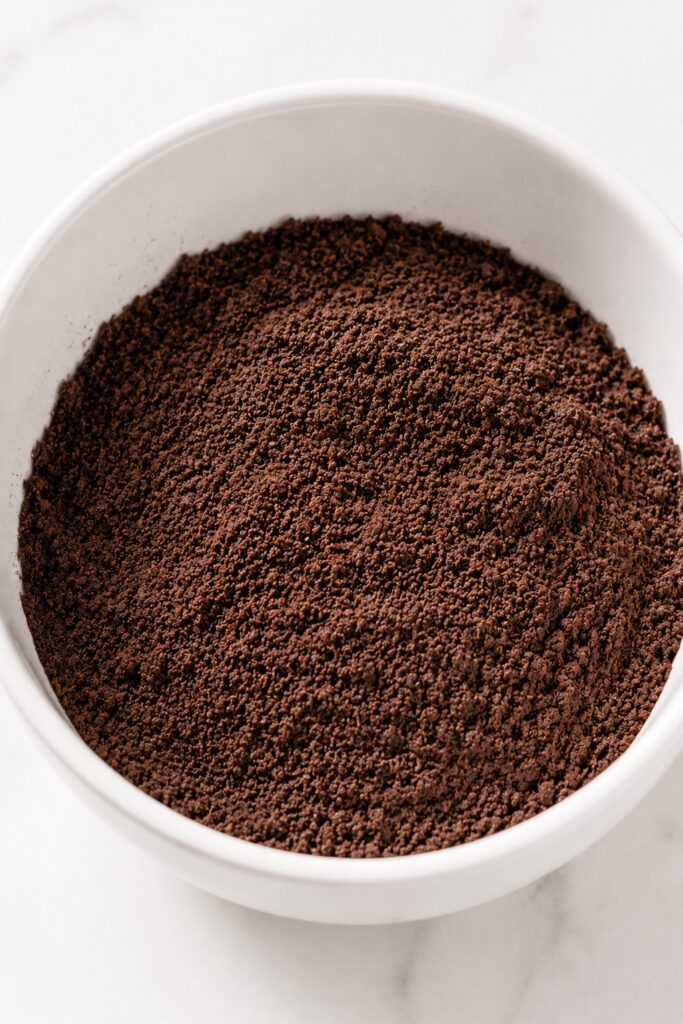
Whisk together the crushed Oreos, flour, cocoa powder, baking powder, salt, and the optional sugar and espresso powder until evenly combined.
What you should see:
- An evenly colored mixture.
- No streaks of cocoa or baking powder.
Step 3: Add the Wet Ingredients
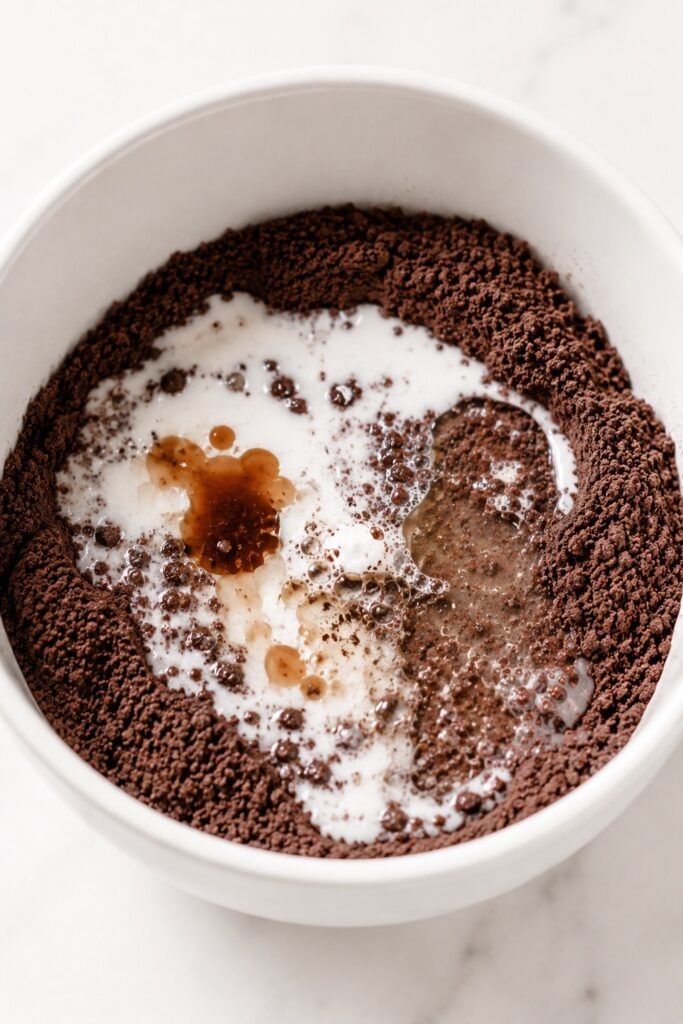
Add the milk, oil, and vanilla extract. Stir just until the batter becomes smooth and fully combined.
What you should see:
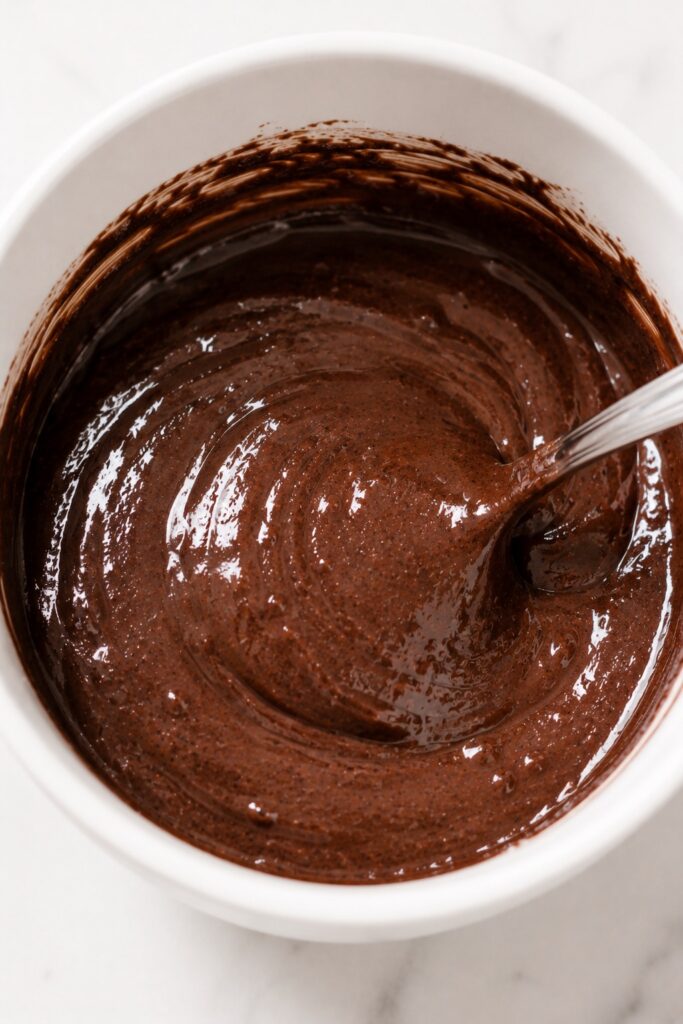
- A smooth, glossy batter.
- No dry pockets of flour.
- Slightly thicker than traditional cake batter but still easy to pour.
Step 4: Transfer the Batter to the Mug
Pour the batter into a 12–16-ounce microwave-safe mug, filling it no more than halfway.
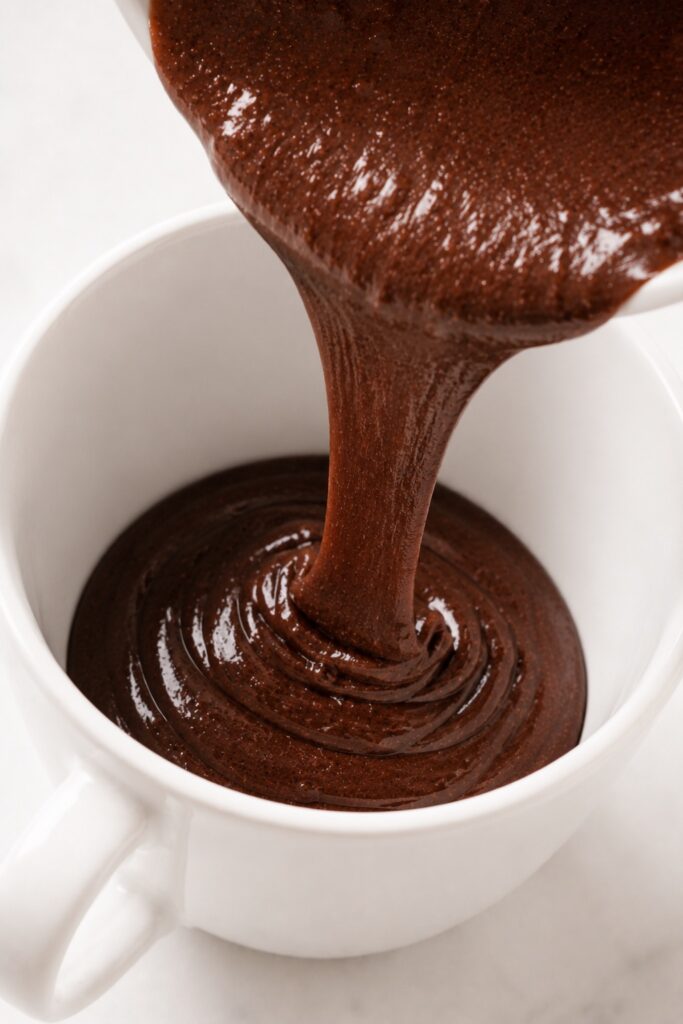
Why this matters: Leaving extra space allows the cake to rise without overflowing.
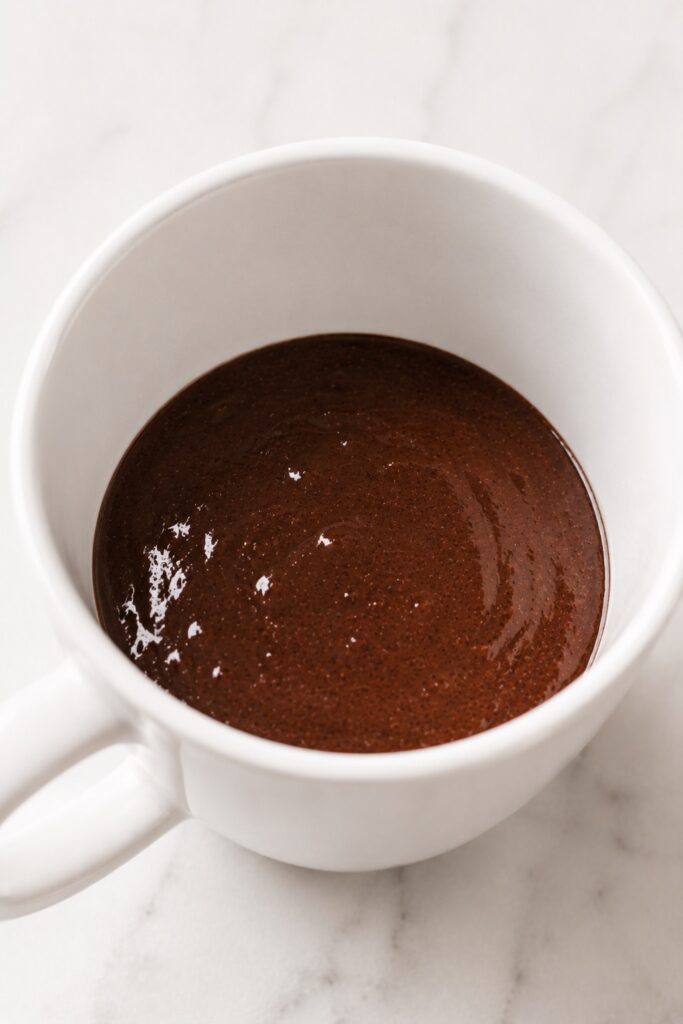
Step 5: Microwave Until Just Set
Microwave the mug cake according to your microwave’s wattage:
- 1200W: 60–70 seconds
- 1000W: 70–80 seconds
- 800W: 85–95 seconds
- 700W: 95–110 seconds
What you should see:
- The cake rises noticeably.
- The top looks set rather than wet.
- The center is no longer glossy.
- The edges may pull away from the mug slightly.
Pro Tip: Every microwave cooks a little differently. If the center still looks wet, continue cooking in 5-second intervals until it’s just set. Avoid overcooking, as the cake will continue to cook from residual heat while it rests.
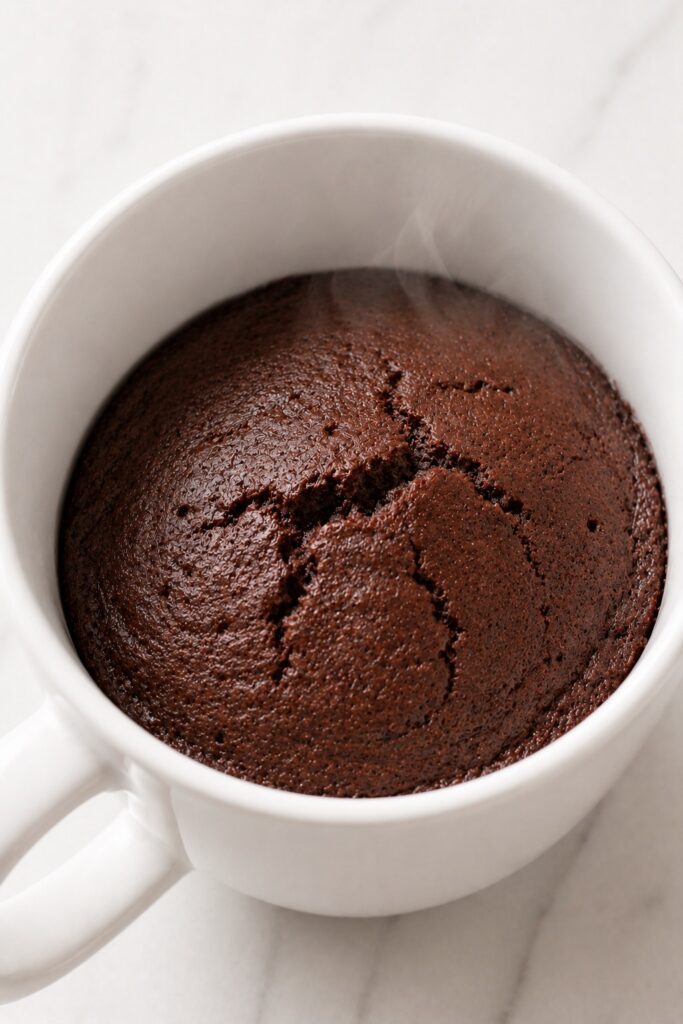
Step 6: Let the Mug Cake Rest
Let the mug cake rest for about 1 minute before serving.
What you should see:
- The cake settles slightly.
- The steam begins to fade.
- The crumb looks soft and fully set.
Why this matters: The resting time allows the residual heat to finish cooking the center while keeping the cake soft and moist.
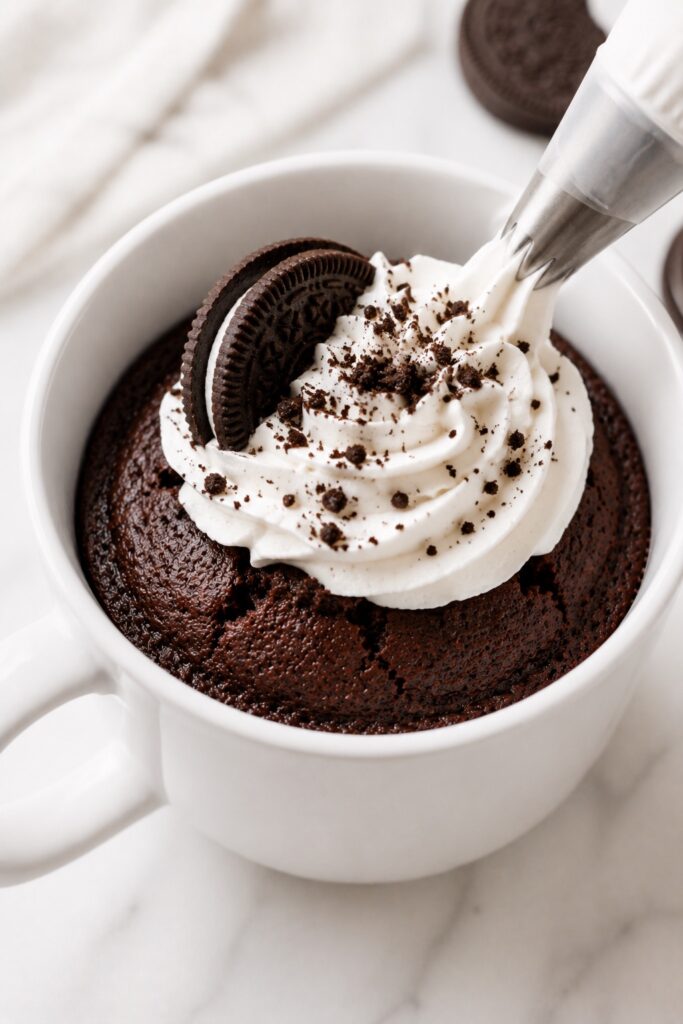
Step 7: Add Your Favorite Toppings
Enjoy the Oreo Mug Cake warm with whipped cream, crushed Oreos, chocolate syrup, or a scoop of vanilla ice cream.
Serving tip: The contrast between the warm cake and cold toppings makes every bite even more delicious.
How to Know When Your Oreo Mug Cake Is Done
Because microwave wattage varies, the cooking time is only a guide. The easiest way to know your Oreo Mug Cake is ready is by looking for these visual cues.
- The cake has risen noticeably and fills much of the mug.
- The top looks set with no wet batter remaining.
- The center is matte instead of glossy, indicating it has finished cooking.
- The edges may pull away slightly from the mug, but should still look soft.
- A toothpick inserted into the center comes out with a few moist crumbs, not wet batter.
If your mug cake isn’t ready: Microwave it in 5-second intervals until the center is just set.
If it’s overcooked: The cake will look dry, firm, and slightly shrunken. Next time, reduce the cooking time by 5–10 seconds.
Expert Tips for the Best Oreo Mug Cake
Once you’ve mastered the basic recipe, these expert baking tips can help you create an even softer, richer, and more consistent Oreo Mug Cake.
- Oil creates a softer crumb than butter in microwave cakes. Because oil remains liquid at room temperature, it keeps the cake moist and tender even after it cools. Butter adds flavor but firms up more quickly, making mug cakes feel slightly denser.
- The difference between perfect and overcooked is often just 5–10 seconds. Microwave cakes continue cooking from residual heat after they’re removed. Experienced bakers stop cooking when the center is just set rather than waiting for it to become completely firm.
- Small ingredient measurements have a much bigger impact in single-serving recipes. An extra teaspoon of flour or a splash of additional milk can noticeably change the final texture. Measuring accurately is far more important here than in a full-size cake.
- Natural cocoa powder produces a softer texture than Dutch-process cocoa in this recipe. Since the batter relies on baking powder for lift, natural cocoa helps create a lighter crumb while delivering a deeper chocolate flavor that complements the Oreo cookies.
- Let the cake cool for about one minute before adding cold toppings. This short resting time allows the crumb to finish setting while preventing whipped cream or ice cream from melting too quickly, giving you a better contrast of warm cake and cool toppings.
Common Mistakes to Avoid
Oreo Mug Cake is quick and easy to make, but a few small mistakes can noticeably affect the final texture. Here’s how to avoid the most common ones.
| Mistake | What Happens | How to Fix It |
|---|---|---|
| Overcooking the cake | The cake becomes dry, firm, and slightly rubbery. | Stop microwaving as soon as the center is just set and let residual heat finish the cooking. |
| Using too much flour | The crumb becomes dense instead of soft and fluffy. | Level the flour when measuring instead of packing it into the spoon. |
| Using a mug that’s too small | The batter can overflow while cooking. | Choose a 12–16-ounce microwave-safe mug. |
| Skipping the resting time | The center may seem slightly undercooked and the crumb won’t be fully set. | Let the cake rest for about one minute before serving. |
| Adding too much liquid | The batter cooks unevenly and may remain wet in the center. | Measure the milk accurately and avoid adding extra unless absolutely necessary. |
Why Mug Cakes Sometimes Turn Rubbery
If you’ve ever wondered why a mug cake turns dry, chewy, or rubbery instead of soft and fluffy, the answer usually isn’t the recipe—it’s what happens during the final seconds of cooking. Because microwave desserts cook so quickly, even a small amount of extra time can noticeably change the texture.
- Microwaves cook incredibly fast. Unlike a conventional oven, a microwave heats moisture inside the batter almost immediately. Once the cake is fully set, every extra second causes more moisture to evaporate, leaving the crumb firmer and drier.
- Residual heat keeps cooking the cake. Even after the microwave stops, the hot mug continues transferring heat into the center. That’s why it’s better to stop cooking when the top is just set rather than waiting for the cake to look completely firm.
- Small timing differences matter. For many mug cakes, the difference between perfectly soft and noticeably rubbery can be as little as 5–10 seconds, especially in 1000–1200 watt microwaves.
- The right texture should still look moist. A properly cooked mug cake should have a soft, tender crumb with a slightly moist center. If the cake looks dry, pulls away dramatically from the mug, or feels tough when you press it with a spoon, it has probably cooked a little too long.
Tip: Think of the cooking time as a window rather than an exact number. Begin checking the cake at the earliest recommended time for your microwave, then continue in 5-second intervals only if needed. Stopping just before you think it’s completely done almost always produces the softest results.
Beautiful Ways to Serve Oreo Mug Cake
This Oreo Mug Cake is best served warm, when the crumb is soft, the chocolate flavor is rich, and the Oreo pieces still feel tender and cozy. A few simple toppings can turn it from a quick microwave dessert into a small, bakery-style treat.
Serve It Warm with Ice Cream
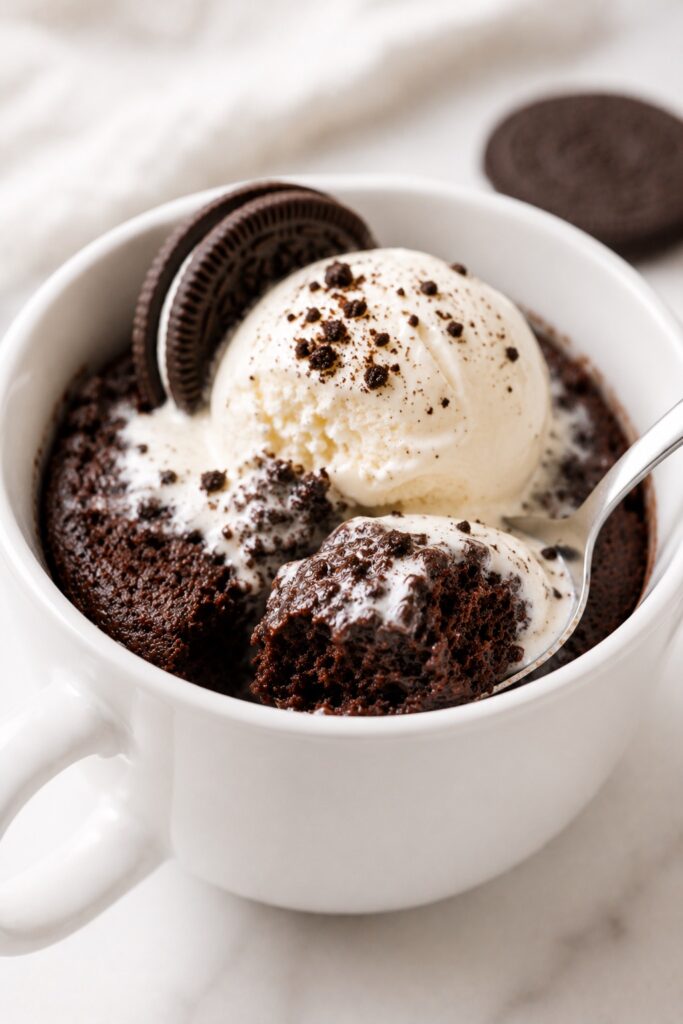
For the most irresistible texture, serve the mug cake while it is still warm and add a scoop of vanilla ice cream on top. The ice cream slowly melts into the soft chocolate cake, creating a creamy cookies-and-cream spoonful with warm cake, cool vanilla, and tender Oreo crumbs in every bite.
Add a Cookies-and-Cream Finish
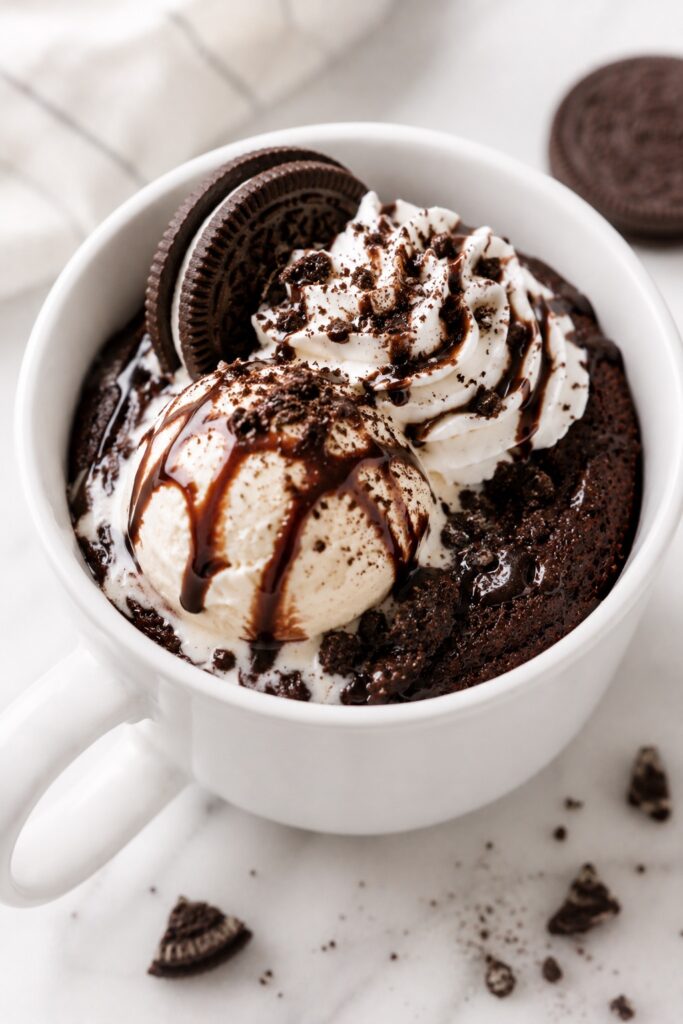
For extra Oreo flavor, finish the cake with crushed Oreo cookies, a swirl of whipped cream, and a light drizzle of chocolate sauce. This gives the mug cake more texture, makes the top look beautiful, and turns a simple five-minute dessert into something that feels much more special.
Make It a Cozy Single-Serve Dessert
This Oreo Mug Cake is perfect for late-night chocolate cravings, movie nights, rainy afternoons, or a quick after-school treat. Serve it with cold milk, hot coffee, or a creamy latte for a comforting dessert that feels homemade without needing to bake a full cake.
How to Store & Reheat Oreo Mug Cake (Without Losing Its Soft Texture)
Like most mug cakes, this Oreo Mug Cake is at its very best fresh from the microwave. If you have leftovers, here’s how to keep them soft and enjoy them again without drying them out.
Best Enjoyed Fresh
This recipe is designed to be enjoyed warm, just a few minutes after cooking.
The cake has the softest texture while it’s still slightly warm, and the melted chocolate chips stay perfectly gooey.
How to Store Leftovers
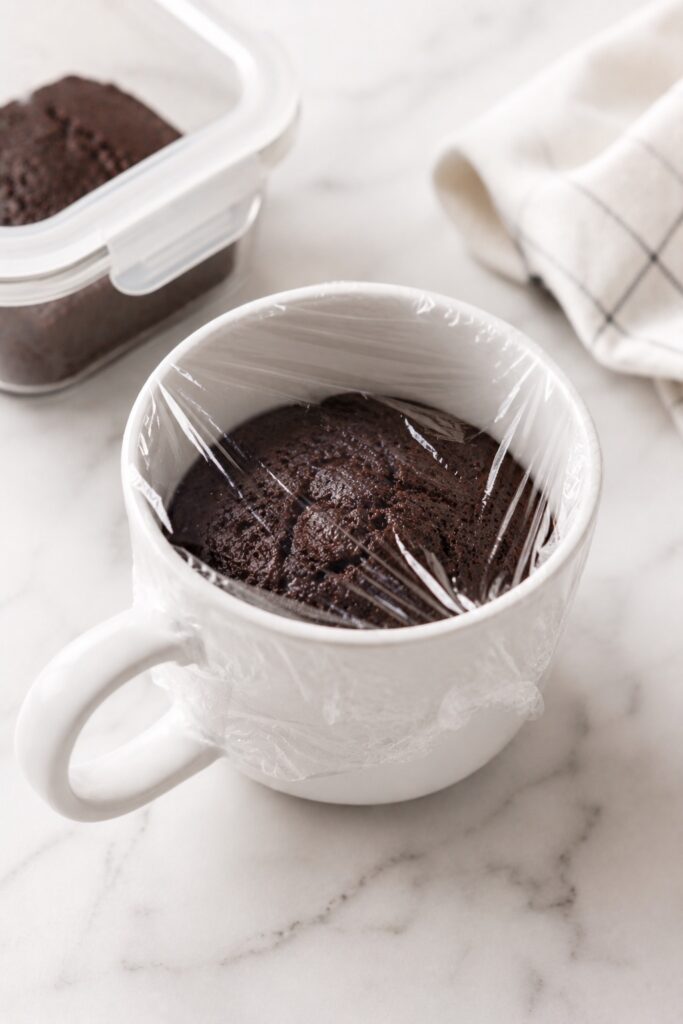
If you don’t finish the mug cake, let it cool completely before covering the mug tightly or transferring it to an airtight container.
Store it in the refrigerator for up to 2 days.
How to Reheat Without Drying It Out
Start with the recommended time for your microwave. If the center still feels cool, continue reheating in 5-second intervals until the cake is just warm. Overheating is the quickest way to make a mug cake dry and rubbery.
- 700–900W microwave: Reheat for about 15–20 seconds.
- 1000–1200W microwave: Start with 10–15 seconds.
- 1200W+ microwave: Begin with 8–10 seconds and add a few more seconds only if needed.
The cake should feel warm, not hot. Stop reheating as soon as it’s heated through to keep the crumb soft and moist.
Easy Ways to Make This Oreo Mug Cake Your Own
One of the best things about this Oreo Mug Cake is how easy it is to customize without changing the basic method. Whether you want a different Oreo flavor, a richer chocolate version, or a dairy-free option, these simple variations let you make it exactly the way you like.
Try a Different Oreo Flavor
Changing the Oreo variety is the easiest way to give this mug cake a completely different personality.
- Golden Oreo Mug Cake – Use Golden Oreos for a sweeter vanilla cookies-and-cream version.
- Mint Oreo Mug Cake – Use Mint Oreos for a cool chocolate-mint flavor that pairs beautifully with vanilla ice cream.
- Peanut Butter Oreo Mug Cake – Use Peanut Butter Oreos for a richer, nuttier version with extra depth.
- Birthday Cake Oreo Mug Cake – Use Birthday Cake Oreos and finish with sprinkles for a fun celebration-style dessert.
Turn It Into a Café-Style Dessert
A few toppings can make this quick microwave dessert feel much more special.
- Add a scoop of vanilla ice cream while the cake is still warm.
- Top with whipped cream and crushed Oreos.
- Finish with chocolate syrup, hot fudge, or a light dusting of cocoa powder.
Make It Extra Chocolatey
If you want a deeper chocolate flavor, add one or two small extras before microwaving.
- Fold 1–2 tablespoons of chocolate chips into the batter.
- Add 1 tablespoon of chocolate hazelnut spread in the center before cooking.
- Finish with chocolate sauce, whipped cream, and extra Oreo crumbs after microwaving.
Make It Dairy-Free
This recipe is easy to adapt if you need a dairy-free Oreo Mug Cake.
- Use oat milk, almond milk, or soy milk instead of dairy milk.
- Choose dairy-free chocolate sandwich cookies if needed.
- Serve with dairy-free whipped topping or vegan vanilla ice cream.
Oreo Mug Cake FAQs
Why did my Oreo Mug Cake turn out rubbery?
The most common cause is overcooking. Even an extra 10–15 seconds can make a mug cake dry and rubbery, especially in higher-wattage microwaves.
Next time, use the cooking time recommended for your microwave wattage and stop as soon as the center looks set. The cake will continue to finish cooking from the residual heat for a minute after you remove it from the microwave.
Why is my Oreo Mug Cake still wet in the center?
A slightly soft center is perfectly normal, but it shouldn’t look liquid or raw.
If the center is still undercooked after the recommended cooking time, continue microwaving in 5-second intervals until it’s just set. Avoid adding 20–30 extra seconds all at once, as the cake can quickly become overcooked.
Can I use almond milk or another type of milk?
Yes. Almond milk, oat milk, soy milk, and regular dairy milk all work well in this recipe.
The flavor will stay very similar, although richer milks usually produce a slightly softer crumb than lower-fat alternatives.
What size mug works best?
Use a microwave-safe mug that holds at least 12 ounces (about 350 ml).
A larger mug gives the batter room to rise while cooking and helps prevent it from overflowing in the microwave.
Can I bake this Oreo Mug Cake in the oven instead?
Yes, although it will no longer be a true mug cake.
Transfer the batter to a small oven-safe ramekin and bake at 350°F (175°C) for about 12–15 minutes, or until the center is set and a toothpick inserted near the middle comes out with a few moist crumbs.
Can I make the batter ahead of time?
It’s best to cook the batter immediately after mixing.
Letting the batter sit can affect the baking powder and change the final texture, resulting in a denser mug cake.
Keep the Sweet Inspiration Going
If this Oreo Mug Cake hit the spot, why stop here? Whether you’re craving more irresistible Oreo desserts, rich chocolate favorites, or easy no-bake treats, these recipes are the perfect next step for your dessert collection.
Love Oreo Desserts? These Reader Favorites Are Worth Trying
If cookies-and-cream desserts are your weakness, these recipes take everything you love about Oreos and transform them into crowd-pleasing treats for every occasion.
- Oreo Balls – Rich, creamy, and coated in chocolate, these no-bake treats are perfect for holidays, parties, or homemade gifts.
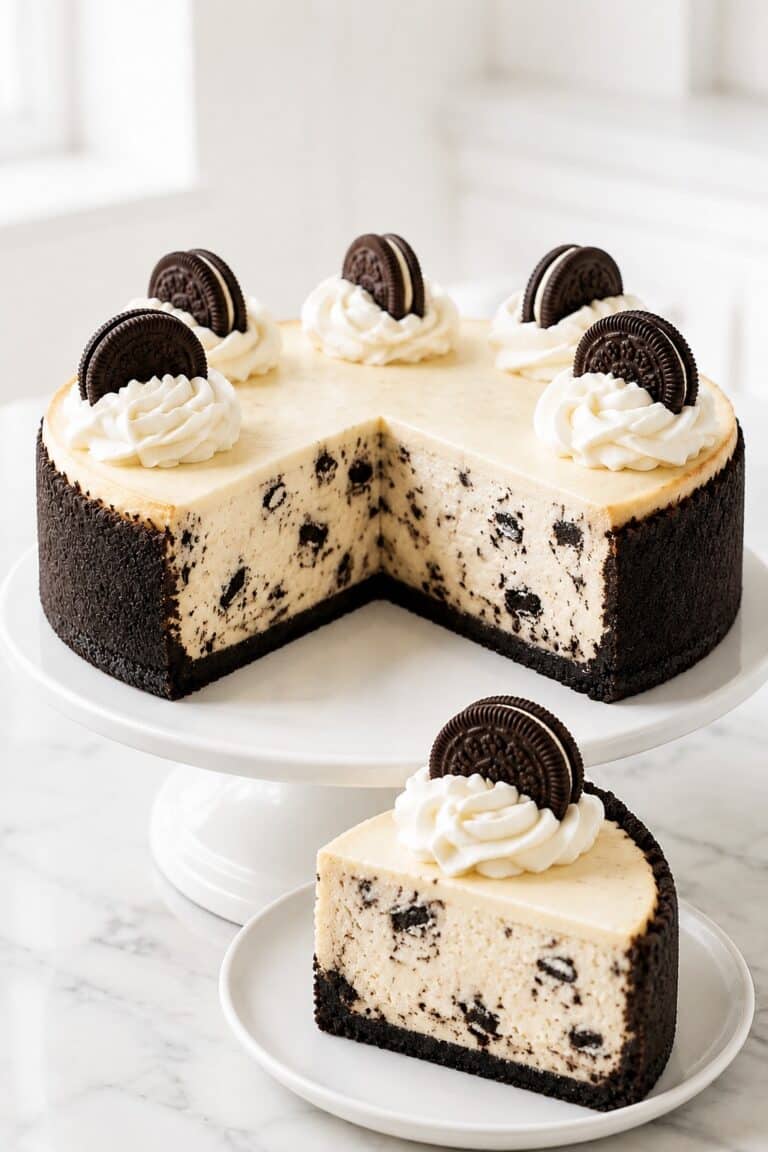
- Oreo Cheesecake – A smooth and creamy cheesecake packed with Oreo cookies on a buttery chocolate cookie crust.
- Oreo Cupcakes – Soft chocolate cupcakes topped with fluffy Oreo frosting that everyone will love.
- Oreo Pie – A cool, creamy dessert with plenty of cookies-and-cream flavor that’s perfect for warmer days.
Craving More Chocolate Desserts? Start with These Favorites
When one chocolate dessert isn’t enough, these homemade favorites deliver everything from warm molten centers to silky, spoonable chocolate indulgence.
- Chocolate Lava Cake – An elegant dessert with a warm molten center that’s surprisingly simple to make at home.
- Chocolate Mousse – Light, silky, and intensely chocolatey, making it perfect for dinner parties or date nights.
- Brownie Cookies – Crackly on the outside and fudgy inside, they’re the perfect choice when you can’t decide between cookies and brownies.
- Chocolate Pudding – Smooth, creamy, and deeply chocolatey with a classic homemade taste that’s hard to beat.
Looking for Easy No-Bake Desserts? You’ll Love These
If you want another simple dessert without turning on the oven, these easy no-bake recipes are delicious, reliable, and perfect for making ahead.
- No Bake Cheesecake – Creamy, smooth, and wonderfully simple with a buttery graham cracker crust.
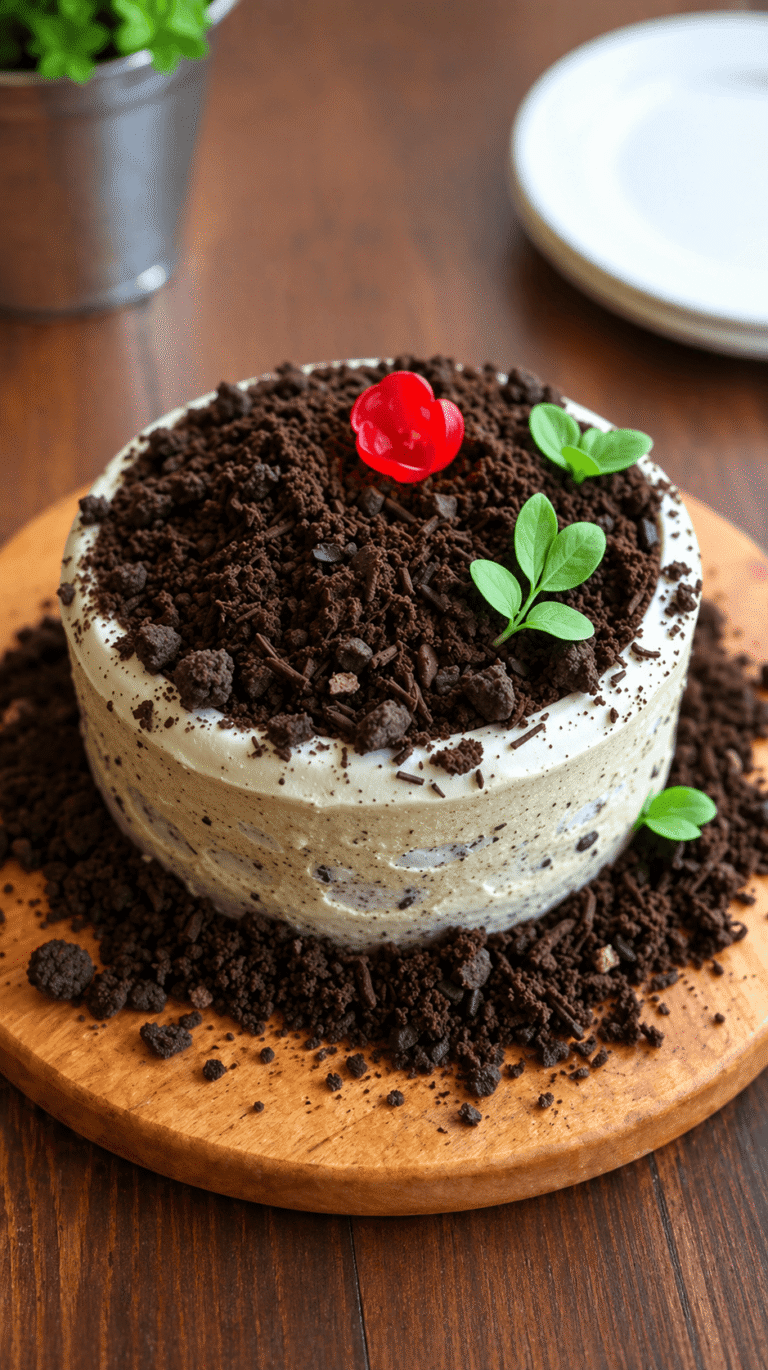
- Dirt Cake – Layers of creamy pudding and crushed Oreo cookies make this a fun dessert for kids and adults alike.
- Peanut Butter Bars – Rich peanut butter topped with smooth chocolate for an easy dessert that’s always a crowd favorite.
- Homemade Fudge – Rich, creamy, and perfect for sharing, gifting, or keeping in the fridge for whenever a chocolate craving strikes.
Every dessert offers something a little different, but they all share the same goal—simple techniques, dependable results, and homemade treats you’ll be excited to make again.
From My Kitchen to Yours
Every kitchen has a handful of recipes that never seem to go out of style. Not because they’re the most elaborate, but because they fit naturally into everyday life and deliver the same comforting results every time they’re made. Those dependable recipes often become the ones we treasure most.
This Oreo Mug Cake is exactly that kind of recipe. It’s quick enough for an ordinary weekday, satisfying enough to feel like a true homemade dessert, and simple enough to make whenever the craving strikes. I hope it earns a lasting place in your kitchen, just as it has in mine.

Oreo Mug Cake
This Oreo Mug Cake is soft, fluffy, and ready in about 5 minutes using simple pantry ingredients and a microwave. Made with crushed Oreo cookies, cocoa powder, and milk, it delivers a rich cookies-and-cream flavor with a tender, cake-like crumb. Perfect for late-night cravings, quick desserts, or whenever you want a warm homemade treat without turning on the oven.
Ingredients
Oreo Mug Cake
- 6 Oreo cookies
- 2 tablespoons (16 g) all-purpose flour
- 2 teaspoons (5 g) unsweetened cocoa powder
- 1/2 teaspoon baking powder
- Pinch of fine salt
- 1 teaspoon granulated sugar, optional
- 1/4 teaspoon espresso powder, optional
- 4 tablespoons (60 ml) whole milk
- 1 tablespoon neutral oil
- 1/2 teaspoon vanilla extract
- 1 tablespoon mini chocolate chips, optional
Optional Toppings
- Crushed Oreo cookies
- Whipped cream
- Vanilla ice cream
- Chocolate syrup
- Chocolate shavings
Instructions
- Place the Oreo cookies in a zip-top bag and crush them into fine crumbs with a rolling pin, or pulse them briefly in a food processor. The crumbs should be fine and even, with no large cookie pieces remaining.
- In a small mixing bowl, whisk together the crushed Oreos, flour, cocoa powder, baking powder, salt, and the optional sugar and espresso powder until evenly combined.
- Add the milk, neutral oil, and vanilla extract. Stir just until the batter is smooth and no dry pockets remain. Fold in the mini chocolate chips, if using.
- Pour the batter into a 12–16-ounce microwave-safe mug, filling it no more than halfway so the cake has room to rise.
- Microwave according to your microwave’s wattage:
- 1200W: 60–70 seconds
- 1000W: 70–80 seconds
- 800W: 85–95 seconds
- 700W: 95–110 seconds
- Check the mug cake at the earliest recommended time. The cake should be visibly risen, the top should look set rather than wet, and the center should no longer appear glossy. If needed, continue microwaving in 5-second intervals until just set.
- Let the mug cake rest for 1 minute. It will settle slightly as the residual heat finishes cooking the center.
- Serve warm with crushed Oreos, whipped cream, chocolate syrup, or a scoop of vanilla ice cream.
Notes
- Crush the Oreos into fine crumbs. Large cookie pieces won’t blend evenly into the batter and can create a heavier texture.
- Use a 12–16-ounce microwave-safe mug. Filling the mug no more than halfway gives the cake room to rise without overflowing.
- Microwave wattage matters. Start with the lowest recommended cooking time for your microwave and add only 5-second intervals if needed.
- Don’t overcook. The cake should look just set on top with a soft center. It will continue cooking for about 1 minute from residual heat after you remove it from the microwave.
- Serve warm for the best texture. Top with whipped cream, crushed Oreos, or a scoop of vanilla ice cream while the cake is still warm for the ultimate cookies-and-cream dessert.
Nutrition Information:
Yield: 1 Serving Size: 1 mug cakeAmount Per Serving: Calories: 520Total Fat: 27gSaturated Fat: 8gCarbohydrates: 66gFiber: 4gSugar: 39gProtein: 6g
Nutrition information is provided as an estimate only and may vary based on specific ingredients, brands, and portion sizes used. This information should not be considered medical or nutritional advice.
12 Sweet Favorites — Yours, Free 🍰
Tiramisù, no-bake cheesecake, the perfect chocolate chip cookie & 9 more reader-loved desserts — gathered into one beautiful free recipe book. From my kitchen to yours.
No spam, just sweet things. Unsubscribe anytime.


Everything looks so delicious 😋 I can’t wait to make some of these . Thank you for recipes..
Thank you so much for such a sweet comment! 😊💛 I’m so happy the recipes caught your eye, and I hope you find lots of new favorites to try! Thank you for being here and taking the time to leave such a lovely message. If you ever have any questions about any of the recipes, please feel free to ask. I’m always happy to help! 🥰🍰🍪✨