Gluten-Free Angel Food Cake
🎁 FREE E-BOOK: 12 Sweet Favorites — reader-loved desserts in one beautiful recipe book.
Gluten-free angel food cake has a fine, snowy crumb that springs gently beneath your fork, with a thin golden crust around the edges. Vanilla gives each light slice a soft, familiar sweetness, lovely on its own or with a few fresh berries beside it.

There is something welcoming about bringing a tall, plain cake to the table and letting everyone add a little fruit or cream. It feels at home at a leisurely lunch or a small celebration, with no frosting to smooth and no layers to assemble.
Keep this recipe close when you want clear guidance through the stages that matter most: a glossy, flexible meringue, a careful fold, and a cake left upside down until completely cool. Recognizing those changes makes the process easier to follow than watching the clock alone.
Gluten-Free Angel Food Cake at a Glance
This is a tall vanilla foam cake with a fine, springy crumb. The hands-on work is fairly short, but the cake needs a full inverted cooling period before it can be released and sliced.
| Recipe Detail | What to Expect |
|---|---|
| Texture | Airy and fine-pored, with a delicate, slightly moist crumb and a thin golden crust. |
| Flavor | Sweet vanilla, with a gentle flavor that pairs well with fruit, whipped cream, or lemon curd. |
| Difficulty | Intermediate: simple ingredients, with close attention to the meringue, folding, and inverted cooling. |
| Time | About 30 minutes active work, 40–50 minutes baking, and about 3 hours 15 minutes total, including cooling. |
| Servings | 10 servings from one 10-inch tube cake. |
| Method | Whip an egg-white foam, fold in the sifted dry ingredients, bake at 350°F (175°C) in a conventional oven, then cool upside down. |
| Best For | A light dessert after dinner, a small celebration, or a dessert table with toppings served separately. |
| Essential Pan | A 10 × 4-inch uncoated aluminum tube pan with a removable base, kept dry, ungreased, and unlined. |
| Cooling | About 2 hours upside down, or longer if needed, until completely cold before releasing. |
| Make Ahead | Bake and fully cool the plain cake the day before; store airtight within the 2-day room-temperature quality window and add toppings at serving time. |
Why This Gluten-Free Angel Food Cake Works
A light gluten-free angel food cake depends on more than a well-whipped bowl of whites. The dry ingredients, sugar, folding, and pan each help carry that air through to a slice that holds its shape.
- A specific flour-and-starch combination: the named gum-free flour blend and separate cornstarch give the recipe a consistent dry base. Keeping that combination avoids introducing the extra gums or different flour proportions found in other blends.
- Fine sugar with two distinct uses: one measured portion is sifted with the flour, while the other is added gradually to the whites. This keeps the dry mixture evenly combined and the meringue smooth, without losing track of the sugar allocation.
- A glossy foam that stays flexible: cream of tartar supports the egg-white foam, while the curling-peak stopping point keeps it supple. The meringue retains room to expand in the oven instead of starting out dry and rigid.
- Gradual folding protects the air: small additions of sifted dry ingredients are easier to incorporate evenly through the foam. Reaching the bottom of the bowl prevents hidden flour pockets without prolonging the fold unnecessarily.
- Support through baking and cooling: the batter grips the bare tube pan as it rises. Keeping the baked cake attached and inverted until cold supports the delicate crumb while it firms, before it has to hold its own weight.

Why You Will Love This Light Vanilla Cake
The appeal is a soft vanilla slice that feels special on the plate, with a plain cake you can finish to suit the table. It works especially well when you can bake earlier and leave only the toppings for serving time.
- A delicate bite with plenty of vanilla: the fine, springy crumb and thin golden edge give each slice a gentle contrast of textures. It is a lovely choice when you want dessert to finish a generous meal on a light note.
- A centerpiece from one pan: the tall ring shape makes the whole cake attractive enough to bring straight to the table. Ten portions come from a single bake, with no layers to stack, fill, or frost.
- One cake, several ways to serve it: keep the vanilla cake plain and let each person choose fruit, whipped cream, or a little lemon curd. You can offer variety without preparing several different cakes.
- A modest amount of hands-on work: allow about 30 active minutes, including releasing and slicing the cooled cake. Most of the remaining time belongs to baking and cooling, making it useful to prepare earlier in the day.
- A practical day-ahead option: the plain cake can be baked, cooled completely, and stored airtight the day before. With toppings kept separate until serving, there is no last-minute frosting or assembly to fit around the meal.
How This Angel Food Cake Holds Its Airy Shape
Whipping builds the airy structure, while the pan supports it through baking and cooling. Both stages matter because a tall foam cake is delicate before it has fully cooled.
A Flexible Egg-White Foam
Egg-white proteins help hold the air incorporated during whipping. The American Egg Board explains how egg whites form a stable foam, including the role of acidity in keeping it elastic.
That is why cream of tartar belongs in the bowl from the start and why the finished meringue should still look flexible. Add the sugar gradually, then stop at glossy soft peaks with tips that curl over.
Support While the Cake Cools
The freshly baked cake is still fragile enough to compress under its own weight. Cooling it upside down while it remains attached to the pan gives the crumb support as it firms.
Greasing the pan takes away that grip. Removing the cake while warm also takes away its support too soon, so the pan stays ungreased and the cake stays in it until completely cold.
Ingredients for a Fine, Light Gluten-Free Crumb
Use the specified gluten-free flour blend and keep the sugar divided into two measured portions. Weighing the flour, sugar, and egg whites is especially helpful because cup weights and egg sizes vary.
Ingredient List
These amounts make one 10-inch cake. Set aside 143 g of the sugar for the dry mixture and 167 g for the meringue before you begin whipping.
- 3/4 cup (120 g) King Arthur Gluten-Free All-Purpose Flour, the blend made without xanthan gum, not Measure for Measure
- 1 1/2 cups plus 2 tablespoons (310 g) superfine sugar, divided: 143 g for the dry mixture and 167 g for the meringue
- 1/4 cup (35 g) cornstarch
- 1 1/2 cups (360 g) egg whites, separated from about 10–12 large shell eggs, with no yolk
- 1/4 teaspoon (about 1.5 g) fine salt
- 1 1/2 teaspoons (about 4.5 g) cream of tartar
- 2 teaspoons (10 ml) vanilla extract

Flour, Sugar, and Egg-White Choices
King Arthur Gluten-Free All-Purpose Flour is the gum-free blend used here. Its rice flours and starches differ from those in Measure for Measure and other 1:1 blends, so keep the product choice specific and add no xanthan gum.
If you want the wheat-flour version, the separate classic angel food cake uses its own ingredient proportions. Almond flour, coconut flour, and plain rice flour are also different ingredients, rather than direct replacements for this blend.
Sugar: superfine sugar has smaller crystals than ordinary granulated sugar. If necessary, process granulated sugar until the crystals are finer, keeping the total at 310 g, then measure the two portions. Do not use powdered sugar, and keep the full amount of sugar in the cake. The cup measures above apply to the superfine sugar used in the reference recipe, not every type of granulated sugar.
Egg whites: measure 360 g after separating the eggs. The number of eggs is only a guide. Use whites from shell eggs for this recipe; carton products differ in their ability to form a strong foam.
The small ingredients: cornstarch means the fine white starch, not cornmeal. Cream of tartar is an acid and is not interchangeable with baking powder. Use level measuring spoons for the salt and cream of tartar; their gram amounts are approximate.
Choose ingredients labeled gluten-free where relevant and keep utensils and surfaces free of flour residue. FDA guidance on gluten-free labeling explains what that label means on packaged foods; it does not certify a cake prepared at home.

Kitchen Tools for a Tall Angel Food Cake
The pan needs straight sides that the batter can grip, and the mixing tools need to be completely free of grease. Have the cooling support ready before the cake goes into the oven.
- Tube pan and oven: a 10 × 4-inch, approximately 25 × 10-cm, uncoated aluminum angel food tube pan with a removable base, kept dry, ungreased, and unlined; a conventional oven set to 350°F (175°C) with a lower-third rack.
- Foam mixing setup: a large grease-free glass or metal bowl, an electric stand mixer with a whisk attachment or an electric hand mixer, and a small bowl for separating each egg individually.
- Measuring and sifting tools: a digital scale, cups, level measuring spoons, a fine sieve, and a dry-ingredient bowl; a food processor only if grinding granulated sugar finer.
- Folding and filling tools: a flexible spatula, an optional large balloon whisk for folding, and a thin spatula to release large air pockets in the pan.
- Cooling and cutting tools: a stable support for the inverted pan that keeps the cake clear of the counter, a thin flexible knife or spatula for releasing the sides, tube, and base, and a serrated knife for gentle sawing cuts.
Before You Begin This Angel Food Cake
Once the meringue is ready, folding and baking should follow without a long pause. Check that the ingredients, pan, and cooling space are ready for that uninterrupted sequence.
- The correct uncoated tube pan is clean, dry, and free of oil or baking spray.
- The mixing bowl and whisk have no greasy film.
- The flour is the specified gum-free blend, and the sugar can be separated into 143 g and 167 g portions.
- The scale, sieve, and dry-ingredient bowl are within reach.
- The inverted pan sits securely on its support, with enough clearance for the cake’s raised top.
- The oven and counter space will be available for baking and complete cooling; no mixed batter needs to wait for another cake.

Plan This Cake Around Serving Time
For a serving deadline, begin about 3 hours 30 minutes ahead. That leaves a small cushion around the baking window, but a cake that is still warm needs more cooling time.
| Time before serving | What happens | Readiness to watch |
|---|---|---|
| About 3 hours 30 minutes | Prepare the ingredients and foam, about 25 minutes. | Pan, oven, and cooling support ready; batter goes straight into the oven. |
| About 3 hours 5 minutes | Bake for 40–50 minutes. | Move to inverted cooling as soon as the cake is baked. |
| About 2 hours 15–25 minutes | Cool upside down for about 2 hours. | Complete cooling matters more than the clock. |
| About 15–25 minutes | Allow about 5 minutes to release the cold cake; finish and slice near serving time. | Keep toppings separate until serving. |
The Rise and Texture to Expect from This Cake
Expect a springy egg-white foam cake with fine, pale pores and a thin crust, lighter and less rich than a butter cake.
- The folded batter is airy and spoonable, not a thin pouring batter.
- The top rises and may form cracks as the crust develops.
- The cooled crumb should feel delicate and slightly moist while holding a coherent slice.
- A little settling can occur during cooling; a compact, wet band at the base is outside the intended texture.

How to Make Gluten-Free Angel Food Cake
Make the dry mixture first, then whip and fold while the oven is ready. The final cooling phase is part of making the cake, so keep it in its pan until completely cold.
1. Prepare the Pan, Oven, and Cooling Support
Heat a conventional oven to 350°F (175°C) with a rack in the lower third. Keep the 10-inch tube pan completely dry, ungreased, and unlined. Check that your cooling support is stable and will keep the raised top of the inverted cake clear of the counter.
What you should see: A clean, bare pan interior, plenty of room above the oven rack, and a secure place to suspend the baked cake.
2. Measure and Sift the Dry Ingredients
Divide the 310 g superfine sugar into 143 g and 167 g. Whisk the 120 g gluten-free flour, 35 g cornstarch, and 143 g sugar together, then sift into a dry bowl. Keep the remaining 167 g sugar beside the mixer.
What you should see: A fine, evenly mixed dry blend with no lumps, plus a separate bowl of sugar for the meringue.
3. Separate the Eggs and Begin the Foam
Separate the eggs while cold, working with one egg at a time over a small bowl before transferring each clean white to the mixing bowl. Measure 360 g whites and let them stand while you finish arranging the mixer and measured ingredients. Add the salt and cream of tartar, then beat with an electric mixer until foamy.
What you should see: The whites have increased in volume and contain many small bubbles, with no trace of yolk or grease.
If yolk gets into an individual white, keep that white out of the mixing bowl. A contaminated batch that will not foam should be replaced rather than thickened with extra flour.
4. Add the Sugar and Vanilla
With the mixer running, add the remaining 167 g sugar gradually in small additions. Continue beating until the meringue is glossy and holds a soft mound with a tip that curls over. Incorporate the vanilla briefly, stopping before the foam becomes dry or rigid.
What you should see: A smooth, shiny meringue that holds its shape while the lifted peak bends gently at the tip.

For a fuller comparison of the different stages, see the meringue and crumb guide. The flexible peak is the stopping point here, rather than a set number of mixer minutes.
5. Fold in the Flour Mixture
Sprinkle about 1/4 cup of the sifted dry mixture over the meringue at a time. Fold gently with a flexible spatula or large balloon whisk, reaching down through the mixture and turning it over. Add the next portion after the previous one is incorporated, continuing until all the dry mixture is used.

What you should see: A voluminous, uniform batter with no dry pockets, especially at the bottom of the bowl. It should not become thin and markedly deflated.

6. Fill the Tube Pan
Spoon the batter into the ungreased pan without pressing it down. Gently level it around the tube, then pass a thin spatula through the batter to release large air pockets. Put the filled pan into the preheated oven promptly.
What you should see: An even layer around the center tube, with no large visible gaps or compressed patches.

7. Bake Until the Top Springs Back
Bake for 40–50 minutes, beginning your checks at 40 minutes. Look for a golden surface, dry-looking cracks, and a top that springs back when lightly touched. Avoid opening the oven early just to inspect the color.
What you should see: The top has set and rebounds lightly; it does not leave a wet-looking depression after a gentle touch.
8. Cool the Cake Upside Down
Invert the pan immediately after baking, using its feet or a stable heatproof support that leaves the cake’s crown clear of the counter. Keep it suspended for about 2 hours, until completely cold. Allow longer if any part of the cake is still warm.
What you should see: The cake remains attached to the sides and center tube while air circulates beneath it; its top carries none of the pan’s weight.

9. Release and Slice the Cake
Once the cake is completely cold, pass a thin flexible knife or spatula around the outer wall and center tube. Lift out the removable base, then carefully release the cake from that base and transfer it to a serving plate.

Cut 10 portions with a serrated knife, using short, gentle sawing strokes and very little downward pressure.
What you should see: An airy slice that holds together without being compressed by the blade, with no compact wet layer at the base.
How to Know Your Angel Food Cake Is Baked
The cake is ready when the bake window, surface appearance, and spring-back cue agree. Color alone is not enough to judge the center.
- Begin checking at 40 minutes, allowing up to about 50 minutes as needed.
- The surface is golden, and the opened cracks look dry rather than wet.
- A light touch springs back without leaving a damp depression.
- A clean skewer alone does not replace the surface and spring-back checks.

Read the Meringue, Batter, and Finished Crumb
Gloss, flexibility, and the shape of the air pockets tell you more than stiffness alone. These cues help distinguish a foam that is ready to fold from one that has gone too far.
I used to think the safest way to make angel food cake was to whip the egg whites until the peaks stood completely straight. What changed my approach was understanding that a glossy, flexible meringue still has room to expand in the oven; once the foam looks dry and rigid, that margin is gone.
| Stage | The intended appearance | Signs to pause and assess |
|---|---|---|
| Meringue | Glossy and smooth, holding a mound with a curling tip. | Loose foam cannot hold a mound; dry, rigid, or clumpy foam has gone too far. |
| Folded batter | Airy and uniform, with no dry ingredients hidden at the base of the bowl. | Flour pockets need a little more folding; thin, deflated batter has lost too much air. |
| Cooled crumb | Fine pores, a springy slice, and a delicate, slightly moist interior. | A wet compact band is different from normal moisture; a flattened slice may also reflect cutting pressure. |

Small Details That Protect the Airy Crumb
A few small checks make it easier to protect the air you have worked into the batter and keep the finished slices intact.
- Give each sugar portion its own bowl. Once the mixer is running, a separate 167 g portion prevents losing track of how much belongs in the meringue.
- Check the fold from the bottom upward. Dry mixture can collect below an apparently smooth surface; finding it early avoids unnecessary mixing later.
- Tip: let the knife do the work. Short serrated strokes cut through the thin crust without pushing the tender crumb into a dense strip. If the blade drags, wipe it clean between slices.

What Can Make Angel Food Cake Dense or Collapse
Low volume, a dense band, and a crushed slice can have different causes. Use the stage at which the problem appears to narrow down what to change.
| Symptom | Likely cause | Prevention | What to do |
|---|---|---|---|
| Whites stay low and loose | Grease, yolk, or whites that do not foam well. | Use clean equipment and separate shell eggs individually. | Replace contaminated whites and clean the bowl; extra flour will not restore the foam. |
| Meringue looks dry and rigid | Whipping beyond the flexible-peak stage. | Check gloss and the curling peak as the sugar is incorporated. | Remake a dry, clumpy foam; do not try to repair it with unmeasured water or extra whites. |
| Dense base or flour streaks | Incomplete folding or excessive loss of air. | Add the dry mixture gradually and reach the bowl’s base. | A baked cake cannot regain its lost structure; adjust the fold on the next bake. |
| Cake collapses during cooling | Underbaking, an unsuitable pan, or releasing it too soon. | Use the combined doneness cues and keep the cake supported until cold. | Leave a warm cake in its pan; for the next bake, check pan coating and doneness as well as the foam. |
| Slices flatten under the knife | Cake still warm or too much downward pressure. | Cool fully and use a serrated blade. | Use short, light sawing strokes for the remaining slices. |
Beautiful Ways to Serve Gluten-Free Angel Food Cake
Keep the pale crumb visible and use toppings as a small contrast. Add them to individual portions near serving time so the whole cake stays light and easy to slice.
Fresh Berries Beside a Plain Slice
A plain slice with a few fresh berries beside it gives the vanilla a juicy, bright contrast. Place the fruit alongside the cake rather than soaking the whole cake with its juices.

A Soft Spoonful of Whipped Cream
A soft spoonful of homemade whipped cream adds a cool, creamy finish without covering the crumb. Add it at serving time and follow the cream’s own storage guidance.

Lemon Curd for a Bright Finish
Serve a little lemon curd alongside a slice for a tart contrast to the vanilla. It is also a separate project for some of the reserved yolks, using the curd recipe’s own egg and yolk quantities.

An Airy Dessert Platter
Arrange plain slices with a little space between them on a platter and offer toppings in separate bowls. For transport, use a rigid container and carry the cake plain, then arrange and finish it at the destination.

Keep Your Angel Food Cake Light and Tender
The plain cake and its toppings need different care. Cool the cake completely before enclosing it, then keep cream, curd, and other perishable additions separate until serving.
Store the Plain Cake at Room Temperature
Keep the fully cooled plain cake in an airtight container at room temperature for up to 2 days for quality. Enclosing it while warm traps moisture against the delicate crust.
Bake Ahead for an Easier Serving Day
Bake and completely cool the plain cake the day before serving, then store it airtight within that 2-day window. Add toppings when the slices are ready to go to the table.
For two cakes, make two fresh batches. Do not double the batter in one pan or hold a bowl of folded batter while waiting for the oven to become free.
Freeze and Thaw Individual Slices
Wrap fully cooled plain slices individually and place them in an airtight freezer container for up to 2 months for quality. This lets you thaw only the portions you need.

Thaw the slices while wrapped at room temperature before serving. They do not need reheating, and warming cannot restore the structure of a collapsed cake.
Gluten-Free Angel Food Cake Questions
For this cake, the flour blend, egg-white choice, and full cooling period matter when deciding on a substitution or preparing ahead.
Is angel food cake gluten-free?
Traditional angel food cake usually contains wheat flour. This version uses the specified gluten-free blend; check the remaining ingredients and prevent contact with gluten during preparation.
Which gluten-free flour should I use?
Use King Arthur Gluten-Free All-Purpose Flour made without xanthan gum. Measure for Measure and other 1:1 blends are different products, and this recipe does not call for added xanthan.
Can I use regular granulated sugar?
Yes, preferably after processing it to finer crystals. Keep the total at 310 g and divide it into 143 g and 167 g; powdered sugar is not a substitute.
Can I use carton egg whites for angel food cake?
Use 360 g whites separated from shell eggs here. Carton whites vary in foaming performance, so the same measured quantity does not guarantee the same cake height or texture.
Why did my angel food cake fall?
Check the foam, folding, pan surface, doneness, and cooling. A greased or nonstick pan, underbaking, or releasing a warm cake can all contribute; one symptom does not identify a single cause.
Why does angel food cake cool upside down?
The delicate hot crumb needs support while it firms. Leave the cake attached to the pan and suspended clear of the counter until completely cold, usually about 2 hours.
Can I make gluten-free angel food cake ahead of time?
Yes. Bake it the day before, cool completely, and keep the plain cake airtight within the 2-day room-temperature window. Add cream, curd, or fruit at serving time.
Can I freeze gluten-free angel food cake?
Yes. Wrap plain, fully cooled slices and freeze airtight for up to 2 months for quality. Thaw wrapped at room temperature and add toppings afterward.
Continue Your Baking Journey from Angel Food Cake
From this light vanilla cake, you can explore other gluten-free batters, compare egg-foam desserts, or add a contrasting sweet to the table.
Explore More Gluten-Free Baking
These recipes offer different gluten-free formats, each with the flour choice and method suited to its own texture.
- Gluten Free Chocolate Chip Cookies: A cookie project with its own gluten-free flour system.
- Gluten Free Banana Bread: A fruit-based loaf with a different crumb structure.
- Gluten Free Pancakes: A gluten-free breakfast with a separate batter method.
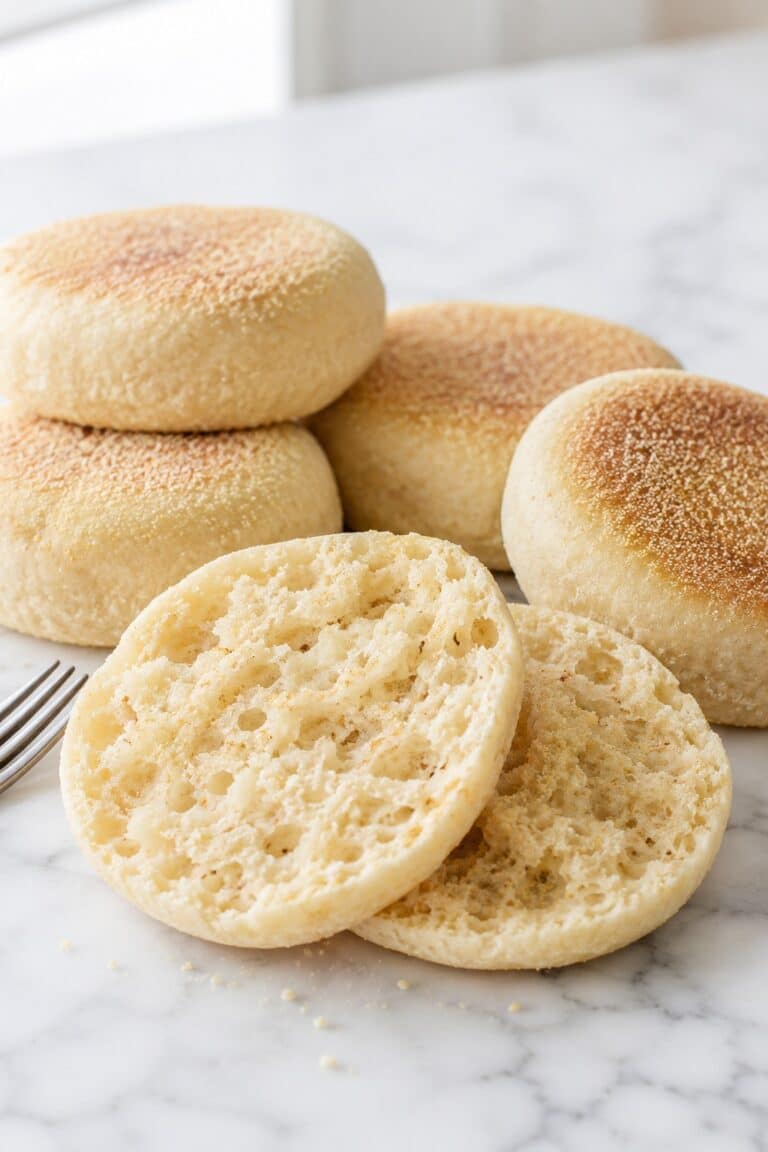
- Gluten Free English Muffins: A fork-split bread project that uses a different technique.
Compare Airy Cakes and Meringues
Egg foams can become a soft cake, crisp meringue, or a pie topping. These recipes show those different directions; some include wheat ingredients.
- Angel Food Cake Recipe: Explore the classic wheat-flour angel food cake.
- Pavlova Recipe: Compare cake crumb with crisp meringue and a soft center.
- Lemon Meringue Pie: Try a meringue-topped pie; the linked pastry recipe is not automatically gluten-free.
- Strawberry Angel Food Cake Dessert: Explore a strawberry dessert format; check the cake and other ingredients for gluten-free suitability.
Build a Dessert Table
A creamy topping, tart curd, or richer second dessert can give guests a different texture alongside an airy slice.
- How to Make Whipped Cream: Make a soft creamy topping to add at service.
- Lemon Curd Recipe: Add a tart citrus contrast and follow its separate yolk formula.
- Flourless Chocolate Cake: Offer a richer chocolate texture alongside the airy cake.
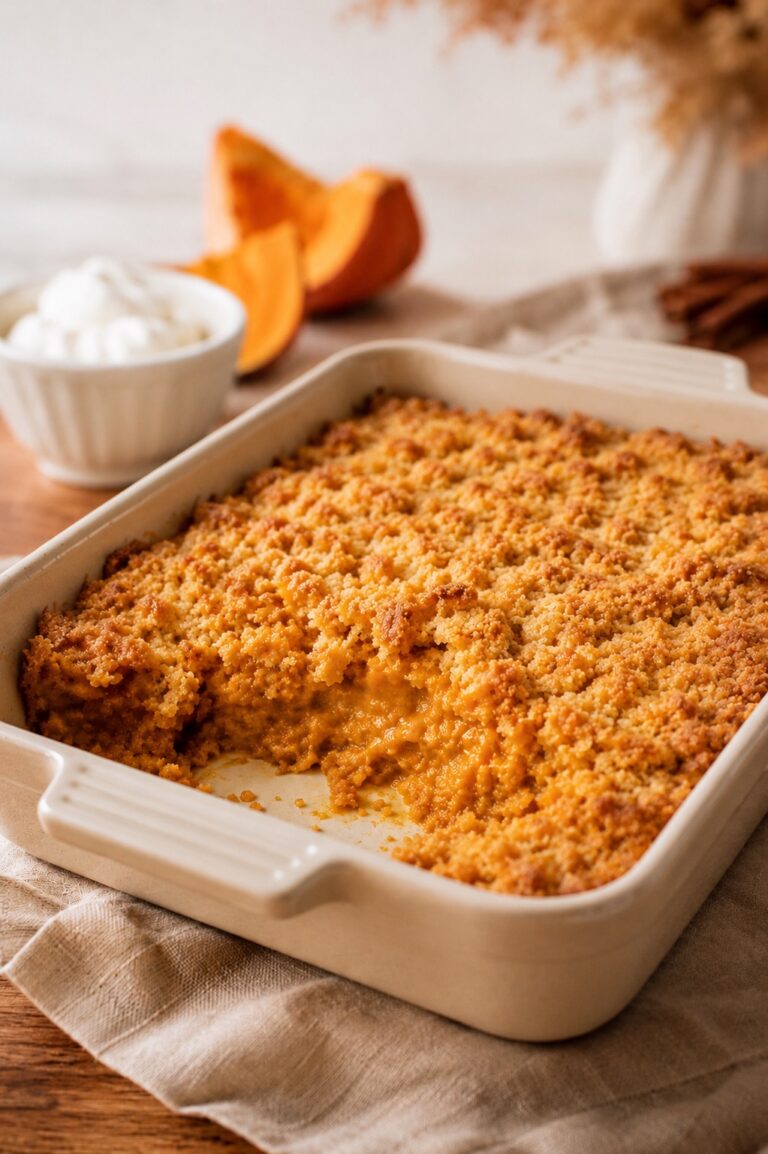
- Crustless Pumpkin Pie: Add a creamy pumpkin dessert with no pastry crust.
Why This Angel Food Cake Belongs in Your Recipe Box
This page is worth returning to when you want to refresh a particular angel food cake skill, even before you begin measuring.
- Foam Skills: the flexible-peak comparison gives you a useful visual reference for your next meringue.
- Flour Clarity: the named blend and ingredient amounts make it easier to shop for the same cake again.
- A Cooling Reminder: the serving plan leaves room for the suspended cooling stage that is easy to overlook.
- Texture Benchmarks: the meringue, batter, and crumb comparisons help you interpret a later bake.
- A Baking Record: the precise quantities give you a consistent starting point for your own oven and ingredient notes.
A Final Note on This Light Vanilla Cake
A pale slice edged with a little golden crust can be a beautiful dessert without much decoration. The gentle vanilla and delicate crumb leave plenty of room for the fruit or small spoonful of cream beside them.
Return to this cake when the table calls for something light enough to follow a generous meal, yet lovely enough to bring out whole and slice for everyone.
Some of the pleasure in baking comes from learning what a mixture is telling you: a curling peak, an airy fold, a crumb that springs beneath the fork. Those small details can make a simple cake feel special.

Gluten Free Angel Food Cake
Soft, springy, and delicately vanilla-scented, this gluten-free angel food cake has a fine, airy crumb beneath a thin golden crust. Made with a gum-free flour blend and gently folded meringue, it is lovely served plain or with fresh berries alongside.
Ingredients
- 3/4 cup (120 g) King Arthur Gluten-Free All-Purpose Flour, the gum-free blend without xanthan gum (not Measure for Measure)
- 1 1/2 cups plus 2 tablespoons (310 g) superfine sugar, divided: 143 g for the dry mixture and 167 g for the meringue
- 1/4 cup (35 g) cornstarch
- 1 1/2 cups (360 g) egg whites, separated from shell eggs (usually 10–12 large eggs; use the weight)
- 1/4 teaspoon (about 1.5 g) fine salt
- 1 1/2 teaspoons (about 4.5 g) cream of tartar
- 2 teaspoons (10 ml) vanilla extract
Instructions
- Prepare the Pan, Oven, and Cooling Support. Heat a conventional oven to 350°F (175°C) with a rack in the lower third. Use a 10 × 4-inch (approximately 25 × 10-cm) uncoated aluminum tube pan with a removable base. Keep it completely dry, ungreased, and unlined. Check that the pan’s feet or a stable heatproof support will hold it upside down with the cake’s crown clear of the counter.
- Measure and Sift the Dry Ingredients. Divide the 310 g superfine sugar into 143 g and 167 g. Whisk the 120 g gluten-free flour, 35 g cornstarch, and 143 g sugar together, then sift into a dry bowl. Keep the remaining 167 g sugar beside the mixer. The dry mixture should be fine and evenly blended, with no lumps.
- Separate the Eggs and Begin the Foam. Separate cold eggs one at a time over a small bowl, keeping any white contaminated with yolk out of the mixing bowl. Measure 360 g clean whites into a large grease-free glass or metal bowl. Let them stand while you finish arranging the mixer and measured ingredients. Add the salt and cream of tartar, then beat with a whisk attachment or electric hand mixer until foamy, with increased volume and many small bubbles.
- Add the Sugar and Vanilla. With the mixer running, gradually add the remaining 167 g sugar in small additions. Continue beating until the meringue is glossy and holds a soft mound with a tip that curls over. Mix in the vanilla briefly. Stop while the peak is flexible, before the foam becomes dry or rigid.
- Fold in the Flour Mixture. Sprinkle about 1/4 cup of the sifted dry mixture over the meringue at a time. Fold gently with a flexible spatula or large balloon whisk, reaching down to the bottom of the bowl. Add the next portion once the previous one is incorporated, continuing until all the dry mixture is used. The batter should remain voluminous and uniform, with no dry pockets.
- Fill the Tube Pan. Spoon the batter into the ungreased pan without pressing it down. Gently level it around the center tube, then pass a thin spatula through the batter to release large air pockets. Put the filled pan into the preheated oven promptly.
- Bake Until the Top Springs Back. Bake for 40–50 minutes, beginning your checks at 40 minutes. The surface should be golden, the cracks should look dry, and the top should spring back when lightly touched without leaving a wet-looking depression. Avoid opening the oven early just to inspect the color.
- Cool the Cake Upside Down. Invert the pan immediately after baking, using its feet or the stable heatproof support. Keep the cake’s crown clear of the counter so its top carries none of the pan’s weight. Leave it suspended for about 2 hours, until completely cold, allowing longer if any part is still warm.
- Release and Slice the Cake. Once completely cold, pass a thin flexible knife or spatula around the outer wall and center tube. Lift out the removable base, then carefully release the cake from the base and transfer it to a serving plate. Cut into 10 portions with a serrated knife, using short, gentle sawing strokes and very little downward pressure.
Notes
- Flour: Use King Arthur Gluten-Free All-Purpose Flour without xanthan gum. Measure for Measure and other 1:1 blends are not direct substitutes for this formula.
- Sugar: Keep the full 310 g and the 143 g/167 g division. If making superfine sugar from granulated sugar, process it finer and weigh out the required amount. Do not substitute powdered sugar.
- Egg Whites: Use whites separated from shell eggs, with no trace of yolk. Carton whites are not a direct substitute here.
- Equipment: Along with the tube pan and electric mixer, have a digital scale, level measuring spoons, fine sieve, dry-ingredient bowl, flexible spatula, thin spatula, cooling support, and serrated knife ready. A food processor is only needed if making superfine sugar; a large balloon whisk is optional for folding.
- Timing and Cooling: The listed cook time is a 45-minute planning estimate within a 40–50-minute baking window. The 2-hour cooling time may need extending; release the cake only when completely cold.
- Storage: Store the fully cooled plain cake airtight at room temperature for up to 2 days. Freeze individually wrapped portions in an airtight container for up to 2 months for best quality. Thaw while wrapped at room temperature. Keep perishable toppings separate and follow their own storage instructions.
- Larger Batches: For two cakes, make two separate fresh batches in separate pans. Do not double the batter into one pan or hold mixed foam batter for a later bake.
- Nutrition: Nutrition is estimated for 1 slice, or 1/10 of the plain cake. Berries, whipped cream, lemon curd, and other toppings are not included.
Nutrition Information:
Yield: 10 Serving Size: 1 sliceAmount Per Serving: Calories: 199Total Fat: 0.1gSodium: 119mgCarbohydrates: 44.4gFiber: 0.0gSugar: 31.3gProtein: 4.3g
Nutrition information is provided as an estimate only and may vary based on specific ingredients, brands, and portion sizes used. This information should not be considered medical or nutritional advice.
12 Sweet Favorites — Yours, Free 🍰
Tiramisù, no-bake cheesecake, the perfect chocolate chip cookie & 9 more reader-loved desserts — gathered into one beautiful free recipe book. From my kitchen to yours.
No spam, just sweet things. Unsubscribe anytime.