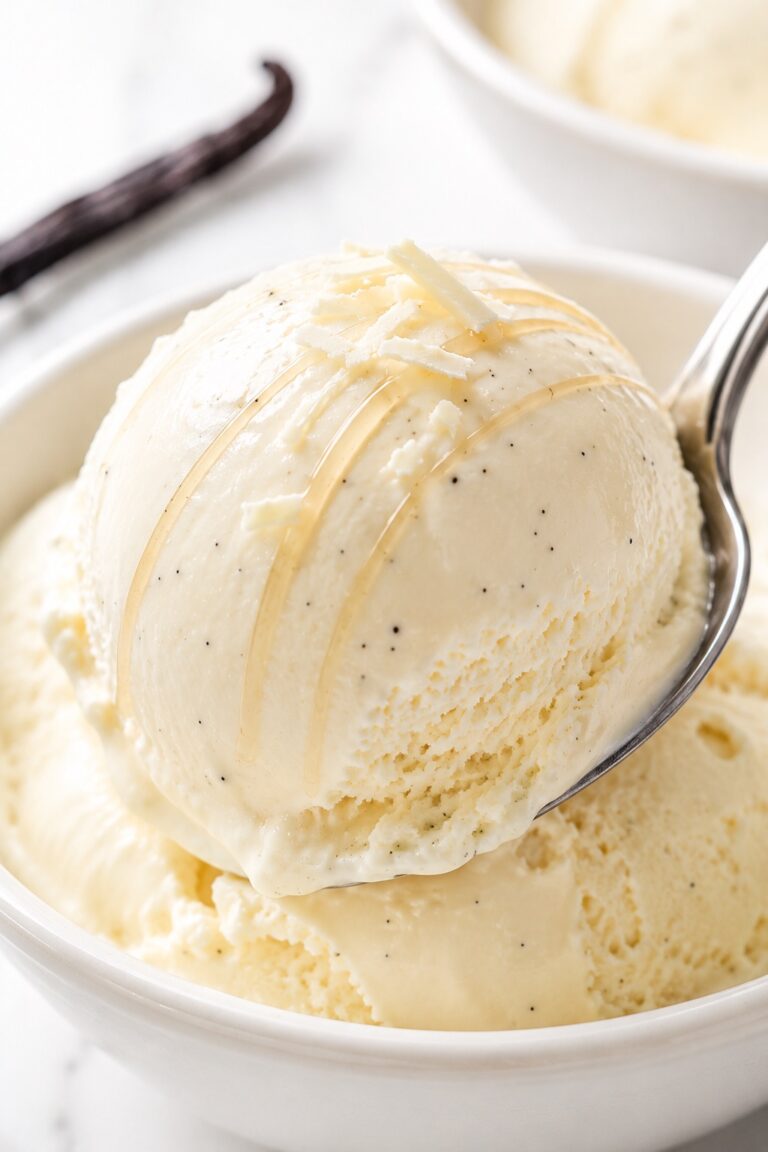
Oreo Ice Cream (Easy No-Churn)
🎁 FREE E-BOOK: 12 Sweet Favorites — reader-loved desserts in one beautiful recipe book.
Oreo ice cream folds cocoa-flecked crumbs and proper cookie bites through a pale vanilla cream base, so every scoop shows the contrast that makes cookies and cream so recognizable.

The pleasure comes from more than sweetness. Cold, milky cream softens the filled chocolate cookies just enough to make them easy to bite, while the larger pieces still feel distinct from the fine crumbs around them.
This is a no-churn recipe made with an ordinary mixer. There is no cooked custard, no added egg, and no machine bowl to freeze before you begin.
Allow about 20 minutes for active preparation, then freeze the covered container overnight. At serving time, all that remains is a short texture check, a few minutes of tempering if needed, and scooping.
Oreo Ice Cream at a Glance
This overview tells you what the recipe requires before you commit to a batch. The critical decisions are not difficult, but the cream must reach smooth firm peaks, the container must hold the aerated mixture, and the center must freeze completely before serving.
| Detail | Plan and target |
|---|---|
| Method | No-churn: whip the cream, fold in the condensed milk base and cookies, then cover and freeze. |
| Skill level and critical skills | Beginner-friendly; the two skills that matter most are recognizing smooth firm peaks and folding without flattening the cream. |
| Flavor | Sweet vanilla cream with the cocoa flavor and filling of Oreo Original cookies. |
| Finished texture | Aerated and firm, with fine cocoa crumbs, softened cookie pieces, and a scoopable texture after brief tempering. |
| Ingredient count | 5 ingredients. |
| Active preparation | About 20 minutes for weighing, chopping, mixing, whipping, folding, and transferring. |
| Cook time | 0 minutes. |
| Freezing time | At least 8 hours; overnight is the more dependable plan. |
| Total planning time | At least 8 hours 20 minutes, plus about 5-10 minutes of tempering at serving if needed. |
| Yield | 12 modest portions, approximately 90 g each; a portion is not tied to one standard scoop size. |
| Main equipment | Hand or stand mixer with whisk, a bowl of at least 3 liters, flexible spatula, freezer-safe container, and freezer thermometer. |
| Container capacity | At least 2 US quarts, about 1.9 liters; a 2-liter tub is suitable. Leave about 1 cm of headspace. |
| Freezer setting | 0°F (-18°C) or colder, with a level shelf. |
| Make-ahead plan | Mix and freeze the day before serving so the center has time to set overnight. |
| Ready-to-serve cue | The center is fully firm, then yields in a continuous curl after brief tempering while the edges remain frozen, not wet. |
Why This No-Churn Oreo Ice Cream Works
Each design choice protects a specific part of the finished dessert. The goal is a pale, aerated base with Oreo flavor throughout and recognizable cookie bites, not a dense gray mixture or a tub that is served before its center has set.
- Two cookie sizes create contrast. Natural crumbs spread cocoa flavor and dark flecks through the base, while 1/4-1/2 inch (6-12 mm) pieces remain distinct in a spoonful, avoiding the flat texture produced when every cookie becomes powder.
- The filling remains in the cookies. Using the complete Oreo Original sandwich cookie keeps its familiar cream-filled flavor in the batch and avoids stripping away part of the ingredient that defines the dessert.
- The cookies go in after the base is combined. Folding them into a finished pale cream base preserves visible marbling and pieces instead of grinding everything into a uniformly dark paste.
- The dairy ratio stays measurable. One full 14-ounce can of sweetened condensed milk and 2 measured cups of 36% cream create one repeatable batch, avoiding an improvised sweetness adjustment that also changes the structure.
- Freezing and serving have different tests. A firm center proves the batch is set, while a short temper controls scoopability, avoiding both a soft middle and the opposite mistake of leaving a fully frozen tub out until its edges melt.

Why You’ll Love Making Oreo Ice Cream
This recipe fits the days when you want a homemade frozen dessert without turning the kitchen into a custard station. Its active work is compact, the equipment is familiar, and the overnight pause moves nearly all the effort away from serving time.
- Five recognizable ingredients: The entire batch comes from Oreo Original cookies, sweetened condensed milk, vanilla, salt, and heavy whipping cream, with no separate sauce or stabilizer to prepare.
- No cooking or machine bowl: You do not need to cook eggs, cool a custard, or remember to pre-freeze an ice cream maker insert.
- About 20 active minutes: Chopping, mixing, whipping, folding, and transferring can all be completed in one short kitchen session.
- A true day-ahead dessert: The long step happens in the freezer, so the batch can be ready before the meal or gathering begins.
- Twelve modest portions: The yield works well for a family dessert, a small group, or several smaller servings over time.
- Flexible serving choices: Scoop it into bowls or cones, or use one scoop as the cold element beside a fully cooled bake.
Ingredients for Oreo Ice Cream
The shopping list is short, but the product details matter. Use regular Oreo Original sandwich cookies, full-fat sweetened condensed milk, and cold unsweetened heavy whipping cream with 36% milk fat so the formula behaves as written.
Ingredient List
These five quantities make one 12-portion batch. Keep the Oreo filling inside the cookies, weigh the complete cookie amount, and use every crumb and piece in the ice cream.
- 7 ounces Oreo Original sandwich cookies (200 g), filling included, roughly chopped
- 1 can full-fat sweetened condensed milk (14 ounces / 397 g)
- 1 teaspoon pure vanilla extract (5 ml)
- 1/8 teaspoon fine sea salt
- 2 cups cold heavy whipping cream (480 ml), 36% milk fat

How Each Ingredient Shapes the Ice Cream
Each ingredient has one clear job in this specific base. Choosing the right product protects the flavor, aeration, and visible Oreo contrast before technique even enters the picture.
Oreo Original supplies three forms of flavor. The chocolate wafers become both fine cocoa flecks and larger bites, while the filling remains part of the familiar Oreo profile. Weigh 7 ounces (200 g) rather than relying on a fixed cookie count, since package and cookie sizes can vary. Double Stuf, flavored, and gluten-free sandwich cookies are not assumed to behave identically.
Full-fat sweetened condensed milk forms the concentrated dairy base. The complete 14-ounce (397 g) can provides both sweetness and milk solids in a thick form that can be folded into whipped cream. Evaporated milk is a different, unsweetened product and is not a direct replacement.
Pure vanilla extract rounds out the pale cream base. One teaspoon supports the milky flavor without competing with the cocoa cookies. Adding much more would change the intended balance rather than simply making the same ice cream more aromatic.
Fine sea salt keeps the sweetness focused. The measured 1/8 teaspoon is small enough to disappear into the base while sharpening the contrast between vanilla cream and chocolate cookie. Coarse crystals may not distribute as evenly.
Cold 36% heavy whipping cream builds the aerated structure. Its fat helps the whipped foam hold firm peaks, which gives the frozen base volume and a lighter bite. Milk, half-and-half, and lower-fat cream cannot be made equivalent by beating longer. For a closer look at the visual difference between peak stages, see how to make whipped cream; keep the unsweetened cream quantity specified here for this ice cream.

Kitchen Tools Needed for Oreo Ice Cream
The useful tools are the ones that control quantity, aeration, capacity, temperature, and serving. A roomy bowl and a container with verified capacity matter more than owning specialized ice cream equipment.
- Measuring and chopping: Use a kitchen scale for the 200 g of cookies, a liquid measuring cup, measuring spoons, a cutting board, and a knife. Weighing prevents package variation from changing the cookie load, while hand chopping makes it easier to keep both crumbs and larger pieces.
- Mixing and whipping: Set out a medium bowl for the condensed milk base and a large bowl that holds at least 3 liters, plus a hand mixer or stand mixer with a whisk attachment. The large bowl gives 2 cups of cream room to expand and leaves enough space to fold to the bottom without pushing the mixture over the rim.
- Folding and freezing: Use a flexible spatula and a freezer-safe container holding at least 2 US quarts, about 1.9 liters, with an airtight lid or secure cover. Add parchment or food-safe plastic wrap for direct surface contact. Usable capacity matters more than the outside dimensions of a loaf pan, and about 1 cm of headspace keeps the cover from pressing down the aerated base.
- Checking and serving: Keep a freezer thermometer, ice cream scoop, and serving bowls ready. The thermometer confirms whether the freezer is actually at 0°F (-18°C) or colder, which the clock cannot tell you, and the scoop lets you judge serving resistance without guessing from the surface alone.
Before You Begin Making Oreo Ice Cream
Complete these checks before the mixer starts. Once the cream is whipped, the base should move through folding, transfer, covering, and freezing without a search for missing space or equipment.
- Confirm the freezer and shelf. Check for 0°F (-18°C) or colder and clear a level shelf, because a warm freezer or tilted container can leave the center slow to set and the surface uneven.
- Prepare a suitable container and cover. Set out a vessel holding at least 2 quarts, its lid, and the surface wrap, because an undersized container forces you either to compress the base or overfill it.
- Keep the cream refrigerated. Leave the 36% heavy whipping cream cold until the mixer is ready, because warm cream takes longer to whip and may never build the smooth firm structure this base needs.
- Make room for full-depth folding. Use the 3-liter bowl and a flexible spatula that reaches the bottom, because shallow stirring can leave heavy condensed milk underneath while vigorous mixing flattens the foam above.
- Place a small overflow container nearby. Have it clean, covered, and freezer-safe, because the aerated volume can vary and any extra should be frozen separately rather than packed into the main tub.
What to Expect from No-Churn Oreo Ice Cream
This is a whipped no-churn ice cream, so its identity comes from aerated cream and a cold condensed milk base rather than a cooked custard, gelato process, or churning machine. Four characteristics are normal and help define the intended result.
- The base remains pale and visibly speckled. Fine cocoa crumbs travel through the vanilla cream, but larger pieces should still be easy to see; the finished mixture is not meant to become uniformly dark.
- The cookies soften in the dairy base. Oreo pieces absorb moisture as the batch rests, so the bites become tender rather than staying package-crisp inside the ice cream.
- The flavor is rich and sweet. Sweetened condensed milk is both the concentrated dairy base and the main sweetener, so this is not a lightly sweetened frozen cream.
- The frozen tub can feel very firm. At 0°F (-18°C), a correctly set batch may need a few minutes at room temperature before it scoops; firmness straight from the freezer is different from an under-frozen center.
How to Make Oreo Ice Cream
Prepare the cookies and condensed milk mixture before whipping the cream, then switch to gentle folding for the rest of the method. The sequence protects the air in the cream and gives the cookies an even path through the base.
1. Chop the Cookies for Two Textures
Roughly chop all 7 ounces (200 g) Oreo Original sandwich cookies with the filling included. Aim for a natural mixture of loose crumbs and irregular 1/4-1/2 inch (6-12 mm) pieces, stopping before the entire amount becomes powder and breaking up any pieces that are nearly whole.
The two sizes do different jobs, so judge the cutting board by the mixture rather than trying to make every fragment identical.
| Cookie state | What it does | Use in this recipe |
|---|---|---|
| Powder and very fine crumbs only | Colors and flavors the base but removes the contrast of a distinct cookie bite. | Do not reduce the full 200 g to this state. Natural loose crumbs are useful, but they should share the board with larger pieces. |
| Crumbs plus 1/4-1/2 inch (6-12 mm) pieces | Spreads cocoa flecks through the cream while preserving recognizable, softer Oreo bites. | This is the target mixture. Use all of it, including the filling and crumbs. |
| Nearly whole cookies or very large chunks | Creates uneven distribution and awkward hard spots before the cookies have time to soften. | Chop these pieces again before they enter the base. |
I used to crush the cookies very finely when making cookies-and-cream desserts, but I missed getting a proper bite of cookie. Now I leave a mix of small crumbs and larger pieces. The crumbs blend into the cream, while the bigger pieces give each spoonful a little more texture.
What you should see: Recognizable 1/4-1/2 inch pieces scattered among loose crumbs, with no whole cookies and no cutting board covered only in powder.

2. Mix the Condensed Milk Base
Place the full 14-ounce can (397 g) of full-fat sweetened condensed milk in the medium bowl. Stir in 1 teaspoon (5 ml) pure vanilla extract and 1/8 teaspoon fine sea salt until the mixture is completely even, scraping the bottom and sides so no concentrated streaks remain.
Stop as soon as the base is smooth. Do not replace the condensed milk with evaporated milk, and do not hold back part of the can to reduce sweetness, because either choice creates a different dairy balance than the one used here.
What you should see: A thick, glossy, uniform cream-colored base with no visible vanilla streaks and no salt collected at the bottom.
3. Whip the Cream to Smooth Firm Peaks
Pour 2 cups (480 ml) cold 36% heavy whipping cream into the large bowl. Beat at medium speed until it begins to thicken, then move to medium-high; the process usually takes about 2-4 minutes, but the visual endpoint matters more than the timer.
As the whisk begins to leave defined tracks, slow the mixer and check often. Lift the whisk vertically: the peak should stand and hold its shape, while the cream around it should still look smooth, moist, and cohesive. Stop before the surface becomes dull, clumpy, dry, grainy, or separated.
What you should see: Firm peaks that stay upright, clear whisk trails, and a smooth creamy surface with no loose liquid.

4. Fold the Base Without Losing the Air
Add about one-third of the whipped cream to the condensed milk mixture and fold until the heavier base feels lighter and easier to move. Pour or scrape that lightened mixture into the remaining whipped cream, then use the flexible spatula to cut through the center, sweep across the bottom, and turn the mixture over itself.
Rotate the bowl and continue only until the base is uniform. Reaching the bottom matters because condensed milk can settle there, but speed is not the answer; do not return to the mixer or stir in tight circles after the cream has been whipped.
What you should see: A pale, voluminous base that falls from the spatula in thick folds, with no white pockets of cream and no heavy condensed milk streaks at the bottom.

5. Fold In Every Cookie Piece
Add all 7 ounces (200 g) of prepared Oreo pieces and crumbs to the combined base. Fold with broad, deliberate turns just until the dark flecks and larger pieces are distributed, then transfer the mixture to the freezer container and level the top gently without pressing out the air.
Leave about 1 cm of space below the cover. If the main container cannot hold the batch with that headspace, place the excess in the small prepared container; do not mound it above the rim or reserve part of the measured cookies as an uncounted topping.
What you should see: A pale base with cookie pieces distributed from edge to edge, natural cocoa marbling, no large unmixed clumps, and enough room for the cover to close without touching the mixture.

6. Cover and Freeze the Center Firm
Press parchment or food-safe plastic wrap directly against the surface, then close the airtight lid or secure the outer cover. Place the container level in a freezer set to 0°F (-18°C) or colder and freeze for at least 8 hours, preferably overnight.
Check the center rather than trusting firm edges. If the middle is still soft after the minimum time, cover it again and freeze for another 1-2 hours before checking; do not stir the batch during freezing, because that does not replace the aeration already built into the cream.
What you should see: A firm center with no fluid movement beneath the surface, while the covered top remains protected from exposed freezer air.
7. Temper, Scoop, and Return to the Freezer
Keep the container covered and let it stand at room temperature for about 5-10 minutes, checking after the first 5 minutes. Draw the scoop across the surface rather than forcing it straight down; serve as soon as it makes a clean curl, then cover and return the remainder to the freezer promptly.
Stop tempering before the perimeter turns glossy or liquid. A very cold batch may need closer to 10 minutes, while a warm kitchen or shallow container may need less, so resistance and edge appearance are more useful than waiting out the full range automatically.
What you should see: A continuous scoop curl that holds its shape, a center that yields without force, and frozen edges with no wet ring.
How to Know When Oreo Ice Cream Is Fully Frozen
The center determines whether freezing is complete because the outside sets first. Once the center is firm, serving readiness becomes a separate question: a hard tub may simply need brief tempering, while a soft middle needs more freezer time.
| Observation | Meaning | Next action |
|---|---|---|
| The edges and top feel firm, but the center is soft or fluid. | The batch is not fully frozen; the outer areas have set faster than the middle. | Re-cover and freeze for another 1-2 hours, then check the center again. Do not serve based on the edges. |
| The ice cream is firm throughout but feels frozen-solid to the scoop. | The batch is set, but its serving temperature is too low for easy portioning. | Keep it covered at room temperature and check again after 5 minutes. |
| The scoop forms a continuous curl and the edges remain frozen. | The center is set and the ice cream has tempered enough to serve cleanly. | Portion immediately and return the remainder to the freezer. |
| A glossy, wet ring forms around the edges. | Tempering has gone beyond the best serving point and the outside is beginning to melt. | Stop serving from a warm counter, cover the tub, and return it to the freezer promptly. |

Oreo Ice Cream Texture Guide
The finished texture can point back to the stage that most likely changed. Use this guide after freezing to separate an aeration problem from incomplete setting, normal freezer firmness, or damage caused during storage.
| Texture | Most likely stage | What it means | Next-batch or storage correction |
|---|---|---|---|
| Aerated, firm, and scoopable after brief tempering | Whipping, folding, freezing, and serving all aligned. | The base kept enough air, the center set, and the serving temperature allows a clean curl. | Keep the same peak, folding, covering, and tempering cues rather than changing the formula. |
| Dense, compact, and low in volume | Whipping or folding | The cream may not have reached firm peaks, or too much air was lost while the heavier base and cookies were incorporated. | Next time, stop at smooth firm peaks and use two-stage folding with broad strokes only until uniform. Freezing cannot re-inflate this batch. |
| Loose or slushy in the center after the minimum time | Freezing | The middle has not reached a complete set, often because of container depth, freezer temperature, or a heavily loaded freezer. | Confirm 0°F (-18°C) or colder, keep the container level and covered, and extend freezing in 1-2 hour intervals until the center is firm. |
| Very hard but cohesive, with no liquid center | Serving | The ice cream is fully set and still at deep-freezer temperature, not necessarily incorrectly made. | Temper the covered tub briefly and judge the scoop after 5 minutes instead of altering the next batch immediately. |
| Icy or crystal-covered after storage | Covering or temperature stability | Air reached the surface, or repeated warming and refreezing encouraged coarse crystals and a drier top. | Keep wrap against the surface under an airtight lid, scoop quickly, and avoid leaving the full tub out through the meal. |

The Science Behind Creamy No-Churn Oreo Ice Cream
Four mechanisms explain the choices that matter most in this recipe. They help you recognize why the specified cream, condensed milk, folding sequence, and cookie sizes cannot be changed independently without affecting the result.
Why 36% Cream Can Hold Air
Whipping breaks large air bubbles into smaller ones and surrounds them with a network supported by milk fat. At about 36% milk fat, cold heavy whipping cream can thicken into a foam that holds a firm peak while still looking smooth, which gives the frozen base volume and reduces the sensation of a solid dairy block.
Temperature and fat content both matter. If the cream is warm, the fat is less able to support the developing structure; if the liquid is milk, half-and-half, or a lower-fat cream, there is not enough fat to build the same foam. Extra beating cannot manufacture missing fat, and continued beating after firm peaks can instead push the cream toward graininess and separation.
This principle explains why 36% cream is specified, but it does not guarantee an identical volume in every kitchen. Mixer shape, bowl temperature, cream temperature, and the exact stopping point can all affect how much air the cream holds.
What Sweetened Condensed Milk Contributes
Sweetened condensed milk brings dissolved sugar and concentrated milk solids in a thick, ready-to-use form. It supplies the sweet dairy base without requiring a cooked custard, and its viscosity makes it possible to combine the flavoring before the mixture is folded into the whipped cream.
Evaporated milk is not the same ingredient. It is concentrated milk without the same sugar level or thickness, so exchanging one can for the other changes sweetness, solids, and the way the mixture meets the foam. Reducing the condensed milk also changes more than sweetness because it removes part of the dairy base.
Condensed milk supports this no-churn format, but it does not make the dessert immune to ice crystals or poor storage. Exposed surfaces and repeated temperature changes can still damage the texture.
Why Two-Stage Folding Protects Volume
The condensed milk mixture is heavier than whipped cream. Folding it directly into the full bowl in one dense mass makes even distribution harder and can encourage extra strokes, so the first third of whipped cream is used to lighten the base before it meets the remaining foam.
Once lightened, the mixture moves more easily through the rest of the cream. A spatula can reach the bottom, lift the heavier portion, and turn it over without the concentrated force of a whisk or mixer. Stopping as soon as the color and texture are uniform preserves more of the air already created.
No folding method keeps every bubble, and this recipe does not depend on a laboratory measurement of overrun. The practical target is visible volume and thick folds, not a perfectly quantified expansion.
How Cookie Size and Moisture Change the Scoop
Fine crumbs and larger pieces interact with the base differently. Crumbs have more exposed surface, so they disperse cocoa color and flavor through the pale cream; larger 1/4-1/2 inch pieces stay localized enough to register as separate bites rather than disappearing into the background.
As the cookies sit in the dairy mixture, they take on moisture and soften. That tender texture is expected inside frozen ice cream and should not be confused with stale cookies. Crushing everything to dust erases the size contrast, while leaving very large pieces makes distribution irregular and can interrupt a clean scoop.
Cookie brands, fillings, and sizes vary, so this explanation belongs to the measured Oreo Original formula here. It does not promise the same moisture behavior from every filled sandwich cookie.
Expert Tips for Better Oreo Ice Cream
After the core method is understood, small serving and container decisions can protect the texture you built. These tips focus on choices that happen around the method rather than repeating its mixing instructions.
- Prefer a broad container with verified capacity. A wider surface gives the scoop room for a long pass and helps the center become easier to assess; check that it still holds at least 2 quarts with 1 cm of headspace instead of choosing by shape alone.
- Read resistance and the edges together. Begin testing after 5 minutes, but let the scoop and surface decide the stopping point: too much resistance means wait briefly, while a wet perimeter means the tub has been out too long.
- Warm the scoop, then dry it completely. Brief warmth helps the metal travel through firm ice cream, but droplets carried into the tub can refreeze on the surface, so wipe the scoop before every pass.
- Prepare the serving setup first. Arrange bowls, cones, plates, and any cooled accompaniments before the freezer opens so the full tub is not warming while you search for dishes.
- Portion promptly and return the remainder. Scoop what you need in one session, replace the surface wrap and lid, and return the container before the edges soften enough to create repeated melt-and-freeze cycles.
Common Oreo Ice Cream Mistakes and How to Fix Them
Identify the stage where the texture changed before choosing a response. Some problems can be corrected with more freezing or a shorter temper, but separated cream and lost aeration cannot be restored simply by putting the finished base in the freezer.
| Mistake | What happens | Why it happens | Prevent or fix it |
|---|---|---|---|
| Using warm cream or milk, half-and-half, or lower-fat cream | The liquid remains loose, gains little volume, or fails to hold firm peaks. | Warmth weakens the developing fat structure, while lower-fat dairy lacks the composition needed for this whipped base. | Start with refrigerated unsweetened 36% heavy whipping cream. If a lower-fat liquid cannot whip, beating longer will not turn it into the specified cream. |
| Stopping before firm peaks | The base looks fluffy at first but settles into a denser, lower-volume frozen dessert. | Soft peaks do not provide enough structure to carry the condensed milk and cookie load. | Keep whipping in short intervals until a lifted peak stands while the surface remains smooth. If the base has not yet been combined, return the cream to the mixer briefly. |
| Whipping beyond smooth firm peaks | The cream looks dry or grainy and may begin releasing liquid. | Continued beating destabilizes the smooth whipped structure and moves it toward butter. | Slow down near the endpoint and stop at the first smooth firm peak. If the cream has clearly separated, begin again; freezing does not repair separation. |
| Stirring vigorously during folding | The mixture loses height and becomes flat or more fluid. | Fast circular stirring collapses the air that whipping created. | Lighten the condensed milk with about one-third of the cream, then fold into the remainder with a spatula. A fully deflated cookie-filled base cannot be re-inflated reliably. |
| Crushing all cookies to powder or leaving them too large | Powder produces a dark, uniform base without distinct bites; oversized pieces distribute unevenly and interrupt scooping. | The cookie pieces fall outside the mixed-size target. | Keep natural crumbs together with 1/4-1/2 inch pieces and chop any nearly whole cookies again before folding. |
| Judging freeze completion by the edges | The tub looks ready, but the center remains soft or fluid when served. | Cold reaches the perimeter before the deepest part of the container. | Test the center. If it is soft, re-cover and freeze for 1-2 hours longer before checking again. |
| Forcing the scoop or leaving the tub out until the edges turn liquid | A hard tub breaks into fragments, or an over-warmed tub develops a wet perimeter and rougher texture after refreezing. | A fully set batch was served at the wrong temperature in either direction. | Temper covered and check after 5 minutes. Scoop when the center yields in a curl, then return the remainder before the outer edge melts. |
Beautiful Ways to Serve Oreo Ice Cream
Keep the portions modest and the accompaniments cool so the cookie contrast stays visible and the scoops hold their shape. Crisp, chewy, and chocolate pairings each create a different experience without changing the base formula.
- A chilled bowl: Place one or two scoops in a cold, shallow bowl so the pale cream, dark flecks, and larger Oreo pieces remain easy to see. This is the simplest presentation and gives the ice cream the most time before softening.
- A crisp cone: Fill the cone only when everyone is ready to eat. The dry crunch offers contrast to the softened cookies inside the scoop, but an assembled cone left waiting will soften and drip.
- A cooled chocolate plate: Serve one scoop beside fully cooled brownie bites for a compact pairing with chewy chocolate texture. Avoid warm brownies here because immediate heat erases the controlled serving temperature.
- A restrained sundae: Add a light chocolate drizzle and a small pinch of extra Oreo crumbs at the last moment. These are optional serving additions outside the five-ingredient formula, so keep them out of the mixed base and let the scoop remain the focus.
- A small cookie sandwich: Press a modest scoop between two completely cooled cookies and serve at once. Soft or chewy cookies make the sandwich easier to bite, while crisp cookies create more contrast but need gentle pressure so the ice cream is not pushed out.

How to Store Oreo Ice Cream and Make It Ahead
Keep the surface protected, the container tightly closed, and the freezer at the recommended freezer temperature of 0°F (-18°C) or colder. The first 2 weeks are the best-quality window for this recipe, not a tested expiration date, and repeated softening is more damaging than a single controlled serving temper.
| Situation | Cover and temperature | Quality action | Safety note |
|---|---|---|---|
| Same-day preparation before the freeze is complete | Keep surface wrap in direct contact under the closed lid at 0°F (-18°C) or colder. | Leave the batch undisturbed for the full minimum 8 hours and judge the center, not the calendar day. | A firm-looking edge does not prove the middle is ready. Continue freezing if the center is soft. |
| Overnight make-ahead | Cover immediately after transfer and freeze level overnight. | This is the preferred plan because it gives the center more time to set before the meal begins. | Overnight is a planning recommendation, not permission to ignore a freezer warmer than 0°F (-18°C). |
| Best-quality storage during the first 2 weeks | Keep wrap against the surface and the airtight lid closed between servings. | Store away from the door when possible and avoid unnecessary temperature swings to limit surface crystals and absorbed freezer odors. | Two weeks describes the intended quality window; it is not an official safety deadline. |
| After opening and scooping | Re-cover the exposed surface, close the lid, and return the tub promptly to the freezer. | Portion in one session rather than leaving the container on the table through the meal. | Repeated partial melting can damage texture even when the ice cream is returned to the freezer. |
| Thawing during a power outage | Keep the freezer closed while power is out and assess the food once conditions are known. | Do not judge thawed ice cream only by appearance or refreeze it for texture. | Follow the specific ice cream guidance in the FoodSafety.gov power-outage chart, which directs discarding thawed ice cream rather than applying the general refreezing rule used for some other foods. |
Ingredient Changes and Larger Oreo Ice Cream Batches
The five ingredients work as a connected formula, so a swap can change aeration, sweetness, solids, moisture, or cookie distribution at the same time. Use this matrix to distinguish a simple buying decision from a change that needs a recipe written for different products.
| Requested change | Decision | Expected consequence or uncertainty | Safest plan |
|---|---|---|---|
| Use milk, half-and-half, or lower-fat cream | Do not use as a direct replacement for the 36% heavy whipping cream. | The liquid may not whip to a stable firm peak, leaving the frozen base denser or loose. More beating cannot replace the missing fat. | Buy cold unsweetened heavy whipping cream labeled 36% milk fat for this formula. |
| Replace sweetened condensed milk with evaporated milk | Do not exchange the cans one for one. | Evaporated milk lacks the same sugar concentration and viscosity, changing sweetness, solids, and how the base combines with the foam. | Use one full 14-ounce (397 g) can of full-fat sweetened condensed milk, or choose a recipe developed around evaporated milk. |
| Reduce the sweetened condensed milk | Keep the complete can for this version. | Removing part of it changes both sweetness and the concentrated dairy base, so the same texture cannot be promised. | Follow the measured formula rather than making an arbitrary reduction. For a less-sweet dessert, use a separately developed recipe with a different balance. |
| Use plant-based cream and condensed products | Treat this as a different recipe, not a direct swap. | Brands vary widely in fat, sugar, stabilizers, and whipping behavior; two products labeled plant-based may perform very differently. | Choose a dairy-free formula designed for the exact products available to you. |
| Use Double Stuf, flavored, or gluten-free sandwich cookies | Do not assume an equal weight will give the same flavor, filling ratio, moisture, or allergen profile. | More filling or a different wafer can change sweetness, softness, and the way pieces distribute. Gluten-free labeling also requires checking every package. | Use Oreo Original here. If you adapt, weigh the cookies, check the current allergen label, and expect the result to differ. |
| Double the yield | Make two separate batches instead of crowding one mixer bowl or deep container. | A doubled mass can exceed whipping and folding capacity, and one deeper tub may freeze unevenly. Freezing time does not simply double. | Mix two complete batches with the same quantities and divide them among suitable containers, then judge each center independently. |
This recipe contains milk and wheat. Check the cookie package in your market for soy, other allergens, and cross-contact statements; the phrase no added egg describes the method, not an allergen guarantee.
Oreo Ice Cream Questions
These answers keep the most common Oreo ice cream and no-churn questions in one quick place. They repeat only the essential decision, so you can check an ingredient, texture, timing, or equipment question without searching through the full method.
Can I Make Oreo Ice Cream Without an Ice Cream Maker?
Yes. This recipe is designed specifically for a household freezer, not an ice cream maker. Whipping the 36% heavy cream builds the air before freezing, then gentle folding protects that volume while the condensed milk base and cookies are added.
Is Oreo Ice Cream the Same as Cookies and Cream Ice Cream?
They describe the same general flavor style: a pale vanilla-style ice cream with pieces of chocolate sandwich cookie. Oreo ice cream is the more specific name when Oreo cookies are the named cookie used in the recipe.
Can I Make No-Churn Oreo Ice Cream Without Sweetened Condensed Milk?
Not with this five-ingredient formula. The full 14-ounce (397 g) can supplies both sweetness and part of the concentrated dairy base, so leaving it out would require a different recipe with a new balance of sugar, milk solids, and moisture.
Can I Use Evaporated Milk Instead of Sweetened Condensed Milk?
No. Evaporated milk is unsweetened and much thinner than sweetened condensed milk, so a one-for-one swap would change both sweetness and texture. The cans can look similar, so check the label for sweetened condensed milk before mixing.
Why Is My No-Churn Oreo Ice Cream Icy?
An icy result can come from lost aeration, exposed surface, or repeated temperature changes during storage. Use cold 36% cream, stop at smooth firm peaks, fold gently, press the surface wrap directly against the ice cream, and return the tub promptly after scooping.
Why Is My Oreo Ice Cream So Hard to Scoop?
A fully frozen no-churn batch can be very firm at 0°F (-18°C) without being wrong. Keep the tub covered at room temperature for about 5-10 minutes and check after 5; it is ready when the scoop makes a continuous curl and the edges are still frozen rather than wet.
How Long Does Oreo Ice Cream Need to Freeze?
Freeze it for at least 8 hours, preferably overnight. The center must be firm, not merely the edges; if the middle is still soft, cover the tub and freeze for another 1-2 hours before checking again.
How Long Does Homemade Oreo Ice Cream Last in the Freezer?
For the best texture, plan to enjoy it within the first 2 weeks. Keep wrap against the surface under an airtight lid at 0°F (-18°C) or colder; the two-week period is a quality recommendation, not a safety expiration date.
What Size Container Do I Need?
Use a freezer-safe container holding at least 2 US quarts, about 1.9 liters; a 2-liter tub is suitable. The mixture gains volume when the cream is whipped, so usable capacity is more reliable than the outside dimensions of a loaf pan. Leave about 1 cm below the lid so the surface wrap and cover fit without compressing the base. If the tub fills higher than that, move the excess to a second small covered container and freeze both on level shelves.
Can I Double This Oreo Ice Cream Recipe?
For the most dependable aeration and freezing, prepare two separate batches with the same quantities and method. Divide them between suitable containers and judge each center independently; a larger quantity does not mean the freezer time should simply be doubled.
Can I Make This Oreo Ice Cream Dairy-Free?
This formula depends on 36% dairy cream and full-fat sweetened condensed milk, so plant-based products are not direct swaps. Their fat, sugar, stabilizers, and whipping behavior vary by brand; use a dairy-free recipe developed for the exact products you have, and check the cookie package for current allergen information.
Can I Use an Ice Cream Maker for This Recipe?
This formula is built around cream that is whipped before freezing, then folded with a thick condensed milk base and cookies. An ice cream maker aerates and freezes a liquid base through a different sequence, so the quantities, mixing order, and freezing instructions here should not be transferred directly or assigned an invented churn time. Use a formula written for your machine and its stated capacity, chilling requirements, and operating method.
More Cookies-and-Cream and Frozen Desserts
Choose what to make next by deciding whether you want to keep the Oreo flavor, stay with a frozen dessert, or move toward a baking project. Each group changes one part of the experience while keeping the next step easy to recognize.
More Ways to Enjoy Oreo Cookies
These desserts keep cookies and cream at the center but change the format from frozen scoops to small bites, slices, or soft layered spoon desserts.
- Oreo Balls Recipe: Make small cookies-and-cream bites with a chocolate coating when you want individual portions without scooping.
- Oreo Pie Recipe: Turn the familiar cookie flavor into a chilled dessert that can be cut into neat slices.
- Dirt Pudding Recipe: Choose soft pudding layers and cookie crumbs for a spoon dessert with no frozen center to judge.
- Dirt Cake Recipe: Build a larger layered dessert for sharing, with cream and crumbs visible from the serving dish.
Another Flavor for the Freezer
Stay with a cold dessert and change the dominant flavor, or explore how a different base changes the texture and process.
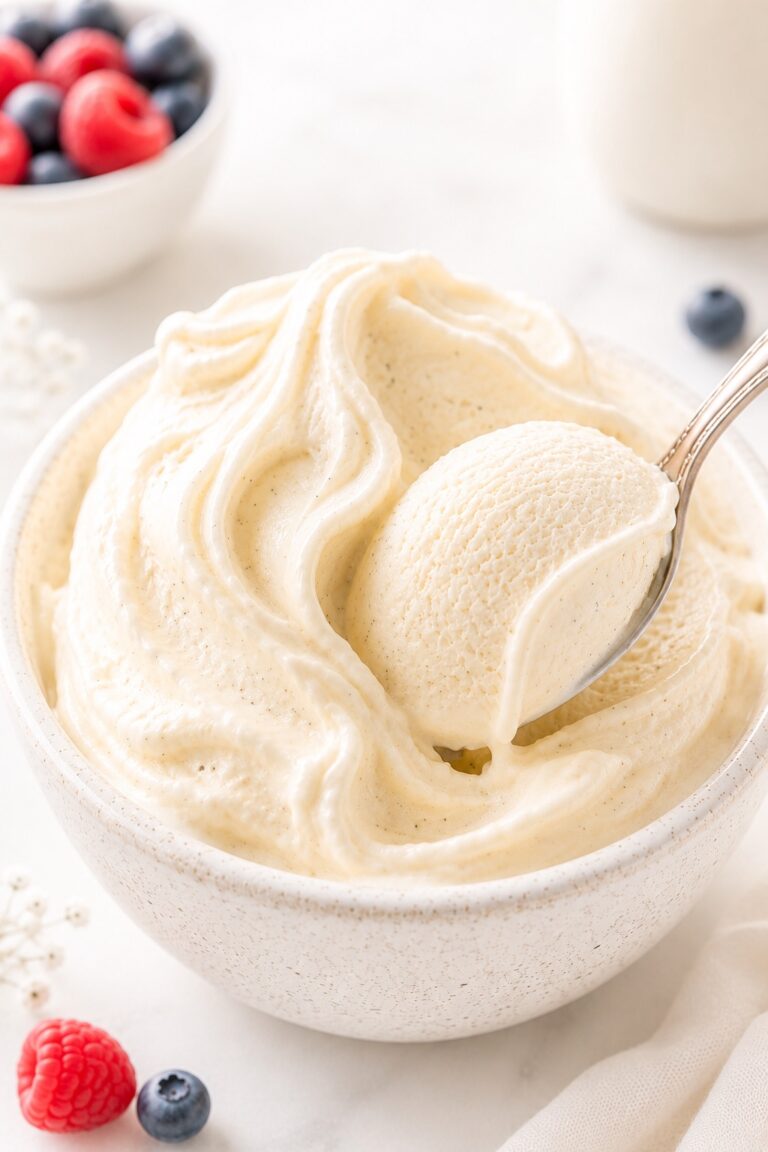
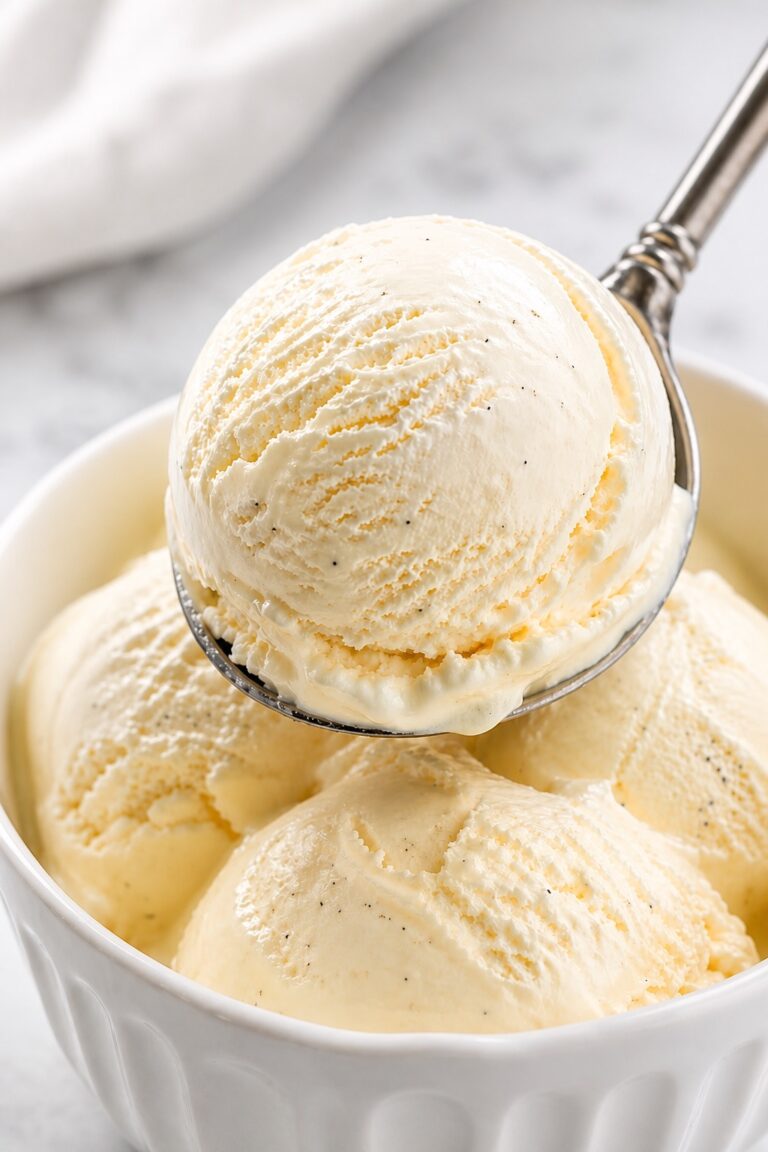
- Vanilla Ice Cream Recipe: Start with a simple vanilla profile when you want toppings or a warm-weather dessert without cookie pieces.
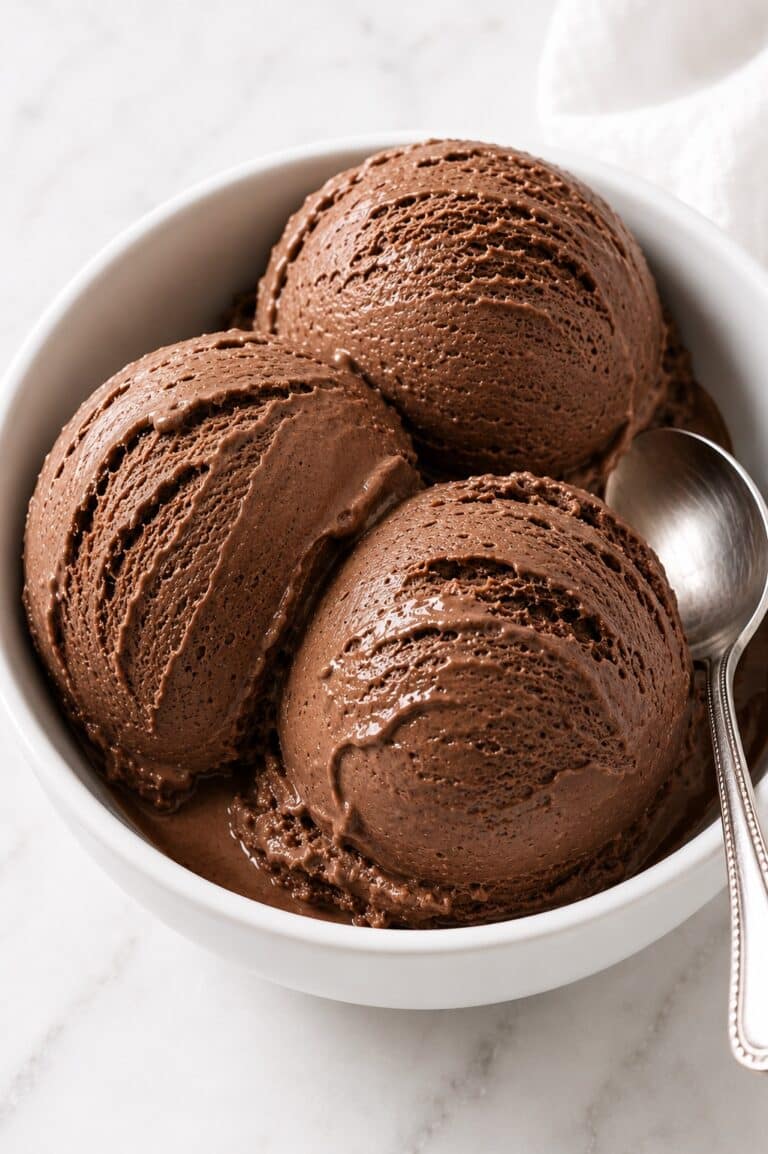
- Chocolate Ice Cream: Choose chocolate flavor throughout the base rather than cocoa contrast from a mix-in.
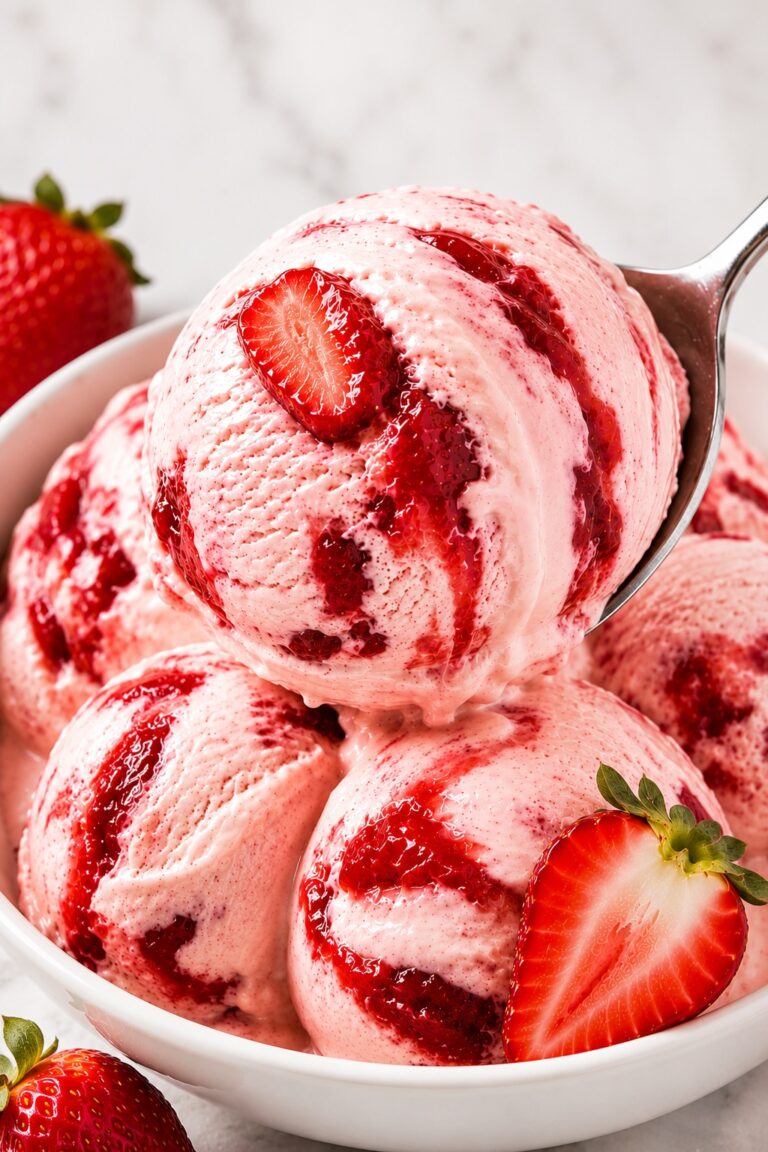
- Strawberry Ice Cream: Move toward a fruit-led frozen dessert for the next batch.
- Authentic Italian Gelato Recipe: Explore a distinct method with a milk, cream, and egg-yolk base when you want a more involved project.
A Baking Project to Serve Next
Move from the freezer to the oven with a cookies-and-cream bake, a soft cookie pairing, or a chocolate dessert sized for a larger table.
- Oreo Cheesecake Recipe: Plan a baked cookies-and-cream cheesecake for an occasion with more preparation time.
- Oreo Cupcakes: Bake individual cakes with cookies-and-cream flavor in a portioned format.
- Chocolate Chip Cookie Recipe: Make soft, chewy cookies that can be served fully cooled beside a small scoop.
- Chocolate Sheet Cake: Choose a broad chocolate cake with enough slices for a larger dessert table.
Why This Oreo Ice Cream Belongs in Your Recipe Box
The recipe is worth keeping because its most important checkpoints are visible and reusable, giving you more than a list of ingredients to follow once.
- A Visible Endpoint: Smooth firm peaks, thick folds, a firm center, and a clean scoop show you when each major stage is ready.
- A Transferable Skill: Learning to stop whipped cream while it is firm and smooth improves many chilled fillings, toppings, and desserts beyond this batch.
- Memorable Cookie Contrast: The simple habit of keeping crumbs and larger pieces gives cookies-and-cream desserts both background flavor and recognizable bites.
- Dependable Day-Ahead Rhythm: Mixing today and serving tomorrow moves the work away from the moment when dessert reaches the table.
- Familiar Visual Character: Pale vanilla cream, cocoa flecks, and visible Oreo pieces make the flavor recognizable before the first bite.
- Everyday to Composed: The same frozen base can fill a simple bowl or become the cold element on a carefully arranged dessert plate.
Final Thoughts on Homemade Oreo Ice Cream
This recipe exists to preserve what is most satisfying about cookies and cream: a cold vanilla base carrying cocoa flavor throughout, with some Oreo pieces still large enough to notice. The contrast is visible in the tub and tangible in every scoop.
It is the kind of dessert to return to when you want the work completed a day ahead and the final service kept calm. The freezer handles the long wait, leaving only a brief texture judgment before the bowls reach the table.
Homemade Oreo ice cream does not need every component blended into sameness. A few crumbs can flavor the cream, larger pieces can remain distinct, and that small difference in scale is what gives a simple five-ingredient dessert its character.

Oreo Ice Cream
This no-churn Oreo ice cream folds cocoa crumbs and larger cookie pieces through a pale vanilla cream base. It uses five ingredients, needs no cooked custard or ice cream maker, and freezes into twelve modest portions.
Ingredients
- 7 ounces Oreo Original sandwich cookies (200 g), filling included, roughly chopped
- 1 can full-fat sweetened condensed milk (14 ounces / 397 g)
- 1 teaspoon pure vanilla extract (5 ml)
- 1/8 teaspoon fine sea salt
- 2 cups cold heavy whipping cream (480 ml), 36% milk fat
Instructions
- Chop the Cookies for Two Textures. Check that the freezer is at 0°F (-18°C) or colder and clear a level shelf. Roughly chop all 7 ounces (200 g) Oreo Original cookies, including the filling, into a mixture of loose crumbs and irregular 1/4-1/2 inch (6-12 mm) pieces. Stop before the entire amount becomes powder. You should see recognizable pieces among the crumbs, with no whole cookies.
- Mix the Condensed Milk Base. Place the full 14-ounce can (397 g) of full-fat sweetened condensed milk in the medium bowl. Stir in the vanilla and fine sea salt, scraping the bottom and sides, until the base is thick, glossy and completely uniform.
- Whip the Cream to Smooth Firm Peaks. Pour the cold 36% heavy whipping cream into the large bowl. Beat at medium speed until it thickens, then at medium-high speed, usually for about 2-4 minutes. Slow down near the endpoint and stop when a lifted peak stands upright while the cream remains smooth, moist and cohesive, with no graininess or separated liquid.
- Fold the Base Without Losing the Air. Fold about one-third of the whipped cream into the condensed milk mixture to lighten it. Fold that mixture into the remaining whipped cream with broad turns that reach the bottom of the bowl. Stop when the pale base is uniform, voluminous and free of white pockets or condensed milk streaks. Do not return to the mixer.
- Fold In the Cookies and Transfer. Add every cookie piece and crumb, then fold only until evenly distributed. Transfer the mixture to a freezer-safe container holding at least 2 US quarts (about 1.9 liters) and level it gently without pressing out the air. Leave about 1 cm of headspace and place any excess in a separate small covered container.
- Cover and Freeze the Center Firm. Press parchment or food-safe plastic wrap directly against the surface, close the container and freeze it level at 0°F (-18°C) or colder for at least 8 hours, preferably overnight. The center must be firm with no fluid movement. If it is still soft, re-cover and freeze for another 1-2 hours before checking again. Do not stir during freezing.
- Temper, Scoop and Return to the Freezer. Let the covered container stand at room temperature for about 5-10 minutes, checking after 5 minutes. Scoop when the center yields in a continuous curl and the edges remain frozen, not wet. Serve promptly, replace the surface wrap and lid, and return the remainder to the freezer.
Notes
- Use Oreo Original cookies with the filling included. Double Stuf, flavored and gluten-free sandwich cookies are not direct equivalents for this formula.
- Use cold, unsweetened heavy whipping cream labeled 36% milk fat. Milk, half-and-half and lower-fat cream are not direct replacements.
- Use the complete can of sweetened condensed milk. Evaporated milk is not a direct replacement.
- Judge the whipped cream by smooth firm peaks and the frozen ice cream by its center, not only by a timer or firm edges.
- For two batches, mix and freeze them separately. Do not double the mixture in one bowl or deepen one container, and do not double the freezing time automatically.
- Contains milk, wheat and soy based on the current US Oreo Original ingredient statement. Check every package for current allergen and cross-contact information. No added egg is a method description, not an allergen guarantee.
Storage
- Keep the surface covered and the container tightly closed at 0°F (-18°C) or colder.
- Use within 2 weeks for best texture and return the remainder to the freezer promptly after scooping. The 2-week period is a quality window, not a tested expiration date.
- Discard ice cream that thaws during a power outage in accordance with the specific FoodSafety.gov guidance for ice cream.
Nutrition Information:
Yield: 12 Serving Size: 90 gAmount Per Serving: Calories: 321Total Fat: 20.6gSaturated Fat: 11.9gTrans Fat: 0.5gCholesterol: 56mgSodium: 141mgCarbohydrates: 31.4gFiber: 0gSugar: 26.1gProtein: 4.2g
Nutrition information is provided as an estimate only and may vary based on specific ingredients, brands, and portion sizes used. This information should not be considered medical or nutritional advice.
12 Sweet Favourites — Yours, Free 🍰
Tiramisù, no-bake cheesecake, the perfect chocolate chip cookie & 9 more reader-loved desserts — gathered into one beautiful free recipe book. From my kitchen to yours.
No spam, just sweet things. Unsubscribe anytime.