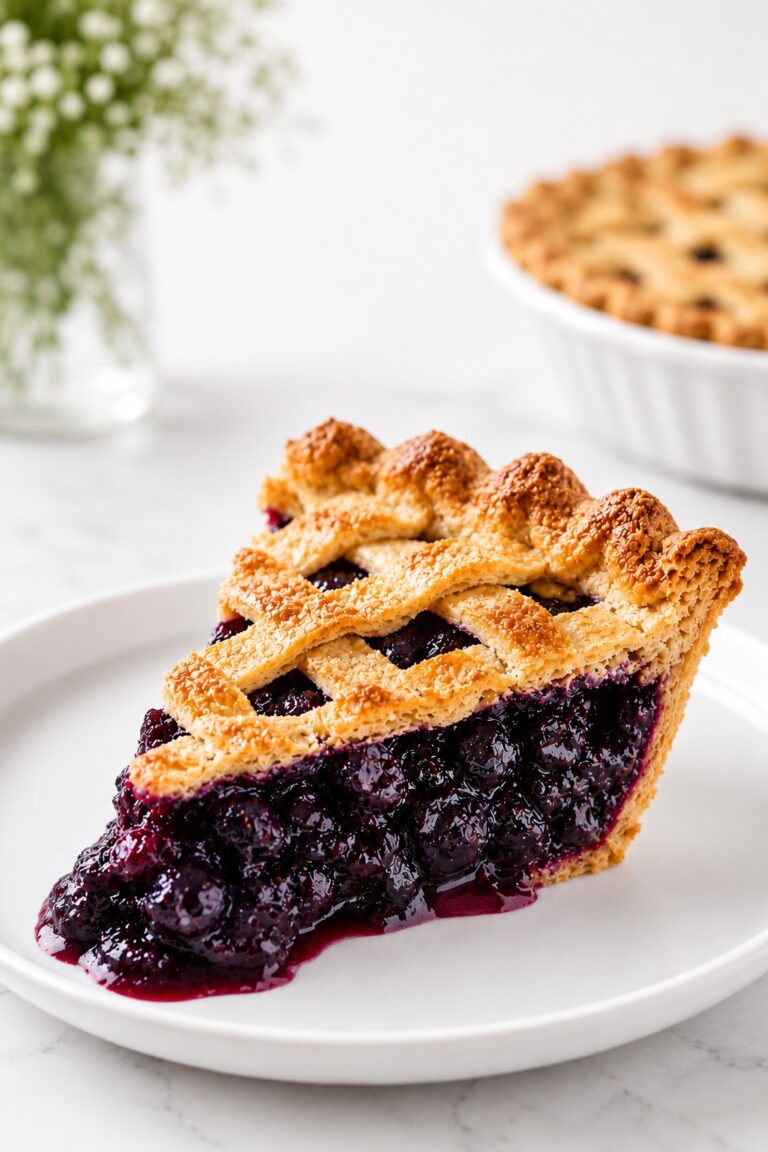
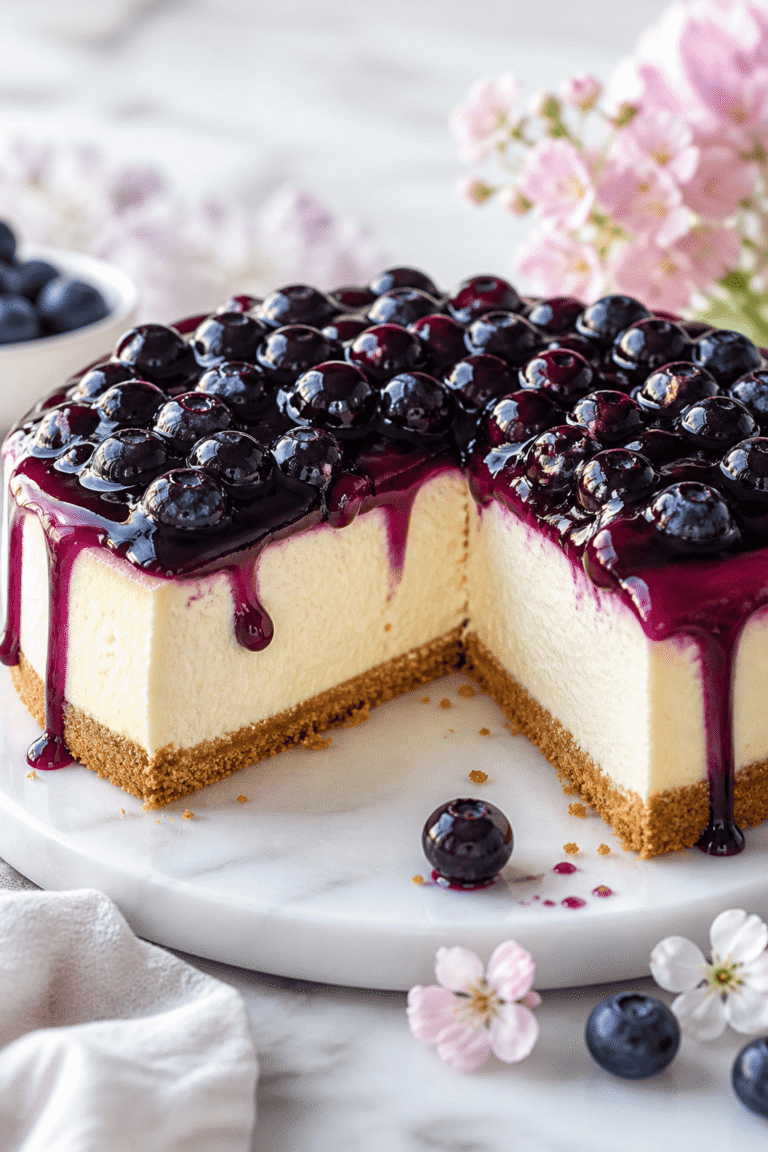
Pumpkin Pie Cheesecake (Creamy & Spiced)
Pumpkin pie cheesecake brings a layer of vanilla cheesecake and a separate spiced pumpkin custard together inside a buttery pastry crust. The pale, gently tangy filling sits beneath the orange pumpkin layer, giving each cold slice two distinct creamy textures and a golden pastry edge.

It is a dessert for the quieter stretch before a holiday meal, when there is time to roll pastry and let the refrigerator do the final work. Familiar cinnamon and pumpkin make it feel at home on an autumn table, while the hidden vanilla layer gives the first cut something extra to reveal.
Keep this pumpkin pie cheesecake recipe for a day when you want to make both parts from scratch without guessing how their timing fits together. The complete plan carries you from the chilled dough to the dry pastry shell, through gentle layering, and finally to a pie that is cold enough to slice.
Pumpkin Pie Cheesecake at a Glance
This pumpkin pie cheesecake is a deep pastry pie with two independently mixed fillings. Most of the elapsed time belongs to resting, cooling, and chilling, so plan the bake for the day before serving. For a taller dessert with pumpkin blended throughout the filling, explore our pumpkin cheesecake recipe.
| Detail | What to plan for |
|---|---|
| Method | Baked pastry pie with separate cheesecake and pumpkin custard; no water bath |
| Yield | One 9-inch pie, cut into 10 equal wedges |
| Pan | Deep 9-inch (23 cm) metal pie plate, at least 2 inches (5 cm) deep and 1.8 L (about 7.6 US cups) to the brim |
| Difficulty | Intermediate: rolled pastry and two separate fillings |
| Active preparation | About 55 minutes |
| Pastry parbake | About 35 minutes; the base must look dry |
| Filled-pie bake | About 75 minutes, with a 60–80-minute planning range; doneness cues decide |
| Total oven time | About 1 hour 50 minutes |
| Cooling after baking | About 90 minutes at normal room temperature. Refrigerate within 2 hours of taking it out of the oven, or within 1 hour above 90°F (32°C). |
| Final refrigerator chill | At least 6 hours, preferably overnight |
| Total resting, cooling, and chilling time | About 9 hours 50 minutes, including rack cooling and the minimum 6-hour refrigerator chill above. Time spent prepping during a rest is counted only once. |
| Total elapsed time | About 12 hours 35 minutes with the minimum chill; optional cream adds 3–5 active minutes |
| Flavor and texture | Buttery pastry, tangy vanilla cheesecake, warmly spiced pumpkin custard |
| Make ahead | Bake 1–2 days ahead for pastry quality; dough can be refrigerated up to 2 days |
| Storage | Covered and refrigerated at 40°F (4°C) or colder for up to 3 days after baking |
| Optional finish | Ten modest dollops of vanilla whipped cream; optional caramel, up to 2 teaspoons (10 ml) per slice |
| Allergens | Wheat, milk, and eggs |
| Estimated nutrition per plain wedge | About 388 calories, 42.6 g carbohydrate, 8.1 g protein, and 21.1 g fat per one of ten equal wedges; one optional cream dollop adds about 44 calories; caramel is excluded |
Why This Pumpkin Pie Cheesecake Works
The structure of pumpkin pie cheesecake depends on preparing the shell and fillings for each other. A dry pastry base, a cool lower layer, and a gentle pour all help the finished wedge keep its contrasting parts.
- A head start for the pastry. Parbaking dries the base before it meets the wet fillings, reducing the risk of a pale, doughy bottom beneath an otherwise cooked pie.
- Two distinct filling flavors. Pumpkin stays in its own egg-and-milk custard, leaving the cream-cheese layer pale and gently tangy instead of blending every bite into the same filling.
- Keep the layers distinct. Chilling the cheesecake mixture and dispersing the pumpkin over a spoon reduce the force landing on one spot, helping preserve the pale layer underneath.
- Creaminess with a sliceable shape. The filling leaves the oven with a small cohesive wobble, then completes its cold rest before cutting; neither a rigid hot center nor a warm first slice is the goal.

Why You’ll Love This Pumpkin Pie Cheesecake
Pumpkin pie cheesecake offers a practical middle ground for a dessert table: a pie you can portion while cold, with the finishing touches left until serving. The recipe also keeps a few everyday decisions simple.
- Ten planned portions. Equal wedges make it easier to serve a rich dessert alongside the rest of a holiday meal.
- A whole can of pumpkin. All 15 ounces go into the upper filling, with no small remainder to find another use for.
- Choose the finish at the table. Serve the pie plain or add the listed vanilla cream to individual slices, so the whole pie does not need decorating.
- No water-bath setup. The filled plate bakes on a metal sheet, without wrapping a springform or moving a roasting pan of hot water.
Who This Pumpkin Pie Cheesecake Is Perfect For
This pumpkin pie cheesecake suits someone who wants pastry as much as creamy filling and is comfortable spreading the work across several stages. The choice is less about complicated decoration than having the right plate, refrigerator space, and time to wait.
- You enjoy contrasting fillings. The cream-cheese tang and warmly spiced custard remain distinct rather than becoming one uniform pumpkin mixture.
- You are happy to handle pastry. Rolling, fitting, and parbaking the shell are part of the recipe, alongside mixing both fillings.
- You can check the equipment first. A deep metal plate with sufficient measured capacity and a level refrigerator shelf are needed before the ingredients are mixed.
- You are planning a cold dessert in advance. Allow the full refrigerator rest; this pie is a better fit for tomorrow’s meal than an imminent serving time.
The Science of a Dry Crust and Creamy Layers
The pastry and fillings in pumpkin pie cheesecake respond differently to temperature. Understanding those differences makes the rests and doneness cues useful decisions rather than a collection of timers.
- Cold fat and relaxed dough. Small pieces of cold butter remain distributed through the flour instead of blending into a greasy paste. Limited handling and chilling help the fitted dough relax before baking, so stop adding water as soon as a pressed portion holds together and avoid stretching it into the plate.
- A dry shell before wet custard. Moisture from the fillings can soften the pastry. The weighted bake supports its shape, and the unweighted stage exposes the base to dry heat; a damp-looking bottom needs more time at this stage, even if the planned minutes have elapsed. Parbaking helps, but a refrigerated pie will still soften gradually.
- A cooked set and a cold set. Egg proteins give the hot fillings structure as they cook, while cooling and chilling make the cheesecake firmer for cutting. That is why a small cohesive wobble can be normal at removal, but a liquid center is not: refrigeration firms a cooked pie; it does not finish cooking raw custard.
Ingredients for the Pastry and Two Fillings
Measure the pastry, vanilla layer, and pumpkin layer separately for pumpkin pie cheesecake. Keeping their ingredients grouped also makes it easier to give the cheesecake its one egg and the pumpkin custard its three.

Ingredient List
The pie uses the full pumpkin can and four eggs in total. The whipped cream ingredients and prepared caramel are optional finishes added shortly before serving.
For the All-butter pastry
- 1 1/2 cups all-purpose flour (180 g), spooned and leveled
- 1 tablespoon granulated sugar (13 g)
- 1/2 teaspoon fine table salt (3 g)
- 1/2 cup unsalted butter (113 g), cold and cubed
- 3–5 tablespoons ice water (45–75 ml), added only until the dough holds together
For the Vanilla cheesecake layer
- 8 ounces full-fat brick cream cheese (226 g), softened until pliable but not warm or oily
- 1/4 cup granulated sugar (50 g)
- 1 large egg (50 g without shell)
- 1 teaspoon vanilla extract (5 ml)
For the Pumpkin pie layer
- 3/4 cup packed light brown sugar (150 g)
- 1 1/2 teaspoons ground cinnamon (about 4 g)
- 1/2 teaspoon ground ginger (about 1 g)
- 1/4 teaspoon ground nutmeg (about 0.5 g)
- 1/8 teaspoon ground cloves (less than 0.5 g)
- 1/4 teaspoon fine table salt (1.5 g)
- 1 can pure pumpkin puree, not pumpkin pie filling (15 ounces / 425 g)
- 3 large eggs (150 g without shells)
- 1 cup evaporated whole milk (240 ml), NOT sweetened condensed milk
- 1 teaspoon vanilla extract (5 ml)
Optional vanilla whipped cream
- 1/2 cup heavy whipping cream (120 ml), cold, at least 36% fat
- 1 tablespoon confectioners’ sugar (7 g)
- 1/2 teaspoon vanilla extract (2.5 ml)
Optional caramel drizzle
- 2 teaspoons prepared caramel sauce (10 ml) per slice, optional; 100 ml for 10 slices
Choosing the Cream Cheese, Pumpkin, and Milk
Use plain, full-fat brick cream cheese for pumpkin pie cheesecake. It should be soft enough to mix smoothly but not warm or oily; spreadable tub cheese introduces a different consistency.
Choose pure pumpkin puree, not sweetened pumpkin pie filling. The sugar and individual spices are already measured here. Evaporated whole milk is also different from sweetened condensed milk, which would change both the sweetness and the filling balance. Keep the butter cold for the pastry and the whipping cream cold until its final use.
Keep the pastry crust when following these quantities and baking stages. A graham cracker shell needs different amounts and its own preparation, so changing the crust is more than replacing the flour-and-butter mixture with crumbs.

Kitchen Tools for a Deep-Dish Cheesecake Pie
For pumpkin pie cheesecake, measure water into your deep 9-inch metal pie plate to check that it holds at least 1.8 L to the brim. Dry it before lining it with pastry. Set out your pie weights and a rimmed baking sheet, and clear a level shelf in the refrigerator.
- Vessel and support: 9-inch (23 cm) deep metal pie plate, at least 2 inches (5 cm) deep, at least 1.8 L / approximately 7.6 US cups brim capacity; rimmed metal baking sheet. Nominal diameter alone is insufficient.
- Pastry tools: bowl, pastry blender or fingertips, rolling pin, two sheets of parchment for rolling, additional parchment for lining, and pie weights sufficient to support base and sides.
- Filling tools: two mixing bowls, hand mixer on low speed for cheesecake, whisk for pumpkin, flexible spatula and a large spoon for gentle layering.
- Measuring and oven controls: scale, US cups/spoons, instant-read thermometer and pie shield or foil.
- Cooling and serving: wire rack, refrigerator space, sharp knife and pie server; optional whisk or mixer for cream.

Before You Begin the Pastry and Fillings
Check the empty plate before making pumpkin pie cheesecake: measure water into it to confirm that it holds at least 1.8 L to the brim, then dry it thoroughly. This check prevents discovering too late that both fillings will not fit.
- Leave space above the filling. The assembled pie needs at least 1/4 inch (6 mm) below the rim; do not plan to discard part of a filling or squeeze it into a shallow plate.
- Clear a level refrigerator shelf. The fitted shell, filled cheese layer, and finished pie all need cold resting space in the plate.
- Separate ingredient temperatures. Butter stays cold for pastry, cream cheese becomes pliable for smooth mixing, and optional cream stays refrigerated.
- Check the shell before filling. It must have a dry parbaked base and be cool before the cheesecake is spread inside; have enough weights to support its sides during baking.
A Day-Before Plan for Pumpkin Pie Cheesecake
Bake pumpkin pie cheesecake the day before serving and let the final chill continue overnight. This schedule starts at 9 a.m. in a kitchen at 90°F (32°C) or cooler. Mix the pumpkin custard while the cheesecake layer chills. If the pie takes longer to bake, count the cooling time from when it comes out of the oven.
| Time | Stage | Readiness or holding condition |
|---|---|---|
| 9:00–9:15 a.m. | Mix pastry | Dough holds together without a wet surface |
| 9:15–10:15 a.m. | Chill dough | Keep wrapped and refrigerated |
| 10:15–10:30 a.m. | Roll and fit | Line the plate without stretching |
| 10:30–11:00 a.m. | Chill fitted shell | Preheat oven during this rest |
| 11:00–11:35 a.m. | Parbake | Bake until the base looks dry and lightly colored |
| 11:35 a.m.–12:05 p.m. | Cool shell | No warm pastry beneath the cheese |
| 12:05–12:15 p.m. | Mix and spread cheesecake | Mix on low speed until smooth |
| 12:15–12:45 p.m. | Chill cheesecake layer | Mix pumpkin during the first 10 minutes; preheat as needed |
| 12:45–12:50 p.m. | Layer and shield | Gentle pour and space below the rim |
| 12:50–2:05 p.m. | Bake filled pie | Look for set edges and a slight center wobble. Check for about 165°F (74°C). |
| 2:05–3:35 p.m. | Cool on a rack | At 90°F (32°C) or cooler, refrigerate at about 3:35 p.m. and by 4:05 p.m. at the latest. Above 90°F (32°C), refrigerate by 3:05 p.m., even if the pie is still slightly warm. |
| At least 6 hours after refrigerating | Chill | If the pie goes into the refrigerator at 3:35 p.m., it needs until at least 9:35 p.m. Chill overnight for the neatest slices. |
Allow extra time if the dough needs to soften, the oven is slow to preheat, or the center needs longer to bake. Give pumpkin pie cheesecake the full six hours in the refrigerator before slicing.
What to Expect from the Crust and Fillings
The two uncooked fillings for pumpkin pie cheesecake should look different. The pale cheesecake mixture has more body, while the orange pumpkin custard pours more freely; matching their thickness is not the goal.
- The pastry should hold together when pressed without looking wet or greasy.
- The vanilla mixture should be smooth and spreadable, without large cheese lumps or whipped foam.
- The pumpkin mixture should be uniform and fluid, with the spices dispersed through it.
- A fully chilled slice should show a pale lower filling and a larger orange custard layer, both creamy rather than cake-like.
How to Make Pumpkin Pie Cheesecake
Make pumpkin pie cheesecake in the order the layers need: prepare and cool the shell first, chill the cheesecake inside it, then add the pumpkin custard gently. Keep the pie on its metal baking sheet for the filled bake, and use the center cues to decide when it is ready to cool.
1. Make and Chill the Pastry
Begin with cold butter and add only enough water for the dough to hold. This pastry forms the base and sides of pumpkin pie cheesecake, so avoid working it into a smooth, elastic ball.
Mix the flour, sugar, and salt in a bowl. Work in the cold cubed butter with a pastry blender or fingertips until some pea-size pieces remain. Add 3 tablespoons (45 ml) ice water, then add more in 1-teaspoon (5 ml) increments only as needed, up to 5 tablespoons (75 ml) total. Press into a disc, wrap, and refrigerate for 60 minutes; allow about 15 minutes for mixing.

What you should see: A squeezed portion stays together, with small butter pieces still visible. The surface should not look like wet paste.

2. Roll, Fit, and Chill the Shell
Roll the dough evenly before lowering it into the plate. A shell stretched tight against the sides can pull back as it bakes, leaving less room for the pumpkin pie cheesecake fillings.
Roll between two sheets of parchment to about 13 inches across and 1/8 inch (3 mm) thick. If the dough cracks because it is too cold, let it stand for 5–10 minutes before continuing; this adds to the planned time. Ease it into the deep plate without stretching, trim and make a modest crimp, then refrigerate the fitted shell for 30 minutes. Preheat the conventional oven to 375°F (190°C), with a rack in the lower-middle position.

What you should see: The pastry rests against the base and sides without tension, with an even thickness and a rim that is not bulky.

3. Parbake and Cool the Crust
Parbake the shell until its base looks dry, then let it cool before adding anything creamy. This is the best opportunity to prevent a doughy bottom beneath pumpkin pie cheesecake.
Set the plate on a rimmed metal baking sheet. Line the pastry with parchment and fill with enough pie weights to support the base and sides. Bake for 25–30 minutes. Lift out the parchment and weights carefully, then bake uncovered for another 8–10 minutes, until the bottom is dry and lightly colored. If a patch still looks damp, continue in 2–3-minute intervals. Cool the shell for about 30 minutes.

What you should see: The sides hold their shape and the bottom has lost its damp, translucent appearance. A pale wet patch needs more parbaking, not filling.

4. Mix and Chill the Cheesecake Layer
Smooth the cream cheese before adding its egg. The lower layer of pumpkin pie cheesecake should spread easily without lumps, and it does not need air beaten into it.
Beat the softened cream cheese and its granulated sugar on low speed for about 1–2 minutes, scraping the bowl until smooth. Add the one egg and vanilla; mix on low just until incorporated, about 20–30 seconds. Spread evenly in the cooled shell and refrigerate for 30 minutes.

What you should see: A smooth pale layer with no visible cheese lumps or whipped foam. Chilling makes this uncooked mixture cooler and thicker, not solid like baked cheesecake.

5. Whisk the Pumpkin Custard
Mix the pumpkin custard while the lower layer chills. Keeping it in a separate bowl preserves the contrast that defines pumpkin pie cheesecake.
Whisk the brown sugar, cinnamon, ginger, nutmeg, cloves, and salt together. Add all the pumpkin, followed by the three eggs, evaporated whole milk, and vanilla; whisk gently just until uniform, scraping the bottom. Let any surface foam settle while the cheesecake layer chills. There is no need for prolonged counter warming of the eggs or milk; keep unrefrigerated handling of perishable ingredients within two hours, or one hour above 90°F (32°C). Preheat the oven to 425°F (220°C) during the lower-layer chill.
What you should see: An evenly colored orange custard with no dry pockets of sugar or spice and little foam on the surface.

6. Layer the Fillings and Shield the Rim
Use the back of a spoon to soften the force of the pumpkin as it lands. A slow, distributed pour helps the pumpkin pie cheesecake layers stay distinct.

Place the chilled pie on its metal sheet. Hold a large spoon just above the pale filling and pour the pumpkin custard gradually over its back, moving the flow across the surface. Do not stir. Use all the filling, leaving at least 1/4 inch (6 mm) below the rim in the specified plate. Cover the already parbaked pastry edge with a shield or foil, leaving the center open.

What you should see: An even orange surface, with no broad streaks of pale filling rising through it and no filling crowding the rim.

7. Bake Until the Center Is Gently Set
Bake pumpkin pie cheesecake in two temperature stages, then judge its center rather than waiting for the surface to become completely still. The filled-pie bake is about 75 minutes, with a 60–80-minute planning range.
Bake at 425°F (220°C) for 15 minutes, then reduce the oven to 350°F (175°C) without removing the pie. Continue for an estimated 45–65 minutes, beginning checks after 40 minutes at the lower temperature. Keep the rim protected if it is browning ahead of the center.
The outer filling should be set, with a roughly 2-inch (5 cm) center that wobbles slightly as one cohesive area. Check the center with a fine-tip thermometer, clear of the pastry and pan: aim for about 165°F (74°C). If the reading seems off, check another spot near the center with the tip in the filling. Take the pie out when the center is about 165°F (74°C) and jiggles slightly as one piece. If the center still ripples like liquid, continue at 350°F in 5-minute intervals and recheck.
What you should see: Set outer filling and a small, unified center wobble. Liquid waves need more baking; a rigid center is not the target.

8. Cool, Then Chill the Pie Overnight
Cool pumpkin pie cheesecake briefly on a rack, then give it the refrigerator time needed for slicing. Keep it in its plate throughout; there is no oven-off cooling stage.
At normal room temperature, cool the pie uncovered on a wire rack for about 90 minutes. Refrigerate at 40°F (4°C) or colder within two hours of taking it out of the oven. If the kitchen is above 90°F (32°C), refrigerate within one hour, even if the pie is still slightly warm. If residual steam remains, leave it uncovered initially in the refrigerator, then cover once cold. Chill at least six hours, preferably overnight.
I’ve learned to be patient with the first slice of cheesecake. Cutting into one before it had chilled properly gave me a soft, untidy wedge, even though I was eager to see the inside. With this pumpkin pie cheesecake, the overnight rest is part of the plan: those two creamy layers deserve time to settle before the knife goes in.
What you should see: Steam has dissipated before the pie is covered, and the fully cold filling holds a wedge instead of slumping around the knife.

9. Slice and Add the Optional Cream
Cut pumpkin pie cheesecake while it is fully cold, with a sharp knife that is cleaned between slices. A dry blade matters if you warm the knife in water: droplets can smear the filling and dampen the pastry.
Cut the cold pie in half. Use the tip of the knife to mark four evenly spaced points along the curved edge of each half, then cut from each mark to the center to make 10 equal wedges. Lift the wedges with a pie server. For the optional topping, whip the cold heavy cream, confectioners’ sugar, and vanilla for about 3–5 minutes to soft-to-medium peaks. Add ten modest dollops at serving, keeping the cut layers visible. The cream adds this extra preparation time to the plain pie. If using caramel, drizzle up to 2 teaspoons (10 ml) of room-temperature prepared sauce over each slice just before serving.
What you should see: A clear ivory-and-orange cut face, a supported pastry base, and a small dollop rather than a thick covering of cream.

Pumpkin Pie Cheesecake Doneness and Chilled Texture
Doneness and serving firmness are two different judgments for pumpkin pie cheesecake. The oven must set the custard; the refrigerator then gives the cooked fillings enough body for a neat wedge.
| Stage | Normal cue | What it means |
|---|---|---|
| At oven removal | Outer filling set; small center moves together; center about 165°F (74°C) | The hot filling can remain gently yielding without being liquid |
| Center ripples or sloshes | Fluid movement rather than one small wobble | Continue baking in short intervals and recheck; chilling is not a substitute |
| Thermometer reading seems inconsistent | Reading disagrees with the visible set | Recheck an adjacent central point with the tip in filling, clear of crust and pan |
| After full chilling | Distinct layers support a wedge but yield to a fork | This is the serving texture; do not expect the same firmness while hot |

Small surface cracks can affect the appearance of pumpkin pie cheesecake without answering whether the center was cooked properly. Use the temperature, set, and storage history for those decisions, rather than the smoothness of the top.
Expert Tips for Cleaner Cheesecake Pie Layers
A handful of dough, a smear of cream cheese, and the way the pumpkin custard lands can tell you what to fix before pumpkin pie cheesecake goes into the oven.
- If the dough crumbles at the edges. Squeeze a handful first. If the center holds together, press the loose crumbs into the disc. If the whole handful falls apart, sprinkle a teaspoon of ice water over the dry patches and check again, using no more than 5 tablespoons total.
- If you see lumps in the cream cheese. Before adding the egg, press the lumps against the side of the bowl with a spatula, then mix briefly on low. Check a thin smear on the spatula for any bits of unmixed cheese.
- If the pumpkin custard pools in one spot. Pause and move the spoon to a spot with less custard. Resume with a thinner stream and keep the spoon close to the filling. If a little pale filling shows through, leave it alone so it stays in place.

Pumpkin Pie Cheesecake Mistakes to Avoid
A problem in pumpkin pie cheesecake is easier to address while the affected component is still accessible. Once wet fillings cover the shell or the layers have blended, the available fixes become more limited.
| Mistake | What happens | Why it happens | How to prevent or fix it |
|---|---|---|---|
| Filling a damp shell | Soft or doughy bottom | Parbake stopped before the base dried | Extend the unweighted parbake before filling; prolonged baking cannot reliably crisp a soggy shell under already-set custard |
| Stretching or under-supporting pastry | Sides shrink or collapse | Tension, softened butter, or too few weights | Fit without stretching, chill, and weight the sides; patch a small unfilled crack with a trimming before its final short bake, but correct a collapsed shell before filling |
| Adding the egg before smoothing cheese | Lumps in the pale layer | Cold cheese or unmixed patches | Soften the brick cheese and smooth with sugar first; avoid extended high-speed mixing after adding the egg |
| Pouring forcefully | Layers marble together | A strong stream disrupts the lower filling | Use a cool shell, chilled lower layer, and spoon-back pour; a thoroughly mixed boundary cannot be restored |
| Leaving the parbaked rim exposed | Dark pastry before the middle sets | The rim has already had an initial bake | Shield the rim and keep checking the center; crust color does not establish filling doneness |
| Removing a liquid center | Loose filling even after chilling | Insufficient cooking or unsuitable vessel | While still baking, use 5-minute intervals and recheck the center; do not rely on the refrigerator to cook it |
| Overbeating or overbaking | Cracks or grainy filling | Excess air or heat | Mix gently. Take the pie out when the edges are set, the center is about 165°F (74°C), and the middle wobbles gently as one piece |
| Covering or cutting too early | Condensation or a smeared slice | Trapped steam or insufficient cold rest | Refrigerate within the safe cooling window, cover once cold, and complete the chill before slicing |
Beautiful Ways to Serve Pumpkin Pie Cheesecake
Serve pumpkin pie cheesecake cold, with its cut face visible. The pastry and contrasting fillings already provide the presentation, so each of these choices keeps the finish modest.
A Plain Slice with Both Layers Showing
A plain slice of pumpkin pie cheesecake shows the ivory lower layer and orange custard clearly against a light plate. Support the base with a pie server and place the wedge with its cut side facing forward, so the pastry edge is not hidden.

A Modest Dollop of Vanilla Cream
A small dollop of vanilla cream softens the tang of pumpkin pie cheesecake without covering the layered slice. Whip only to soft-to-medium peaks and add it shortly before serving; the listed batch is intended for ten modest dollops, not a thick piped covering. For a caramel finish, add a light drizzle of prepared sauce at room temperature, up to 2 teaspoons (10 ml) per slice. Keep most of the cut face uncovered so both creamy layers remain visible. Caramel is excluded from the nutrition estimates; use the sauce label for the amount served, storage guidance, and any additional allergens.

A Chilled Pie for the Holiday Dessert Table
Because pumpkin pie cheesecake is served cold, it can wait in the refrigerator while the hot dishes finish. Bring out the portions you need close to dessert time. If your table also needs a classic custard-only option, our pumpkin pie recipe offers that familiar pastry-and-pumpkin combination.
Storing and Making Pumpkin Pie Cheesecake Ahead
Keep pumpkin pie cheesecake refrigerated, whether you are making it ahead or saving the last few wedges. The filling needs cold storage, while the pastry is usually at its best nearer the day it was baked.
What You Can Prepare Ahead
For serving quality, bake pumpkin pie cheesecake one or two days ahead and add the optional cream at serving. Keep the total refrigerated holding time within three days after baking.
You can wrap the pastry dough and refrigerate it for up to two days before rolling. Mix and layer the fillings on the day you bake. If you need dessert ready for a holiday meal, bake the whole pie a day or two ahead and keep it chilled until serving.
Keeping Leftover Slices Cold
Cover pumpkin pie cheesecake once it is cold and keep it at 40°F (4°C) or below for up to three days after baking. Milk-and-egg pumpkin custard requires refrigeration; university-extension guidance for storing pumpkin pie gives a three-to-four-day refrigerated window, and this recipe uses the shorter limit.
During serving, allow no more than two hours out of refrigeration, or one hour if the temperature is above 90°F (32°C). These are limits, not a target for leaving the pie on the table. Return leftovers promptly and do not decide whether they are safe from appearance or smell alone.

Pumpkin Pie Cheesecake Questions
The pan, crust, and preparation day are the main choices to settle before making pumpkin pie cheesecake. Keep the size and pastry method together, and plan the finished pie around refrigerated storage.
Can I use a springform, square, or larger pan?
Use a deep 9-inch metal pie plate for this pumpkin pie cheesecake. Check for at least 2 inches (5 cm) of depth and 1.8 L of capacity to the brim. A springform or square pan changes how deep the filling sits, how the pastry fits, and how long the center takes to set.
Can I use a graham cracker crust instead of pastry?
Use the butter pastry for this pumpkin pie cheesecake. A graham cracker crust needs different quantities and a different bake to hold the two fillings. If you want a cheesecake with a crumb crust, try our pumpkin cheesecake with a graham cracker crust.
How far ahead can I make this pumpkin pie cheesecake?
Bake pumpkin pie cheesecake one or two days before serving for better pastry quality. Keep it refrigerated at 40°F (4°C) or below, use it within three days after baking, and add the optional whipped cream when you serve it.
Continue Your Autumn Baking Journey
What did you go back for in the pumpkin pie cheesecake? Start with the pumpkin spice, the flaky edge, or the cool vanilla layer.
More Ways to Bake with Pumpkin
- Pumpkin Cheesecake Bars. A 9-inch square pan gives you 16 chilled portions you can cut before guests arrive.
- Crustless Pumpkin Pie. Make this when you want a slice of spiced custard and don’t have pastry dough ready to roll.
- Pumpkin Roll. The soft pumpkin sponge and vanilla cream cheese spiral slice into thin rounds for a dessert platter.
- Pumpkin Coffee Cake. Put this out with morning coffee for soft pumpkin cake under buttery cinnamon streusel.
Pastry Pies for the Holiday Table
- Sweet Potato Pie. Roasted sweet potatoes make a full-bodied custard for a flaky pastry shell.
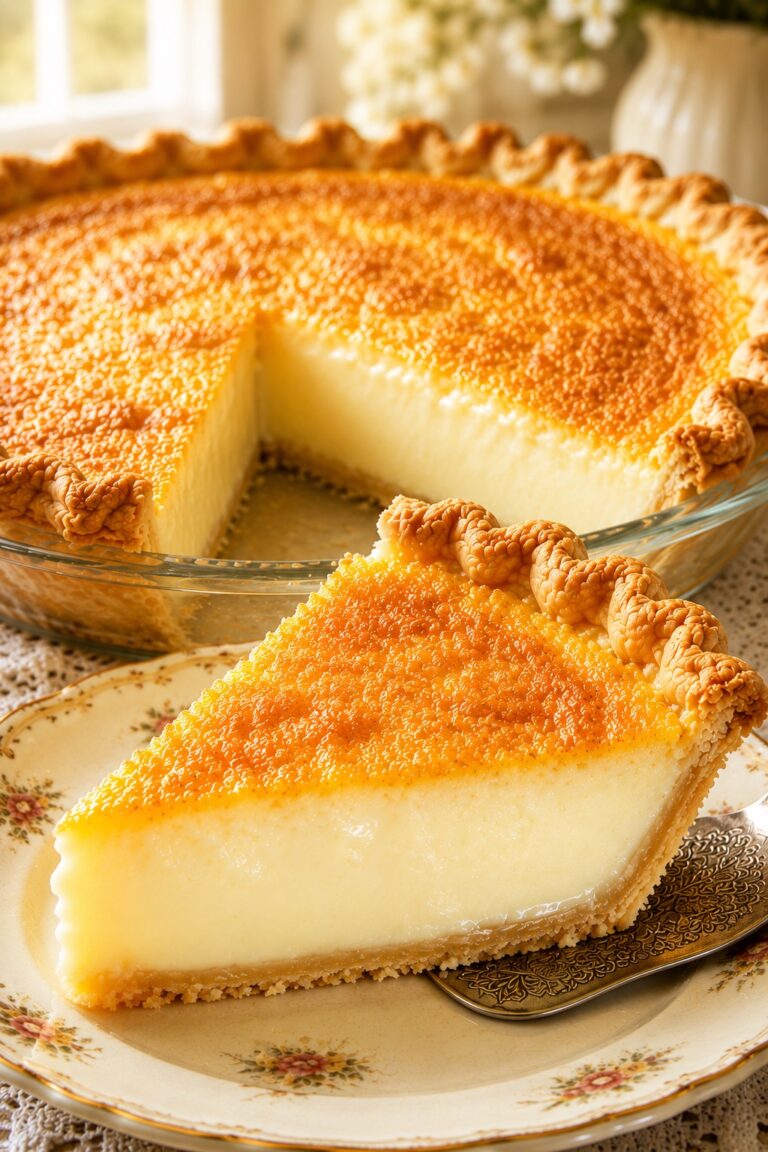
- Chess Pie. A little cornmeal gives the vanilla custard a fine texture in a pie that’s lovely served plain.
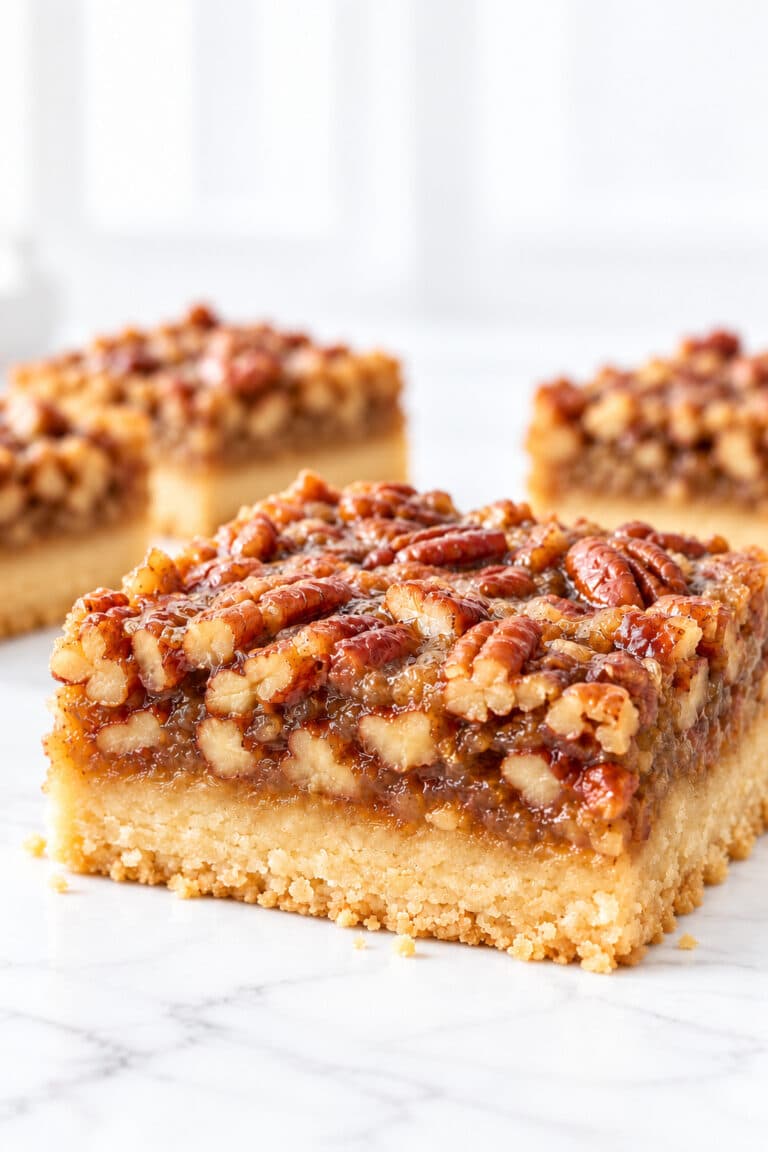
- Pecan Pie. Put this beside a creamy dessert for the crunch of toasted pecans and the soft brown sugar filling underneath.
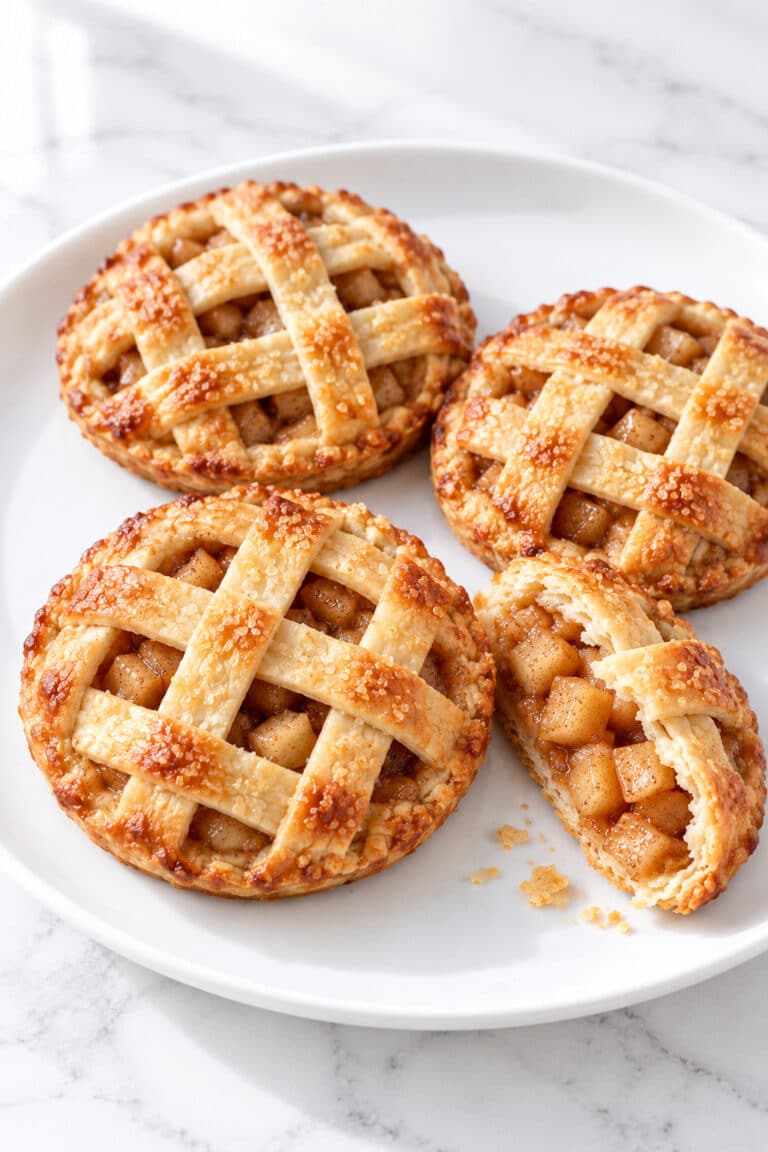
- Apple Crumble Pie. Choose this for cinnamon-spiced apple slices under buttery crumbs that break apart under a fork.
Cheesecakes for Another Celebration
- New York Cheesecake. If the vanilla layer was your favorite bite, this gives you a whole wedge of dense, tangy cheesecake.
- Pecan Pie Cheesecake. Keep the chilled cheesecake and finish it with toasted pecans folded into a buttery cream sauce.
- Turtle Cheesecake. Bring this when chocolate is the draw, with ganache, caramel, and toasted pecans over a brown sugar filling.
- No Bake Cheesecake. When the oven is full, this graham cracker cheesecake takes about 20 minutes to assemble and sets in the refrigerator.
Why This Pumpkin Pie Cheesecake Belongs in Your Recipe Box
Keep pumpkin pie cheesecake in mind for a fall dinner when you want dessert ready before the first guest knocks.
- When you need the oven for dinner. Bake the pie the day before so the roast and side dishes have the oven to themselves on the day of the meal.
- When you only have time for the pastry tonight. Mix and wrap the dough after dinner. It can stay in the refrigerator for up to two days, ready to roll when you have time to bake.
- When you’re bringing dessert to someone else’s house. Carry the chilled pie in its plate in a cooler with ice packs to keep it at 40°F (4°C) or colder. Ask the host to clear a level shelf in the refrigerator.
A Final Note on Pumpkin Pie Cheesecake
The next day, once the plates are cleared and the coffee is on, cut into the pumpkin pie cheesecake. In the first cold wedge, you’ll see the pale vanilla layer beneath the pumpkin all the way to the tip.
Start where the pastry meets the two fillings. That first forkful catches a flake of butter crust, the tang of cream cheese, and the ginger that lingers after the pumpkin.

Pumpkin Pie Cheesecake
A deep-dish pastry pie with a tangy vanilla cheesecake layer and a separate spiced pumpkin custard layer. Parbake the all-butter crust, layer the fillings gently, and chill the baked pie thoroughly before cutting ten neat wedges.
Ingredients
All-butter pastry
- 1 1/2 cups all-purpose flour (180 g), spooned and leveled
- 1 tablespoon granulated sugar (13 g)
- 1/2 teaspoon fine table salt (3 g)
- 1/2 cup unsalted butter (113 g), cold and cubed
- 3–5 tablespoons ice water (45–75 ml), added only until the dough holds together
Vanilla cheesecake layer
- 8 ounces full-fat brick cream cheese (226 g), softened until pliable but not warm or oily
- 1/4 cup granulated sugar (50 g)
- 1 large egg (50 g without shell)
- 1 teaspoon vanilla extract (5 ml)
Pumpkin pie layer
- 3/4 cup packed light brown sugar (150 g)
- 1 1/2 teaspoons ground cinnamon (about 4 g)
- 1/2 teaspoon ground ginger (about 1 g)
- 1/4 teaspoon ground nutmeg (about 0.5 g)
- 1/8 teaspoon ground cloves (less than 0.5 g)
- 1/4 teaspoon fine table salt (1.5 g)
- 1 can pure pumpkin puree, not pumpkin pie filling (15 ounces / 425 g)
- 3 large eggs (150 g without shells)
- 1 cup evaporated whole milk (240 ml), NOT sweetened condensed milk
- 1 teaspoon vanilla extract (5 ml)
Optional vanilla whipped cream
- 1/2 cup heavy whipping cream (120 ml), cold, at least 36% fat
- 1 tablespoon confectioners’ sugar (7 g)
- 1/2 teaspoon vanilla extract (2.5 ml)
Optional caramel drizzle
- 2 teaspoons prepared caramel sauce (10 ml) per slice, optional; 100 ml for 10 slices
Instructions
Make and Chill the Pastry. Before starting, fill the empty pie plate with water to confirm at least 1.8 L (about 7.6 US cups) brim capacity, then dry it. Use a 9-inch (23 cm) metal plate at least 2 inches (5 cm) deep. Mix flour, sugar and salt. Work in cold butter until some pea-size pieces remain. Add 45 ml ice water, then further water in 5 ml increments, up to 75 ml total, only until a pressed handful holds together. Flatten to a disc, wrap and refrigerate 60 minutes. Do not knead until smooth or add all the water automatically. What you should see: A pressed handful holds together with visible butter pieces, without sticky paste.
Roll and Fit the Shell. Roll between two sheets of parchment to approximately 13 inches (33 cm), about 1/8 inch (3 mm) thick. Peel away parchment and fit loosely into the specified deep plate without stretching. Fold a modest overhang under and crimp; keep the crimp small so there is enough dough to line the plate. Refrigerate the lined plate for 30 minutes. If the dough cracks directly from the refrigerator, let it sit for 5–10 minutes, then try rolling it again. What you should see: The pastry sits against the base and sides without stretching, with an even lining and a modest crimp.
Parbake and Cool the Pastry. Preheat a conventional oven to 375°F (190°C), lower-middle rack. Line the cold shell with fresh parchment and pie weights supporting the base and sides. Bake on a rimmed metal sheet for 25–30 minutes, until the sides hold their shape and look set. Remove weights and parchment carefully; bake a further 8–10 minutes, until the base is dry and beginning to color. If damp or translucent areas remain, continue in 2–3-minute increments, shielding the rim if needed. Cool the shell on a rack for about 30 minutes, until no longer warm, before adding cheesecake. Plan on 33–40 minutes for parbaking. Stop when the bottom looks dry and lightly colored. What you should see: The sides hold their shape and the base looks dry and lightly colored, with no damp translucent patches.
Mix and Chill the Cheesecake Layer. Beat softened cream cheese and its sugar at low speed for about 1–2 minutes, scraping the bowl until smooth. Add its egg and vanilla; mix on low only until incorporated, about 20–30 seconds. Spread evenly in the cool pastry. Refrigerate for 30 minutes. This uncooked layer becomes cooler and thicker, not firm like baked cheesecake. What you should see: The pale filling is smooth and slightly thicker after chilling, without cheese lumps or whipped foam.
Whisk the Pumpkin Filling. During the 30-minute cheesecake-layer chill, whisk brown sugar, measured spices and salt. Add pumpkin, then the three eggs, evaporated milk and vanilla; whisk gently just until uniform. Scrape the bottom of the bowl. Leave any foam to settle for a few minutes while the cheesecake layer chills. Do not whip air into either filling. Eggs and milk may have the refrigerator chill taken off during preparation; prolonged counter warming is unnecessary. Keep total unrefrigerated handling of perishable ingredients within two hours, or one hour above 90°F (32°C). What you should see: The pumpkin mixture is uniformly orange with no dry spice or sugar pockets and little surface foam.
Layer the Fillings Gently. Preheat to 425°F (220°C) during the lower-layer chill. Place the pie on its metal baking sheet. Pour pumpkin filling gradually over the back of a large spoon held just above the pale filling, distributing it across the surface rather than directing a strong stream at one spot. Do not stir the layers. Use all the filling and keep at least 1/4 inch (6 mm) below the rim in the specified plate. Protect the parbaked pastry rim with foil or a shield, leaving the center open. What you should see: The orange filling covers the pale layer without broad pale streaks, and there is at least 1/4 inch (6 mm) of headroom.
Bake in Two Stages. Bake at 425°F (220°C) for 15 minutes, then reduce to 350°F (175°C) without removing the pie. Continue for an estimated 45–65 minutes. Begin checking after 40 minutes at the lower temperature. The pie may set faster or slower depending on your oven and pie plate. Allow about 75 minutes for the filled-pie bake, usually 60–80 minutes. Do not continue solely to reach the end of the time range. What you should see: The outer filling begins to set while the shield protects the pastry rim; use the next step to decide when to remove the pie.
Check the Center. The outer filling is set; a central roughly 2-inch (5 cm) area has a small cohesive wobble when the pan is nudged, not a liquid ripple. A fine-tip instant-read thermometer at the center of the filling, clear of the crust and pan, should read about 165°F (74°C). If the reading seems off, check another spot near the center with the tip in the filling. Take the pie out when the center is about 165°F (74°C) and jiggles slightly as one piece. If the center remains liquid, continue at 350°F in 5-minute increments and recheck. Do not intentionally bake to a rigid center or use chilling to remedy raw filling. Minor surface cracks affect appearance, not the need to check cooking and storage correctly. What you should see: The outer filling is set and the small center moves cohesively, without liquid waves; the central temperature is about 165°F (74°C).
Cool and Chill Completely. At normal room temperature, cool the pie uncovered on a wire rack for about 90 minutes. Refrigerate at 40°F (4°C) or colder within two hours of taking it out of the oven. If the kitchen is above 90°F (32°C), refrigerate within one hour, even if the pie is still slightly warm. Do not add an oven-off cooling stage. Leave uncovered initially in the refrigerator if residual steam remains, then cover once cold. Chill at least 6 hours; overnight is preferred. Keep the pie in its plate throughout. What you should see: Steam has dissipated before covering, and the fully chilled filling can hold a wedge.
Slice and Serve. Whip the optional cold cream, confectioners’ sugar and vanilla for about 3–5 minutes until it holds soft-to-medium peaks. Cut the cold pie in half. Use the tip of the knife to mark four evenly spaced points along the curved edge of each half, then cut from each mark to the center to make 10 equal wedges. Use a sharp knife and clean it between cuts; if warmed in water, dry it before touching the pie. Add 10 modest dollops of cream, preserving the visible layers. The optional cream adds 3–5 minutes of active preparation; the main nutrition estimate is for a plain wedge. For a caramel finish, drizzle up to 2 teaspoons (10 ml) of prepared caramel sauce over each slice just before serving. Use it at room temperature so it flows without warming the chilled fillings. What you should see: Separate ivory and orange layers supported by pastry, with optional cream and a light caramel drizzle that leaves the layers visible.
Notes
- Plan to bake the day before serving. The 12-hour-35-minute total includes at least six hours in the refrigerator. An overnight chill gives you the neatest slices. Allow extra time if the pie takes longer to bake.
- Use a deep 9-inch metal pie plate and check that it holds at least 1.8 L to the brim. Use all the filling and keep 1/4 inch (6 mm) of headroom; a shallow 9-inch plate is not suitable.
- Measure flour by weight or spoon it into the cup and level it. Roll between parchment instead of adding unmeasured bench flour. Add water gradually and stop as soon as the dough holds together.
- Keep the two fillings separate. Smooth the cream cheese and sugar before adding its egg, chill the lower layer for 30 minutes, and pour the pumpkin mixture over the back of a spoon without stirring.
- Use full-fat brick cream cheese, pure pumpkin puree and evaporated whole milk. Tub cheese, reduced-fat cheese, sweetened pumpkin pie filling and sweetened condensed milk are not direct substitutes.
- Use a conventional oven and the stated temperatures. Changing the pan, using a fan oven or multiplying the ingredients requires different baking guidance; keep this recipe to one pie in the specified plate.
- Shield the parbaked rim while the filling cooks. Pastry color alone does not establish center doneness. A liquid center needs more baking; chilling does not cook raw filling.
- Refrigerate covered at 40°F (4°C) or colder for up to 3 days after baking. For pastry quality, bake 1–2 days before serving. Tightly wrapped unbaked dough can be refrigerated for up to 2 days.
- Mix and layer both fillings on the day you bake. Do not hold the raw assembled pie overnight. Serve chilled and add the optional cream at serving.
- Limit time out of the refrigerator during service to 2 hours, or 1 hour above 90°F (32°C). These are maximum limits, not serving targets. Appearance or smell alone cannot establish safety.
- Contains wheat, milk and eggs.
- Nutrition is an estimate per plain wedge, based on 10 equal wedges and including the full pastry batch. Brands and portion sizes can change the values. One of ten equal dollops of the optional cream adds about 44 calories; a wedge with one dollop is about 432 calories. Caramel is excluded from these estimates; add the nutrition shown on the sauce label for the amount used.
- The caramel is an optional prepared topping, not part of the baked fillings. Allow up to 2 teaspoons (10 ml) per slice; follow the sauce label for storage and allergens, and add it at serving.
Equipment
- 1) Vessel and support: 9-inch (23 cm) deep metal pie plate, at least 2 inches (5 cm) deep, at least 1.8 L / approximately 7.6 US cups brim capacity; rimmed metal baking sheet. Nominal diameter alone is insufficient.
- 2) Pastry tools: bowl, pastry blender or fingertips, rolling pin, two sheets of parchment for rolling, additional parchment for lining, and pie weights sufficient to support base and sides.
- 3) Filling tools: two mixing bowls, hand mixer on low speed for cheesecake, whisk for pumpkin, flexible spatula and a large spoon for gentle layering.
- 4) Measuring and oven controls: scale, US cups/spoons, instant-read thermometer and pie shield or foil.
- 5) Cooling and serving: wire rack, refrigerator space, sharp knife and pie server; optional whisk or mixer for cream.
Nutrition Information:
Yield: 10 Serving Size: 1 slice without optional whipped cream or caramelAmount Per Serving: Calories: 388Total Fat: 21.1gSaturated Fat: 12.2gCholesterol: 129mgSodium: 309mgCarbohydrates: 42.6gFiber: 2gSugar: 25.9gProtein: 8.1g
Nutrition information is provided as an estimate only and may vary based on specific ingredients, brands, and portion sizes used. This information should not be considered medical or nutritional advice.