Banana Pancakes (Soft, Fluffy & Easy)
🎁 FREE E-BOOK: 12 Sweet Favorites — reader-loved desserts in one beautiful recipe book.
Banana pancakes should smell warmly of ripe fruit and vanilla, turn evenly golden on the griddle, and stay soft and airy through the center. This recipe balances the extra moisture from the banana so every pancake cooks through without losing its tender texture.

When one very ripe banana is waiting on the counter, a warm stack feels a little more special than another quick snack. Add butter and maple syrup at the table, and you have a familiar breakfast that is generous, comforting, and still easy enough for an unhurried morning.
Keep this recipe close for the moments when banana pancakes have browned beautifully but stayed gummy inside. The measured banana, 10-minute rest, small portions, and clear flip cues remove the guesswork from the batter and the griddle.
Banana Pancakes at a Glance
These are classic banana pancakes made with wheat flour, milk, egg, and one carefully measured banana. They have a soft, fully set crumb rather than the delicate, custardy texture of two-ingredient banana-and-egg pancakes.
- Yield: 8 pancakes, each about 4 inches or 10 cm wide
- Servings: 4, with 2 pancakes per serving before toppings
- Portion: 1/4 cup or 62 to 64 g batter per pancake
- Rest time: 10 minutes before checking the batter
- Cooking surface: 350°F or 175°C
- Total time: about 40 minutes, including the rest and batch cooking
- Finished center: opaque, aerated, and tender with no glossy wet band
If you want an oat-based option without refined flour or added sugar, make this Healthy Pancake Recipe instead. Its ingredients and finished texture are different from this classic stack.
Why This Banana Pancake Recipe Works
Banana adds flavor, sweetness, and moisture, but too much of it can make a pancake heavy. This recipe keeps the fruit, batter thickness, pancake size, and cooking heat working together so the center has time to set.
- Exactly 120 g banana: You get distinct banana flavor without overwhelming the structure provided by the flour and egg.
- Small, even portions: A 62 to 64 g scoop spreads to about 4 inches, allowing the middle to cook before the outside becomes too dark.
- A full 10-minute rest: The flour has time to absorb moisture before you decide whether any reserved milk is needed.
- Several flip cues used together: A matte rim, open bubbles, a golden underside, and clean release give a more dependable signal than bubbles alone.
The 10-Second Banana Pancake Spread Check
After the batter rests, place one 62 to 64 g test portion on the hot cooking surface and watch it for 10 to 15 seconds. The way it spreads tells you whether the consistency is ready or needs a small adjustment.
| What the batter does | What it means | What to do |
|---|---|---|
| Slowly relaxes toward a 4-inch round | The consistency is ready | Cook as written and add no milk |
| Stays in a tall mound | The batter is too thick for the intended size | Fold in 1 teaspoon or 5 ml milk, test again, and repeat only if needed up to 1 tablespoon or 15 ml total |
| Runs quickly beyond about 4 inches | The batter is too thin | Use smaller portions for this batch and correct the measurements next time; do not stir flour into the mixed batter |

Why You’ll Love These Banana Pancakes
This manageable batch turns familiar ingredients into a warm breakfast with clear banana flavor, a light crumb, and plenty of flexibility at the table.
- The banana flavor is noticeable without making the centers dense or custardy.
- Eight pancakes make four modest servings without leaving an oversized batch.
- The cinnamon is optional, so banana and vanilla can remain the main flavors.
- The stack works with maple syrup, fruit and yogurt, or a brunch board.
- Cooked pancakes refrigerate and freeze well for another morning.
For a breakfast built around protein powder, oats, and a higher-protein goal, these Protein Pancakes are the better match.
The Science Behind a Fully Set Banana Pancake
A fluffy banana pancake depends on more than baking powder. The fruit moisture needs enough flour and egg for support, while gentle mixing, a short rest, and moderate heat help the bubbles expand without leaving a wet center.
Banana, Flour, and Egg Set the Structure
The 120 g banana supplies flavor and moisture. The 150 g flour and 50 g egg provide the structure that surrounds and holds the bubbles made by the baking powder. Extra banana raises the wet load, so the center takes longer to set while the natural fruit sugars speed up browning on the outside.
I learned what excess banana does the first time I added extra fruit to pancake batter. I assumed more banana would simply mean more banana flavor, but the pancakes browned quickly while the centers stayed heavy and almost gummy. That experience taught me to measure the banana, keep each pancake a manageable size, and give the center time to set before flipping.
Rest, Leavening, and Heat Control the Lift
Double-acting baking powder gives the batter lift without depending on banana for predictable acidity. Gentle folding limits gluten development, the 10-minute rest lets the flour hydrate, and a 350°F or 175°C surface cooks a 4-inch pancake steadily enough for the middle to rise and set.
Ingredients for Soft, Fluffy Banana Pancakes
Use a very ripe banana for flavor, then measure it after peeling so the batter does not receive more moisture than it can hold. Keep the extra milk separate because it is an adjustment, not an automatic addition.
Ingredient List
Measure the ingredients in the order below, using the gram amounts whenever possible. Do not add the reserved milk until the batter has rested and completed the spread check.
- 1 1/4 cups (150 g) all-purpose flour
- 2 tablespoons (25 g) granulated sugar
- 2 teaspoons (8 g) double-acting baking powder
- 1/2 teaspoon (3 g) fine sea salt
- 1/2 teaspoon (1.3 g) ground cinnamon, optional
- 1/2 cup (120 g) very ripe banana, peeled and mashed
- 1 large egg (50 g without shell)
- 1 teaspoon (5 ml) vanilla extract
- 2 tablespoons (28 g) unsalted butter, melted and cooled to 90 to 100°F or 32 to 38°C
- 1/2 cup (120 ml) whole milk, room temperature, plus up to 1 tablespoon (15 ml) only if needed after the rest
- Up to 1 tablespoon (14 ml) neutral cooking oil, for a very thin griddle film

Ingredient Notes That Prevent Gummy Pancakes
The right amounts matter, but the ripeness, temperature, and condition of the ingredients also affect how smoothly the batter comes together.
- Banana: Choose deeply yellow fruit with extensive brown speckling and soft flesh. Do not use a banana with mold, leaking decay, a fermented odor, or a spoiled black interior. Peel it, weigh exactly 120 g, and mash it mostly smooth.
- Flour: Weigh 150 g for the most consistent batter. If you use cups, spoon the flour into the cup and level it instead of packing it.
- Baking powder: Use fresh, free-flowing double-acting baking powder and crush any clumps before the wet and dry mixtures meet.
- Butter: Cool the melted butter to 90 to 100°F or 32 to 38°C. It should remain liquid without being hot enough to warm the egg.
- Milk and egg: Bring both to room temperature so the melted butter stays evenly dispersed instead of hardening into little pieces.
- Cinnamon: Include it for gentle warmth or omit it when you want banana and vanilla to lead.
The gram conversions for flour, baking powder, mashed banana, and butter fall within the reference ranges in the King Arthur Baking Ingredient Weight Chart. The chart supports the conversions, while the amounts used together are specific to this recipe.

Kitchen Tools Needed
You do not need specialized pancake equipment, but accurate measuring, steady heat, and a broad turner make the batter easier to judge and the pancakes easier to flip.
- Digital scale and 1/4-cup measure: Weigh the ingredients, then keep each pancake close to the 62 to 64 g portion.
- Medium and large mixing bowls: Use one for the dry ingredients and one for the banana mixture.
- Whisk, flexible spatula, and fork or potato masher: Whisk the dry and wet mixtures, mash the banana, and fold the batter without overmixing.
- Electric griddle or heavy nonstick skillet, thin broad turner, and optional instant-read thermometer: Maintain even heat, turn the pancakes cleanly, and check the center temperature only when the visual cues leave you uncertain.
- Wire rack and sheet pan: Prevent trapped steam when pancakes must wait briefly for the rest of the batch.
Before You Start the Banana Pancake Batter
A few quick checks before mixing prevent the most common problems with thick batter, hardened butter, weak lift, and uneven cooking.
- Peel the banana, weigh exactly 120 g, and confirm that it is soft and deeply speckled without signs of spoilage.
- Make sure the double-acting baking powder is fresh, loose, and free of hard clumps.
- Bring the egg and whole milk to room temperature.
- Melt the butter and cool it to 90 to 100°F or 32 to 38°C while keeping it liquid.
- Set out the scale, portion measure, griddle or skillet, and broad turner.
- If the whole batch needs to stay warm, heat the oven to 200°F or 95°C and place a wire rack over a sheet pan.
What to Expect from Banana Pancake Batter
Banana makes this batter thicker and more textured than plain pancake batter. The signs below are normal and should not be corrected by vigorous mixing or an early splash of extra milk.
- After mixing: The batter falls in a thick ribbon and keeps a few small, soft lumps. It should not look glossy or elastic.
- After resting: A measured portion spreads gradually rather than running flat or remaining a tall mound.
- On the griddle: The surface changes from shiny to matte at the edges while bubbles open and remain visible.
- When fully cooked: The crumb is aerated and opaque, although tiny banana flecks can stay softer than the surrounding pancake.
- Across the batch: Most skillets require more than one cooking round for eight pancakes, and that time is included in the 40-minute total.
How to Make Banana Pancakes
Measure first, mix gently, give the batter its full rest, and keep every pancake close to the same size. The time ranges become much more useful when the portions and cooking heat remain consistent.
1. Prepare the Cooking Station
Weigh every ingredient and keep the additional 15 ml milk separate. Melt the butter and let it cool to 90 to 100°F or 32 to 38°C. If you plan to hold the pancakes, heat the oven to 200°F or 95°C and set a rack over a sheet pan.
What you should see: The butter is fluid rather than hot or cloudy-solid, all ingredients are measured, and the reserved milk has not been added.
2. Whisk the Dry Ingredients
In the medium bowl, whisk the flour, sugar, baking powder, fine sea salt, and optional cinnamon for about 30 seconds. Crush any visible baking-powder clumps against the side of the bowl.
What you should see: An evenly blended dry mixture with no compact white pockets of baking powder.

3. Mash the Banana and Mix the Wet Ingredients
In the large bowl, mash the 120 g banana until mostly smooth with only small, soft flecks. Whisk in the egg and vanilla for about 30 seconds. Slowly whisk in the cooled melted butter, followed by the 120 ml whole milk.

What you should see: A cohesive liquid mixture with fine banana flecks, no large fruit pieces, no cooked-egg strands, and no hard beads of butter.

4. Fold the Batter Gently
Add the dry mixture to the wet mixture. Fold with a flexible spatula for about 12 to 15 broad strokes, stopping as soon as no dry flour pockets remain. Do not whisk the batter smooth.
What you should see: Thick batter with small, soft lumps and no streaks of dry flour. Stop before the batter becomes shiny, stretchy, or completely smooth.

5. Rest the Batter and Check Its Spread
Let the batter stand at room temperature for exactly 10 minutes. Test a 62 to 64 g portion on the hot surface. If it remains a tall mound, fold in 1 teaspoon or 5 ml of the reserved milk, test again, and repeat only if necessary up to 1 tablespoon or 15 ml total.
What you should see: A measured portion that relaxes toward a 4-inch round within 10 to 15 seconds without running flat.

6. Heat and Lightly Oil the Griddle
Stabilize an electric griddle at 350°F or 175°C. For a heavy nonstick skillet, preheat over medium-low heat for 4 to 5 minutes, then wipe on a very thin film of neutral oil. Use the first small pancake to fine-tune the stovetop heat.
What you should see: No pooled oil, and a test pancake that turns evenly golden in 2 to 3 minutes while the top begins to set.

7. Portion and Cook the First Side
Add 1/4 cup or 62 to 64 g batter for each pancake, keeping the rounds about 4 inches wide with at least 1 inch or 2.5 cm between them. Cook for 2 to 3 minutes. Leave enough open space to slide the turner under every pancake cleanly.

What you should see: A matte outer rim about 1/4 inch or 6 mm wide, bubbles distributed across the top with several staying open, an evenly golden underside, and a turner that slides underneath without dragging wet batter.

8. Flip Once and Finish Cooking
Slide the broad turner fully under each pancake and flip it gently. Cook the second side for 1 to 2 minutes without pressing. If you are uncertain about the center, cut through the thickest point of one pancake from the first full batch.
What you should see: An evenly golden second side, a center that springs back lightly, and an opaque, tender crumb with no glossy wet band.

9. Serve or Hold Briefly
Move the finished pancakes to the wire rack instead of stacking them immediately. Serve at once, or keep them uncovered on the rack in the 200°F or 95°C oven for no more than 20 minutes.
What you should see: Warm pancakes with open, uncompressed surfaces and no trapped steam collecting between the layers.

How to Tell When Banana Pancakes Are Done
Time and color are useful guides, but the pancake is ready only when the surface, underside, release, and center all agree. Small banana flecks may stay softer than the crumb around them without being raw batter.
Read the Flip Cues Together
Wait for a matte rim, bubbles that remain open across the top, an evenly golden base, and clean release from the cooking surface. A few early bubbles or the end of a timer is not enough by itself.
Recognize a Fully Cooked Center
The thickest point should look opaque and aerated with no glossy wet strip. It should also spring back lightly after gentle pressure. A center temperature near 200 to 205°F or 93 to 96°C can support those signs, but it should not replace them.

Underdone, Overdone, and After-Cooking Behavior
An underdone pancake has a glossy wet band, weak spring, or a center that compresses easily. Return it to gentler heat if recovery is still possible. An overdone pancake has a dry, tight crumb or hard, dark surfaces, so lower the heat or shorten the next batch. A warm oven will hold a cooked pancake, but it will not properly cook a wet center.
Expert Tips for Evenly Golden Banana Pancakes
Once the banana amount and batter consistency are right, small choices at the griddle make the biggest difference from one batch to the next.
- Use the first pancake as a heat check. A stovetop dial cannot confirm the surface temperature. A pancake that becomes golden in 2 to 3 minutes while its top begins to set shows that the heat is close.
- Wipe away excess oil. A barely visible film encourages even browning, while puddles create fried, lace-like patches.
- Mix a double recipe in two batches. Start the second bowl while the first batch cooks so one large bowl of batter does not sit for too long.
- Keep the same portion size. More batter should make more pancakes, not larger rounds whose centers require different timing.
- Choose the right format for a crowd. When several stovetop batches are impractical, Sheet Pan Pancakes offer a purpose-built oven method.
Banana Pancake Mistakes and How to Fix Them
Start with the visible problem, then change only the most likely cause. Heat and portion size can often be corrected during a batch, while an inaccurate ingredient amount is better fixed the next time you mix.
| Mistake | What Happens | Why It Happens | How to Prevent or Fix It |
|---|---|---|---|
| Adding extra banana | The center stays dense or gummy | The wet load exceeds the support from the flour and egg | Use exactly 120 g; lower the heat and use smaller portions for the remaining batter, then correct the measurements next time |
| Cooking on excessive heat | The outside darkens while the center stays wet | The surface sets too quickly | Reduce the heat, wipe the pan, let it stabilize, and cook a small test portion |
| Cooking on insufficient heat | The pancakes stay pale and become dry | Slow browning extends the cooking time | Raise the heat slightly and look for a golden first side within 2 to 3 minutes |
| Using old baking powder | The pancakes stay flat | The leavener has lost activity | Begin with fresh double-acting baking powder; do not add more to mixed batter |
| Overmixing or pressing | The crumb becomes tough or rubbery | Too much mixing strengthens gluten, and pressing collapses the structure | Stop when the dry flour disappears, flip once, and never press the pancakes |
| Underfolding | Dry flour pockets remain | The wet and dry mixtures were not fully combined | Use a few targeted folds without trying to make the batter smooth |
| Poor baking-powder dispersion | Bitter spots appear | Concentrated clumps remain in the dry mixture | Whisk the dry ingredients for 30 seconds; begin again if clumps cannot be dispersed without overmixing |
| Adding too little liquid for the flour and banana | The batter barely spreads | The flour was heavy, the banana was relatively dry, or the batter rested too long | After the 10-minute rest, add milk 5 ml at a time up to 15 ml, stopping at the correct spread |
| Adding too much liquid | The pancakes spread too far and become fragile | Excess milk weakens the batter | Add no more liquid, use smaller portions for this batch, and never stir flour into the mixed batter |
| Leaving pooled oil | The surfaces look patchy or lace-like | Excess fat fries the pancake edges | Wipe the surface to a thin film before the next batch |
| Stacking the pancakes while hot | The surfaces become soft and damp | Trapped steam condenses between layers | Unstack the pancakes and move them to a wire rack |
Supported Banana Pancake Swaps and Boundaries
A few simple changes work without upsetting the batter, but substitutions that alter the flour, egg, acidity, or amount of banana need a recipe developed for those ingredients.
Simple Flavor and Milk Changes
You may omit the cinnamon without replacing it. Two-percent dairy milk may replace the whole milk in the same 120 ml amount, followed by the same post-rest check and the same 15 ml adjustment limit.
Neutral Oil Instead of Butter
Replace the 28 g melted butter with exactly 2 tablespoons or 28 ml neutral oil. The pancakes may feel slightly softer and will lose the buttery aroma. Keep the separate thin film of cooking oil for the griddle.
How to Use Previously Frozen Banana
Thaw the banana completely and include all released liquid within the exact 120 g total. Thawed fruit may look darker and feel softer than fresh banana, so weigh the full mixture instead of estimating by the number of bananas.
Changes That Need a Different Recipe
Gluten-free flour, oat flour, egg replacements, plant milk, buttermilk, extra banana, sugar removal, liquid sweeteners, and baking soda are not direct swaps here. Each one changes structure, hydration, acidity, sweetness, or leavening enough to require different amounts or a different method.
Beautiful Ways to Serve Banana Pancakes
Serve the pancakes while they are warm, and add toppings with a light hand so the golden surfaces and soft stack remain visible and easy to cut.
Butter, Maple Syrup, and Warm Banana Slices
Add a small pat of butter, a measured pour of warm maple syrup, and a few freshly warmed banana slices. Keep the extra fruit on top instead of adding it to the batter.
Yogurt, Berries, and Toasted Nuts
Spoon cool yogurt beside the stack, then finish with fresh berries and a small handful of toasted nuts. The cool, bright, and crisp toppings contrast with the warm, soft crumb.
If you would rather have juicy berries inside the pancakes, try these Blueberry Pancakes.
A Brunch Board for Sharing
Arrange the warm pancakes on a rack or open platter and set out syrup, fruit, yogurt, butter, and nuts in separate dishes. Everyone can build a plate without trapping steam under a covered stack.
How to Store, Freeze, and Reheat Banana Pancakes
For make-ahead breakfasts, cook the pancakes first and cool them before packing. Separating the layers protects their shape, while the reheating method determines whether the outside stays soft or becomes lightly crisp.
Short-Term Storage
Cool the pancakes promptly and refrigerate them in an airtight container for 3 to 4 days, with 3 days preferred for texture. Do not leave cooked pancakes at room temperature for more than 2 hours, or more than 1 hour when the room is above 90°F or 32°C. These limits follow general USDA leftovers and food safety guidance.
Freezing and Thawing
Cool the pancakes completely, place parchment between them, seal them airtight, and freeze for up to 2 months for best quality. You may reheat them directly from frozen, so thawing is optional.
Reheating for the Texture You Want
Use a toaster for a drier, lightly crisp surface. For several pancakes, heat chilled ones in a 325°F or 165°C oven for 5 to 8 minutes, or frozen ones for 8 to 12 minutes, until hot through. For the softest exterior, microwave two chilled pancakes for 20 to 30 seconds and continue in short intervals only if needed.
Make Ahead by Cooking First
Do not mix the batter the night before. A long hold changes the baking powder activity, flour hydration, and thickness. Cook the pancakes, cool them, and store them instead.
Banana Pancake Questions, Answered
Use these quick answers when you need to rescue a gummy batch, prepare frozen banana correctly, plan breakfast ahead, or choose the right leavener.
Why Are My Banana Pancakes Gummy in the Middle?
The usual causes are too much banana or milk, oversized portions, excessive heat, or flipping before all the surface cues appear. Use exactly 120 g banana, keep each portion at 62 to 64 g, cook over moderate heat, and check for an opaque center with no glossy wet band.
Can I Use Frozen Bananas for Banana Pancakes?
Yes. Thaw the banana fully and weigh the fruit together with all its released liquid, using exactly 120 g total.
Can I Make Banana Pancake Batter the Night Before?
No. An overnight rest changes hydration, thickness, and leavener performance. Cook the pancakes first, then refrigerate or freeze them.
Can I Use Baking Soda Instead of Baking Powder?
No. This recipe does not contain a measured acidic ingredient that would support a direct baking-soda exchange. Use the specified double-acting baking powder.
Keep the Breakfast Baking Going
Your next breakfast can stay on the griddle, use the rest of the ripe bananas, or move toward a different weekend favorite.
More Pancakes for the Griddle
Choose another stovetop pancake when you want a different fruit, flavor, or level of richness.
- Buttermilk Pancake Recipe: make a classic tangy batter without mashed fruit.
- Apple Pancakes: keep the warm spice and fruit while moving from banana to apple.
- Pumpkin Pancakes: use pumpkin puree in a recipe balanced specifically for it.
- Cinnamon Roll Pancakes: turn the next stack into a richer cinnamon-swirled breakfast.
Still Have Ripe Bananas?
Use extra fruit in a recipe designed for a larger banana load rather than adding more to this pancake batter.
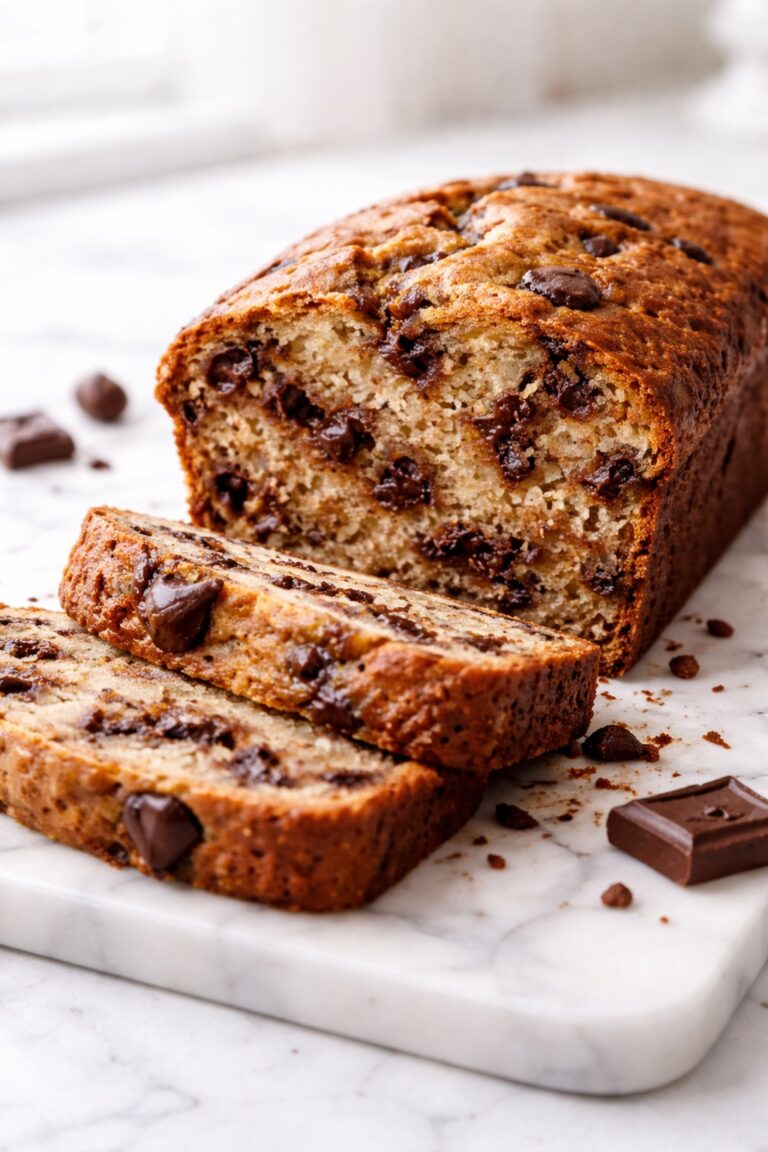
- Banana Bread Recipe: turn several ripe bananas into a classic quick bread.
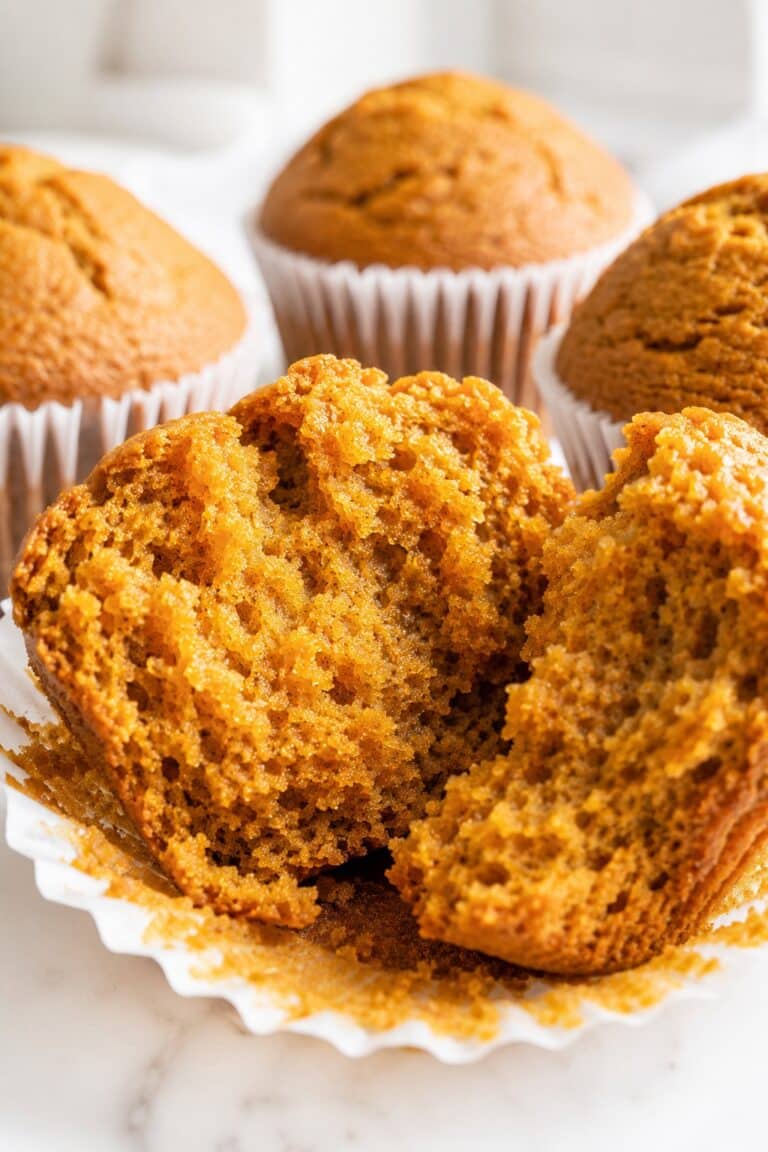
- Easy Banana Muffin Recipe: make a portable banana breakfast.
- Banana Cookies Recipe: move the ripe-fruit flavor into a soft cookie.
- Banana Cake Recipe: choose a larger banana bake for sharing.
Plan the Next Weekend Breakfast
Move beyond pancakes with crisp waffles, quick French toast, or a make-ahead baked breakfast.
- Waffle Recipe: keep the batter-based breakfast ritual and add crisp patterned edges.
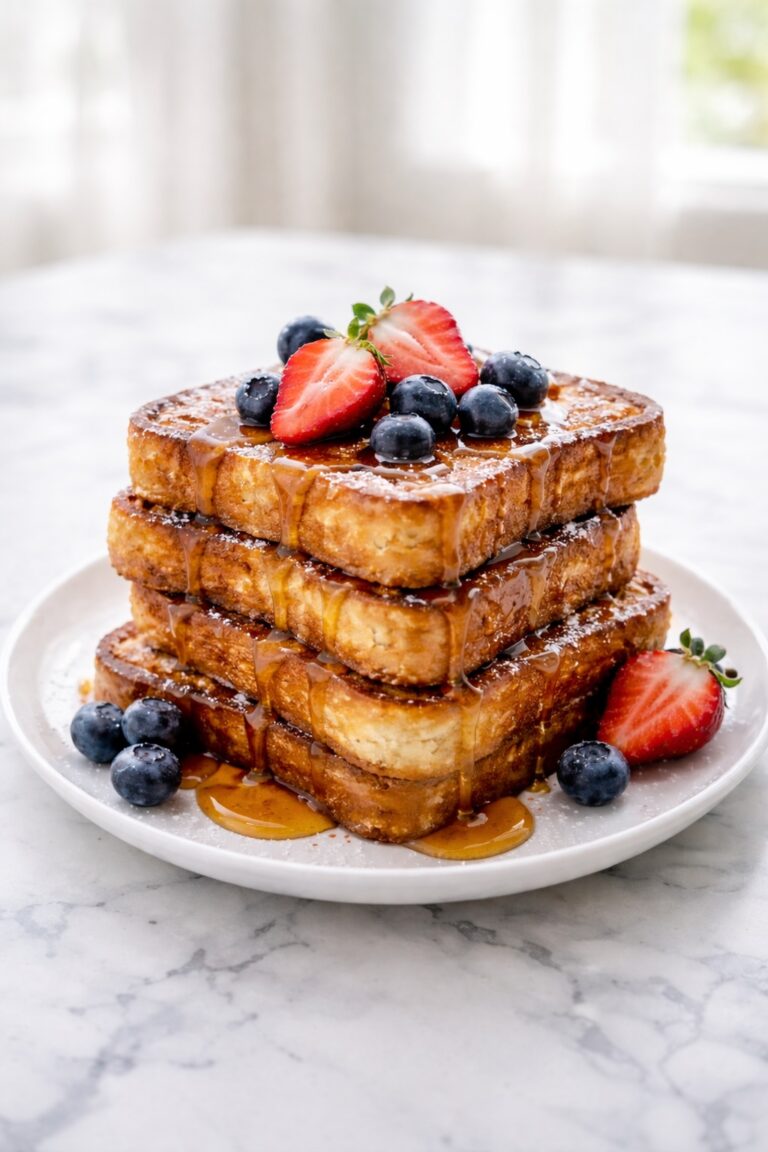
- French Toast Recipe: make a quick stovetop breakfast with custard-soaked bread.
- French Toast Casserole: prepare a baked breakfast for a larger table.
- Crème Brûlée French Toast: serve a rich caramelized centerpiece for brunch.
Why This Banana Pancake Recipe Belongs in Your Recipe Box
This is the kind of breakfast recipe worth saving because it gives one ripe banana a useful home while teaching you exactly how a fruit-rich pancake batter should look and cook.
- Ripe-Banana Rescue: One measured banana becomes a warm breakfast without overloading the batter.
- Classic Pancake Texture: The crumb stays soft and aerated instead of becoming dense or custardy.
- Clear Batter Check: The quick spread test helps you judge the rested batter before adding liquid.
- Manageable Batch Size: Eight standard pancakes suit a small family breakfast without an oversized yield.
- Cook-First Convenience: Finished pancakes can be refrigerated or frozen without relying on overnight batter.
- Better Griddle Instincts: The heat, release, and flip cues are useful for other stovetop pancake recipes too.
A Final Note on Banana Pancakes
The best part of a banana pancake should be its ripe-fruit flavor, not a wet center hidden beneath a dark surface. Measuring the banana lets that flavor stay generous while the crumb remains light and fully cooked.
Return to this stack when one deeply speckled banana needs a good home and breakfast calls for something warmer and more inviting than a quick snack.
Keep the portions small, the heat moderate, and the full set of flip cues in view. Those simple decisions lead to evenly golden pancakes with a soft center that is tender rather than gummy.

Banana Pancakes
Soft, golden banana pancakes with clear ripe-banana flavor, a tender aerated crumb, and a fully cooked center. A 10-minute rest and a quick spread check help the pancakes rise without leaving the middle gummy.
Ingredients
- 1 1/4 cups (150 g) all-purpose flour
- 2 tablespoons (25 g) granulated sugar
- 2 teaspoons (8 g) double-acting baking powder
- 1/2 teaspoon (3 g) fine sea salt
- 1/2 teaspoon (1.3 g) ground cinnamon, optional
- 1/2 cup (120 g) very ripe banana, peeled and mashed
- 1 large egg (50 g without shell)
- 1 teaspoon (5 ml) vanilla extract
- 2 tablespoons (28 g) unsalted butter, melted and cooled to 90 to 100°F or 32 to 38°C
- 1/2 cup (120 ml) whole milk, room temperature, plus up to 1 tablespoon (15 ml) only if needed after the rest
- Up to 1 tablespoon (14 ml) neutral cooking oil, for a very thin griddle film
Instructions
- Prepare the Cooking Station. Weigh all ingredients and keep the additional milk separate. Melt the butter and cool it to 90 to 100°F or 32 to 38°C. If holding the batch, heat the oven to 200°F or 95°C and set a wire rack over a sheet pan. What you should see: Fluid butter that is no longer hot, measured ingredients, and untouched reserved milk.
- Whisk the Dry Ingredients. In the medium bowl, whisk the flour, sugar, baking powder, fine sea salt, and optional cinnamon for about 30 seconds. Break apart every visible baking-powder clump. What you should see: An evenly mixed dry blend with no concentrated white pockets.
- Mash the Banana and Mix the Wet Ingredients. In the large bowl, mash the 120 g banana until mostly smooth with small soft flecks. Whisk in the egg and vanilla for about 30 seconds, slowly add the cooled butter, then whisk in the 120 ml whole milk. What you should see: A cohesive wet mixture with fine banana flecks and no large fruit pieces, cooked-egg strands, or hard butter beads.
- Fold the Batter Gently. Add the dry mixture to the wet mixture and fold with a flexible spatula for about 12 to 15 broad strokes, stopping when no dry flour pockets remain. Do not whisk the batter smooth. What you should see: Thick batter with small soft lumps and no dry streaks; stop before it looks shiny or stretchy.
- Rest the Batter and Check Its Spread. Rest the batter at room temperature for exactly 10 minutes. Test one 1/4-cup or 62 to 64 g portion. If it remains a tall mound, fold in milk 1 teaspoon or 5 ml at a time, using no more than 1 tablespoon or 15 ml total. What you should see: A thick ribbon and a measured portion that slowly relaxes toward a 4-inch or 10-cm round within 10 to 15 seconds.
- Heat and Lightly Oil the Griddle. Stabilize an electric griddle at 350°F or 175°C, or preheat a heavy nonstick skillet over medium-low heat for 4 to 5 minutes. Wipe on a very thin film of neutral oil and adjust the stovetop heat with a small test pancake. What you should see: No pooled oil, and a test pancake that turns evenly golden in 2 to 3 minutes while the top begins to set.
- Portion and Cook the First Side. Add 1/4 cup or 62 to 64 g batter per pancake. Keep the rounds about 4 inches or 10 cm wide and at least 1 inch or 2.5 cm apart. Cook for 2 to 3 minutes. What you should see: A matte outer rim about 1/4 inch or 6 mm wide, distributed bubbles with several remaining open, a golden underside, and clean release from the surface.
- Flip Once and Finish Cooking. Slide a broad turner fully underneath each pancake, flip gently, and cook the second side for 1 to 2 minutes without pressing. Check one pancake through the thickest point if the center is uncertain. What you should see: An evenly golden second side, light spring-back, and an opaque tender center with no glossy wet band. A center temperature of 200 to 205°F or 93 to 96°C may support these signs but does not replace them.
- Serve or Hold Briefly. Transfer the pancakes to a wire rack instead of stacking them immediately. Serve at once, or hold them uncovered on the rack in a 200°F or 95°C oven for no more than 20 minutes. What you should see: Warm pancakes with uncompressed surfaces and no trapped steam between the layers.
Notes
- Banana: Use deeply yellow, extensively speckled fruit with soft flesh and no signs of spoilage. Weigh exactly 120 g after peeling. Previously frozen banana may be used only when it is fully thawed and all released liquid is included within the 120 g total.
- Flour: The 150 g weight gives the most consistent result. If a scale is unavailable, spoon the flour into the cup and level it without packing.
- Milk adjustment: Add none before the 10-minute rest. After resting, use 5 ml at a time only when the test portion stays mound-like, stopping at the target spread and never exceeding 15 ml.
- Butter option: Replace the 28 g butter with exactly 2 tablespoons or 28 ml neutral oil. The pancakes will lose the buttery flavor and may have a slightly softer crumb.
- Milk option: Two-percent dairy milk may replace whole milk in the same 120 ml amount. Keep the same post-rest adjustment rule.
- Cinnamon: Omit it without making any other change.
- Do not substitute: Extra banana, baking soda, buttermilk, plant milk, egg replacement, oat flour, gluten-free flour, whole-wheat flour, sugar removal, and liquid sweetener need a different recipe.
- Storage: Cool promptly and refrigerate airtight for 3 to 4 days, with 3 days preferred for texture. Do not leave cooked pancakes at room temperature longer than 2 hours, or 1 hour above 90°F or 32°C.
- Freezing: Cool completely, separate with parchment, seal airtight, and freeze for up to 2 months for best quality.
- Reheating: Toast until hot, or heat chilled pancakes at 325°F or 165°C for 5 to 8 minutes and frozen pancakes for 8 to 12 minutes. For the softest exterior, microwave two chilled pancakes for 20 to 30 seconds, then continue in short intervals if needed.
- Make ahead: Do not refrigerate raw batter overnight. Cook, cool, and store the pancakes instead.
- Double batch: Weigh twice the ingredient amounts but mix two separate batches so each receives its own 10-minute rest. Keep the individual pancakes at the same size.
Nutrition Information:
Yield: 4 Serving Size: 2 pancakesAmount Per Serving: Calories: 288Total Fat: 9gSaturated Fat: 5gCholesterol: 65mgSodium: 540mgCarbohydrates: 44gFiber: 2gSugar: 12gProtein: 7g
Nutrition information is provided as an estimate only and may vary based on specific ingredients, brands, and portion sizes used. This information should not be considered medical or nutritional advice.
12 Sweet Favourites — Yours, Free 🍰
Tiramisù, no-bake cheesecake, the perfect chocolate chip cookie & 9 more reader-loved desserts — gathered into one beautiful free recipe book. From my kitchen to yours.
No spam, just sweet things. Unsubscribe anytime.